This no bake chocolate mousse pie is so silky, rich, and delicious! It's easier to make than you would think and complete with a chocolate cookie crust... perfect for all of you chocolate lovers out there.
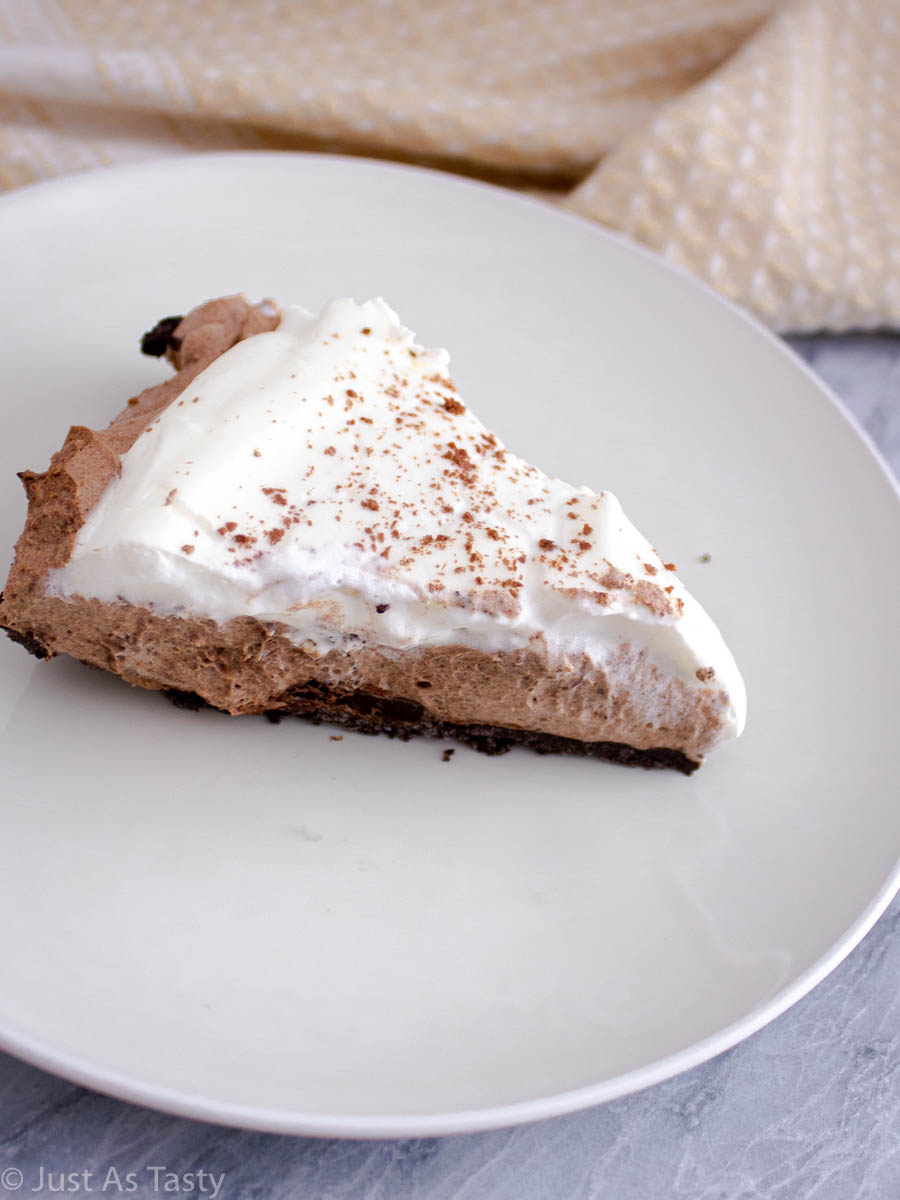
Who is ready for a super light yet rich and chocolatey pie recipe?! This gluten free chocolate mousse pie is just that. I've always loved mousse pies because of that light and airy filling. So it was only a matter of time before I added my easy mousse pie recipe to the mix.
Let's start by talking about the crust. Because honestly, that's always kind of my favorite part. I was thrilled when I stumbled upon these gluten free chocolate sandwich cookies. They taste EXACTLY like Oreos, so I could easily snack on, like, a whole sleeve of these cookies no problem. But! We're using them to make a delicious chocolate cookie crust instead.
And then there's the chocolate mousse filling. While you could use your favorite kind of chocolate here, I go with semisweet. I've found it's the perfect option that's, well, not too sweet 🙂
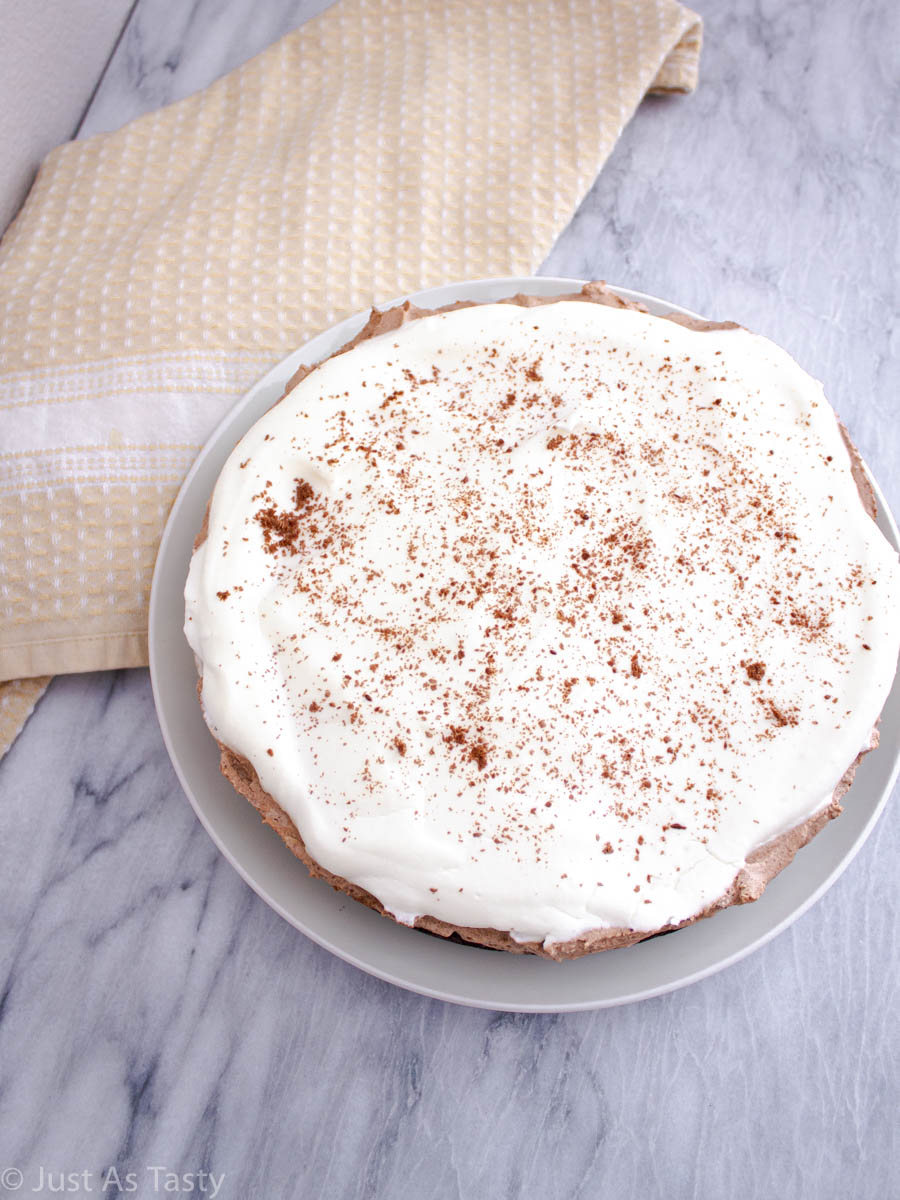
I'll talk you through allll of the steps below to make sure you end up with the lightest and airiest chocolate mousse without eggs.
Why You'll Love This Pie...
- You don't even have to turn on your oven for this one! It's a completely no bake pie recipe.
- The textures are so perfect together. The chocolate cookie crust plus the airiness of the filling and the fresh whipped cream on top. I mean, seriously.
- Something about this dessert is just so elegant to me. It's so great to serve if you're having a dinner party, because it's easy (only a handful of ingredients!) but always impressive.
What You'll Need...
- For the crust: chocolate sandwich cookies + melted butter.
- For the filling: chopped up chocolate + heavy cream.
- Top it off with: homemade whipped cream.
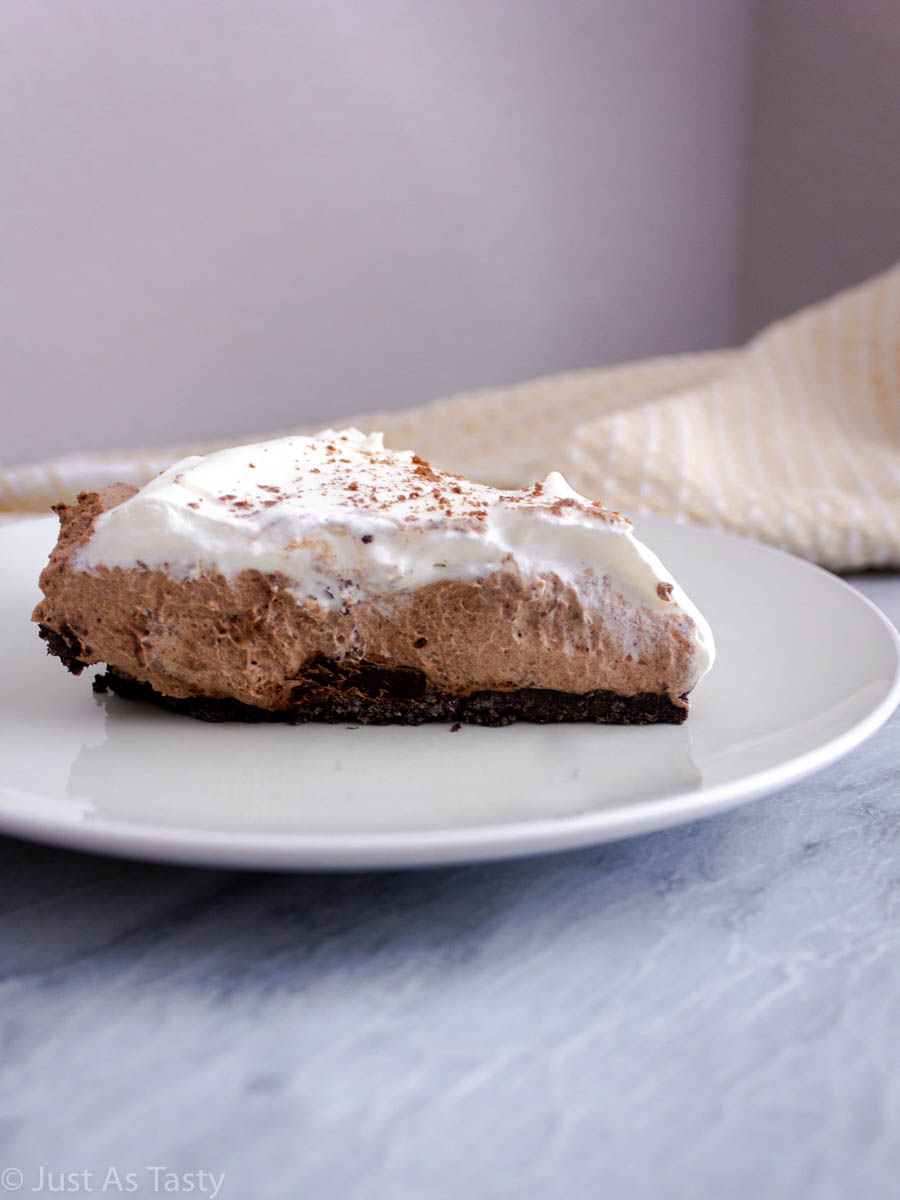
How To Make Gluten Free Chocolate Cookie Crust...
To make my no bake chocolate mousse pie, we'll start by preparing the chocolate crust. You can either grind up your chocolate sandwich cookies in a food processor, or place them in a zip top plastic bag and crush with a rolling pin.
Once you have your cookie crumbs, add in the melted butter and mix. Pour the cookie crumb mixture into the bottom of a springform pan (make sure it's been greased!). I always use the bottom of a measuring cup to pack the pie crust in tightly.
How To Make...
Now, pop the crust into the refrigerator and move on to your chocolate mousse filling! Heat up some of the heavy whipping cream (just half a cup) in the microwave until it's hot but not scalding. Pour it over your chopped up chocolate and let that sit, without stirring, for about 10 minutes. After the 10 minutes are up, stir until smooth.
Next, beat the rest of the heavy cream for a few minutes until soft peaks form. Fold this whipped cream into your melted chocolate, and spread it onto your crust. Pop back into the refrigerator while you work on the last piece -- the homemade whipped cream topping.
To make the homemade whipped cream, simply beat some more heavy cream until you have soft peaks again. While a lot of people add a bit of sugar to their whipped cream, I like to keep mine simple for this particular pie recipe.
Remove your pie from the refrigerator, spread the whipped cream right on top of the chocolate mousse filling, then place back to chill for at least 4 hours (I usually just leave mine in overnight).
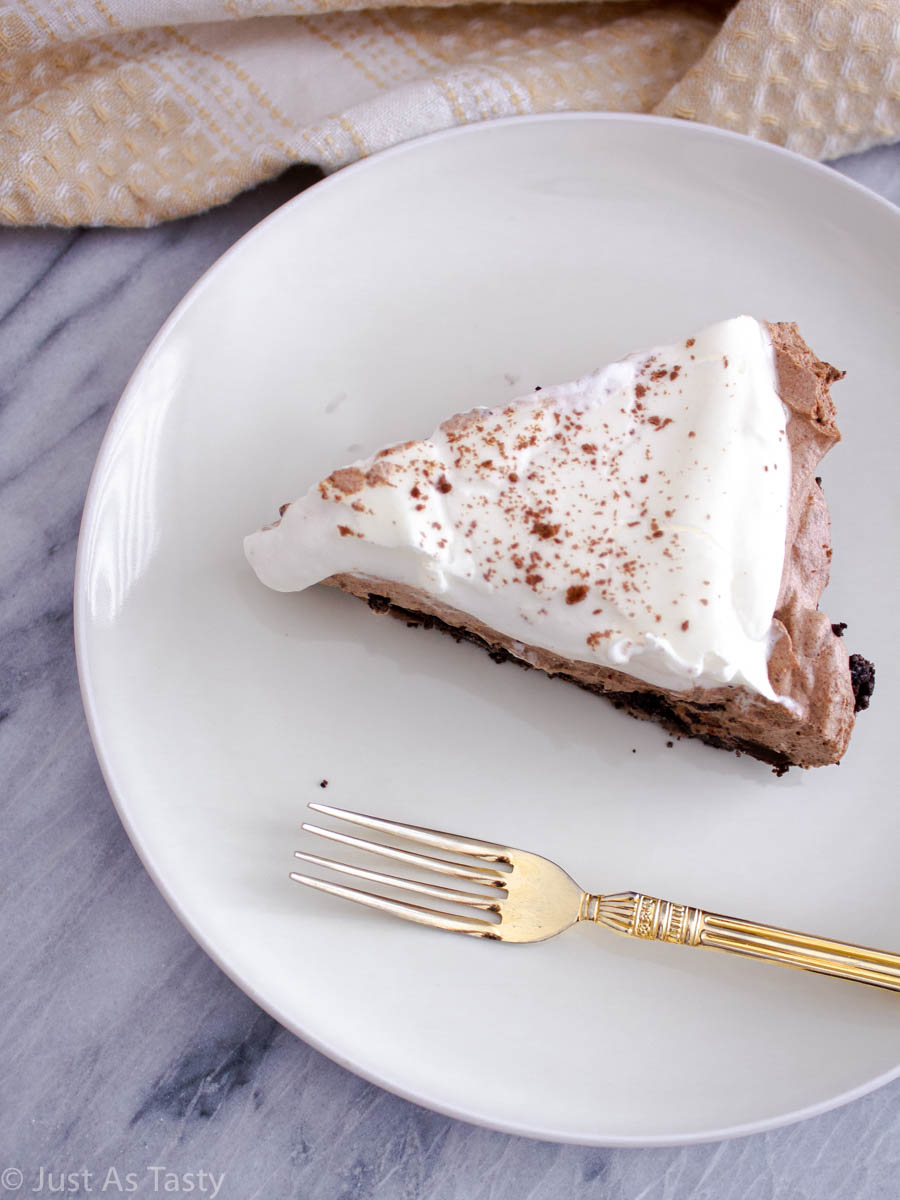
And that's it! Totally optional, but delicious: add chocolate shavings on top right before serving.
Can I Freeze Chocolate Mousse Pie?
Good news... you can absolutely freeze this chocolate mousse pie! If you find yourself with leftovers or want to save part of the pie to enjoy later, you can store it in an airtight container in the freezer for up to three months. I actually think mousse pie is delicious frozen but you can also thaw overnight in the refrigerator before serving.
Did you try my no bake chocolate mousse pie? Leave me a comment below or tag me on Instagram @justastastyblog and #justastastyblog!
📖 Recipe

Gluten Free Chocolate Mousse Pie
Ingredients
For the crust:
- 18 gluten free chocolate sandwich cookies
- ¼ cup (56g) unsalted butter melted
For the filling:
- 8 ounces semisweet chocolate roughly chopped
- 2 ½ cups (600ml) heavy whipping cream
For the whipped cream topping:
- 1 cup (240ml) heavy whipping cream
Instructions
To make the crust:
- Using a food processor, grind the chocolate sandwich cookies into crumbs. Stir in the melted butter. Press mixture tightly into the bottom of a greased 9" springform pan. Chill in the refrigerator while you work on the filling.
To make the filling:
- Place chopped chocolate in a large bowl. Heat ½ cup of heavy cream in the microwave, about 45-60 seconds, until hot but not scorching. Pour over chocolate and let sit for 10 minutes before stirring to combine. Set aside.
- Using a hand mixer or a stand mixer fitted with the whisk attachment, beat remaining 2 cups of heavy cream on high speed until soft peaks form.
- Gently fold the whipped cream into the melted chocolate. Spread over prepared crust and place back into the refrigerator to chill while you make the whipped cream topping.
To make the whipped cream topping:
- Using a hand mixer or a stand mixer fitted with the whisk attachment, beat heavy cream on high speed until stiff peaks form. Spread over pie and chill in the refrigerator for at least 4-6 hours, or overnight.
Notes
- For the crust, be sure to use whole gluten free sandwich cookies (including the filling).
- If you are having trouble finding gluten free sandwich cookies, feel free to use any gluten free chocolate cookies or a pre-made crust.
For More Gluten Free Chocolate Desserts, Check Out My...
- Chocolate sugar cookies
- Peppermint brownies
- Homemade fudge
- Hot cocoa cupcakes

Leave a Reply