
This easy pumpkin pie with sweetened condensed milk is everything I want in a classic pumpkin pie-smooth, creamy, perfectly spiced, and surprisingly simple to make. It's the recipe I come back to every Thanksgiving because it's reliable, easy, and always disappears first. This recipe is a must-bake for me every year and it's one of my go-to fall recipes.
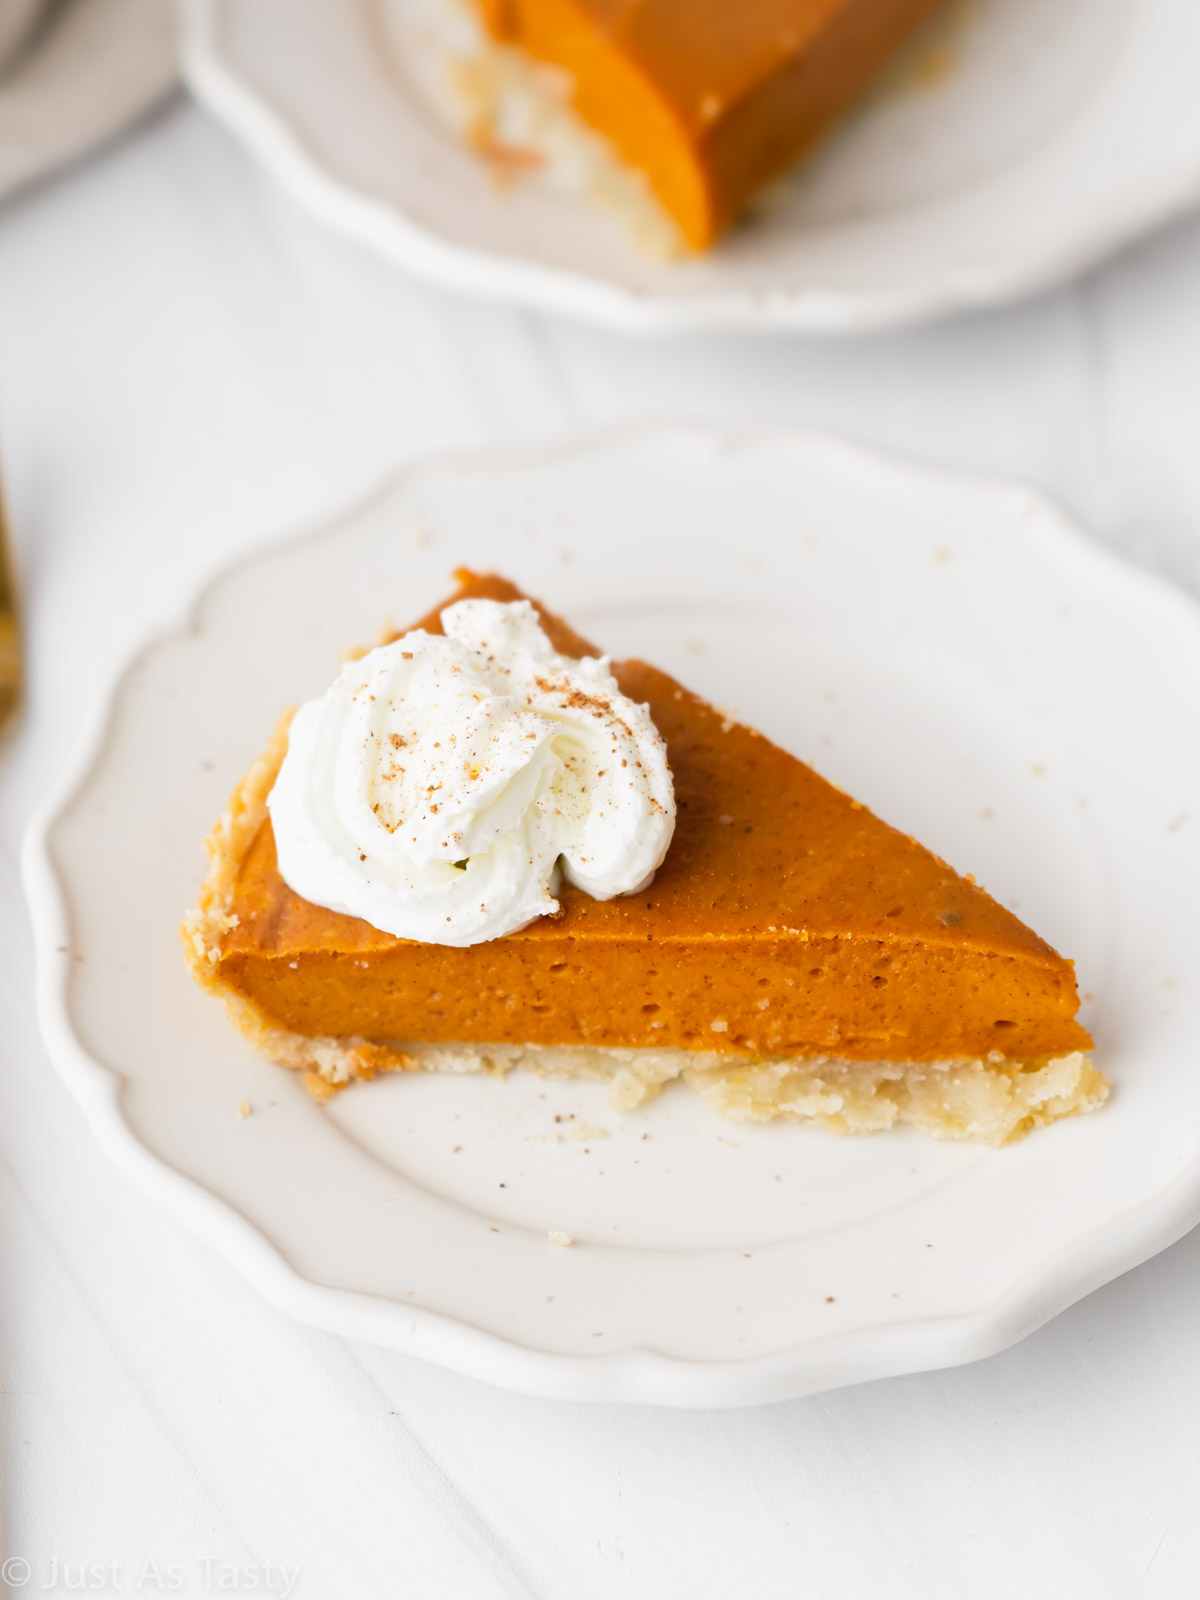
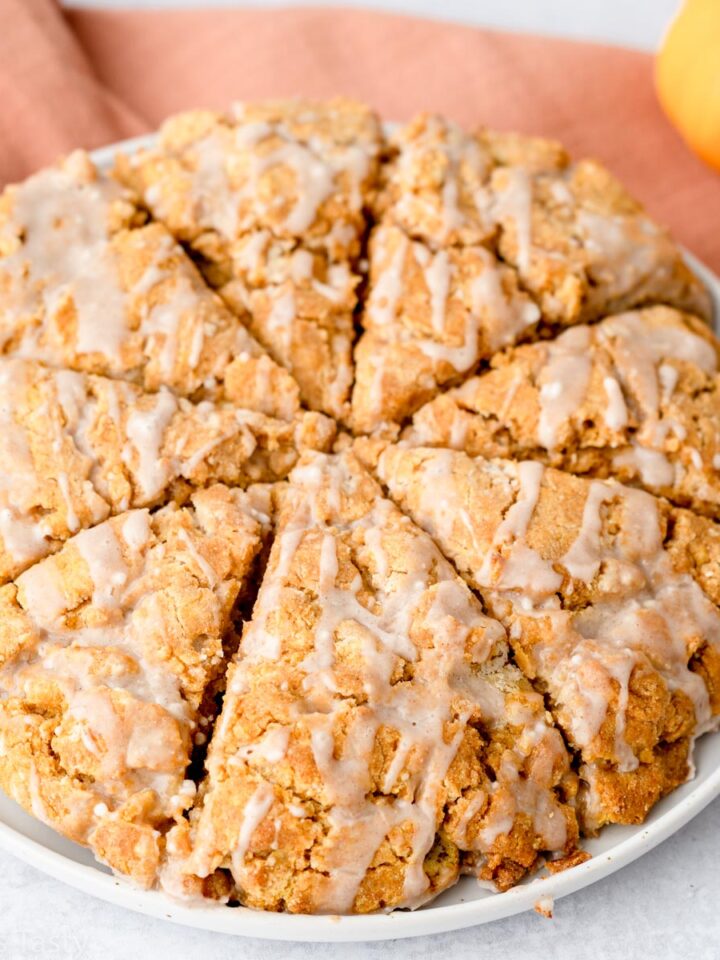
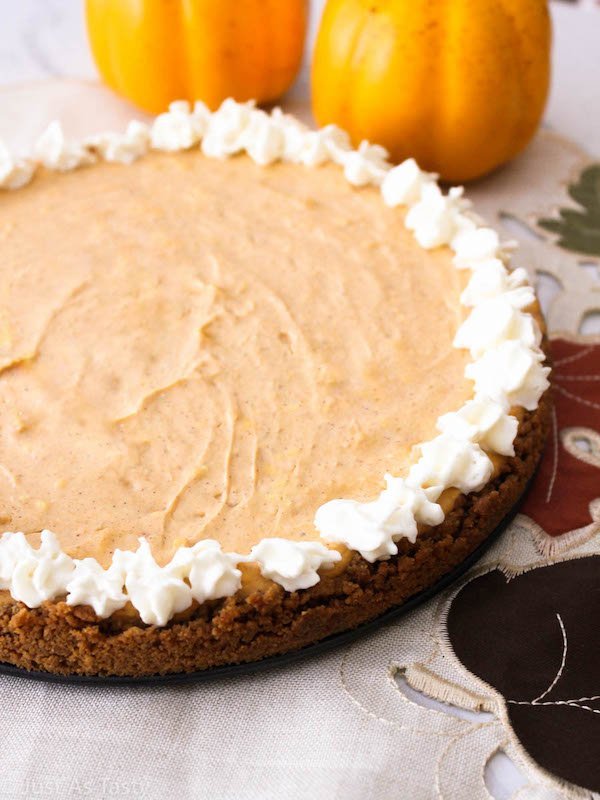
If you're a fan of this gluten free pumpkin pie, check out my Butterscotch Cinnamon Pie. And for another easy spin on pumpkin pie, try this easy Pumpkin Pie Cake Made with Cake Mix, Easy Gluten Free Pumpkin Cookies, and Pumpkin Scones.
I used to really dislike pumpkin pie. I know, unpopular opinion. But after many years I realized it was simply because I had only ever had store-bought pies!
I find that those can be overpowering, sometimes artificial tasting, and just all around not great. Homemade pumpkin pie though... that's another story!
Once you try pumpkin pie with condensed milk, you will want to make it year after year for Thanksgiving. Trust me on this one!
Jump to:
Why You'll Love This Recipe
- A classic pumpkin pie with a rich, creamy filling.
- Easy enough for first-time pie bakers.
- Sweetened condensed milk creates the perfect silky texture.
- Perfect for Thanksgiving, Friendsgiving, and holiday dinners.
- Easy to make ahead.
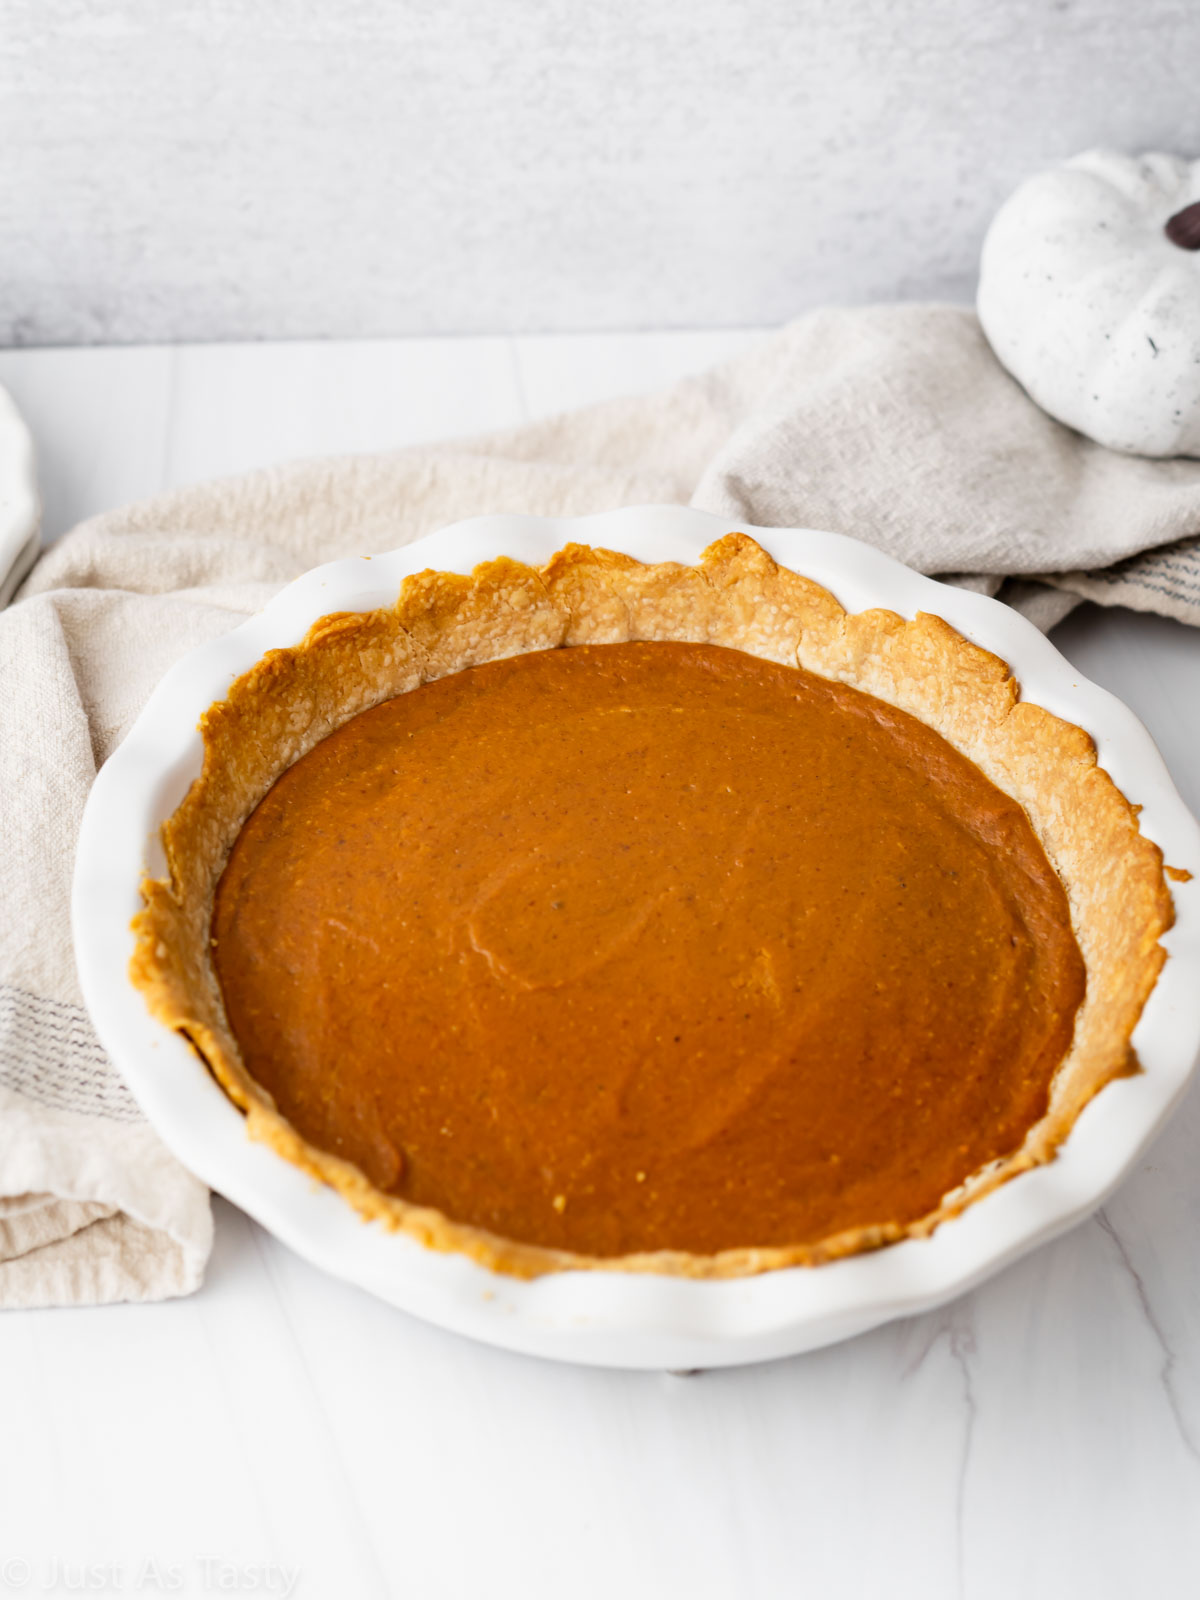
Ingredient Notes and Substitutions
Flour
You can use AP flour for this recipe, or a cup for cup gluten free flour blend to make the pie gluten free. My favorite gluten free flour blend is Bob's Red Mill 1 to 1. If you are using a different blend, make sure it contains xanthan gum.
Butter
Make sure you are using COLD butter. It's important because that's how you will achieve that nice flaky pie crust.
Water
Same with the water. The colder, the better.
Pumpkin puree
Make sure you are using 100% pure pumpkin, not pumpkin pie filling, which includes added ingredients. I use canned pumpkin and have not tested this with fresh pumpkin. My favorite canned pumpkin puree is Libby's.
Sweetened condensed milk
Sweetened condensed milk gives this pie its creamy texture and sweetness. Be sure to use sweetened condensed milk, not evaporated milk-they're not interchangeable and will produce very different results.
Arrowroot
Arrowroot is a great thickening agent, and it helps thicken this eggless pumpkin pie up. You can substitute cornstarch instead.
Pumpkin pie spice
Most major grocery stores sell pumpkin pie spice, but if you have trouble finding it, you can make your own. If your pumpkin pie spice has been sitting in the pantry for several years, replace it before baking. Fresh spices make a noticeable difference in the flavor of pumpkin pie.
Looking for another easy fall dessert? My Apple Cider Bundt Cake is full of cozy fall flavor and tastes just like apple cider donuts!
Why This Recipe Works
- Sweetened condensed milk creates a smooth, creamy filling with just the right amount of sweetness.
- A homemade buttery pie crust pairs perfectly with the silky pumpkin filling.
- Simple ingredients make this recipe easy enough for beginner bakers.
- The filling sets beautifully while staying creamy and never dry.
Step-By-Step Instructions
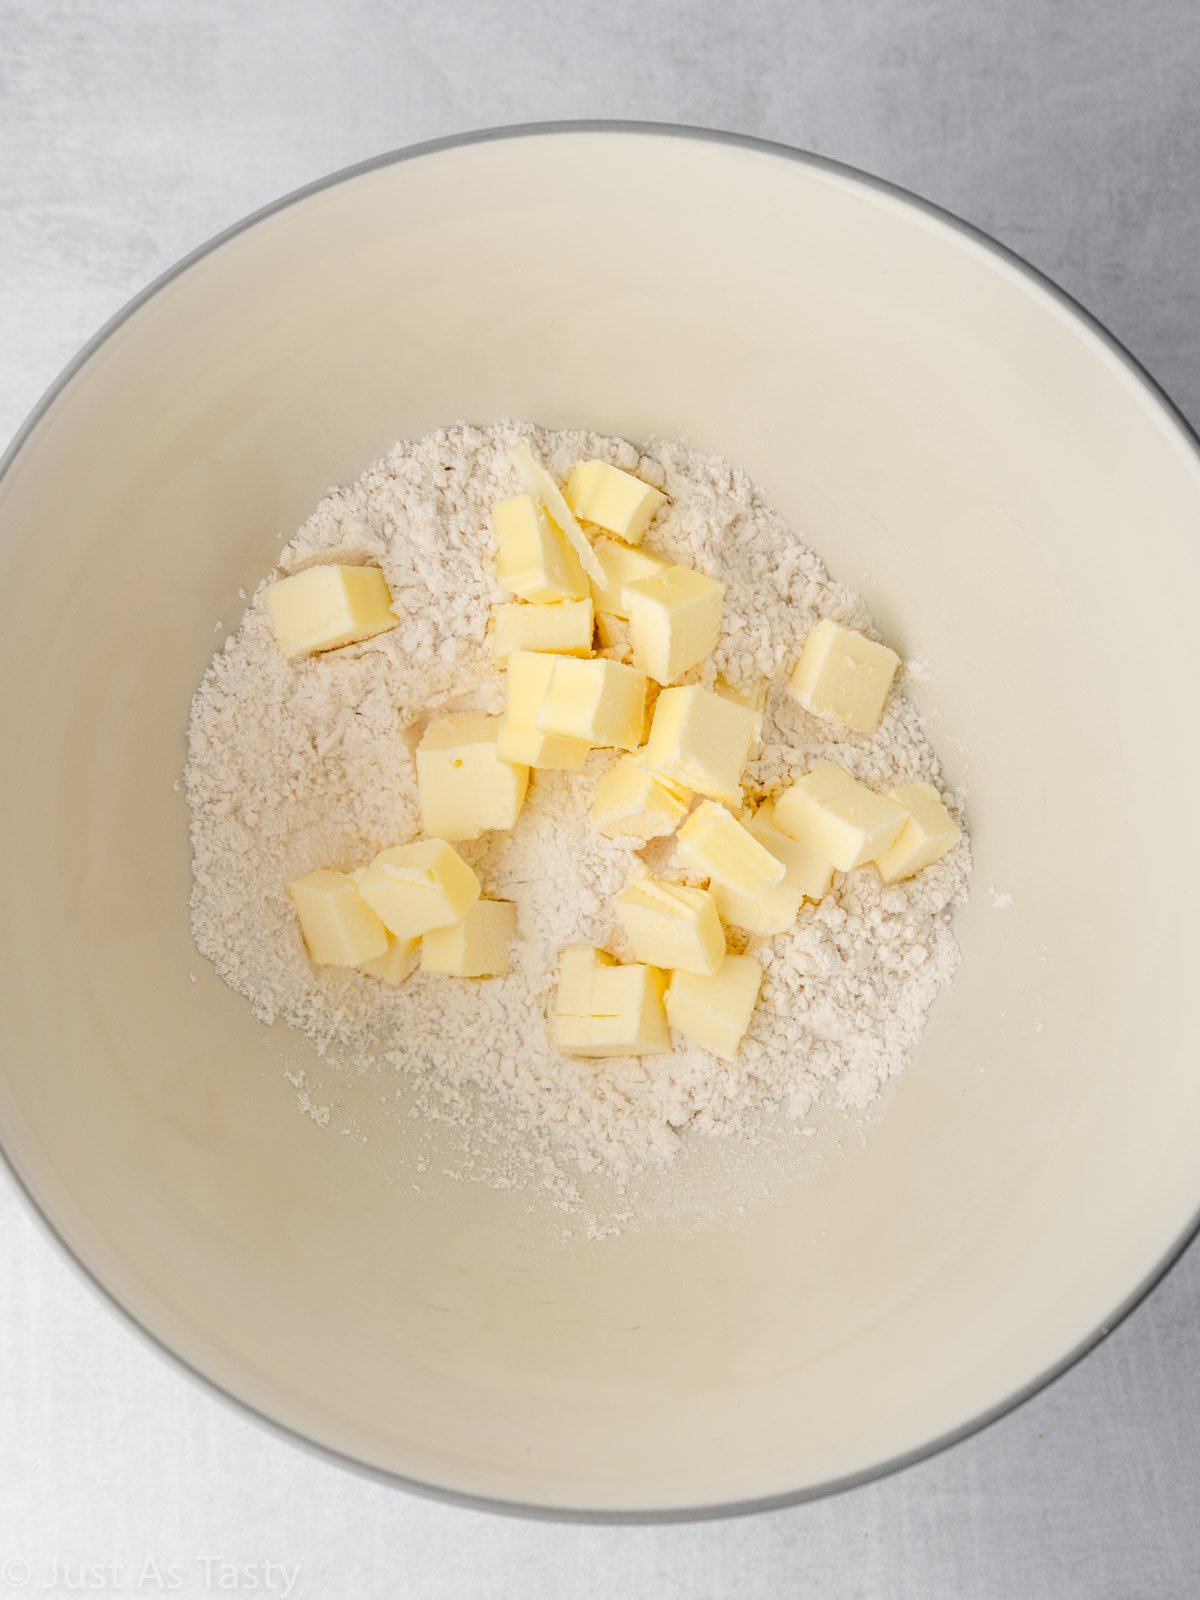
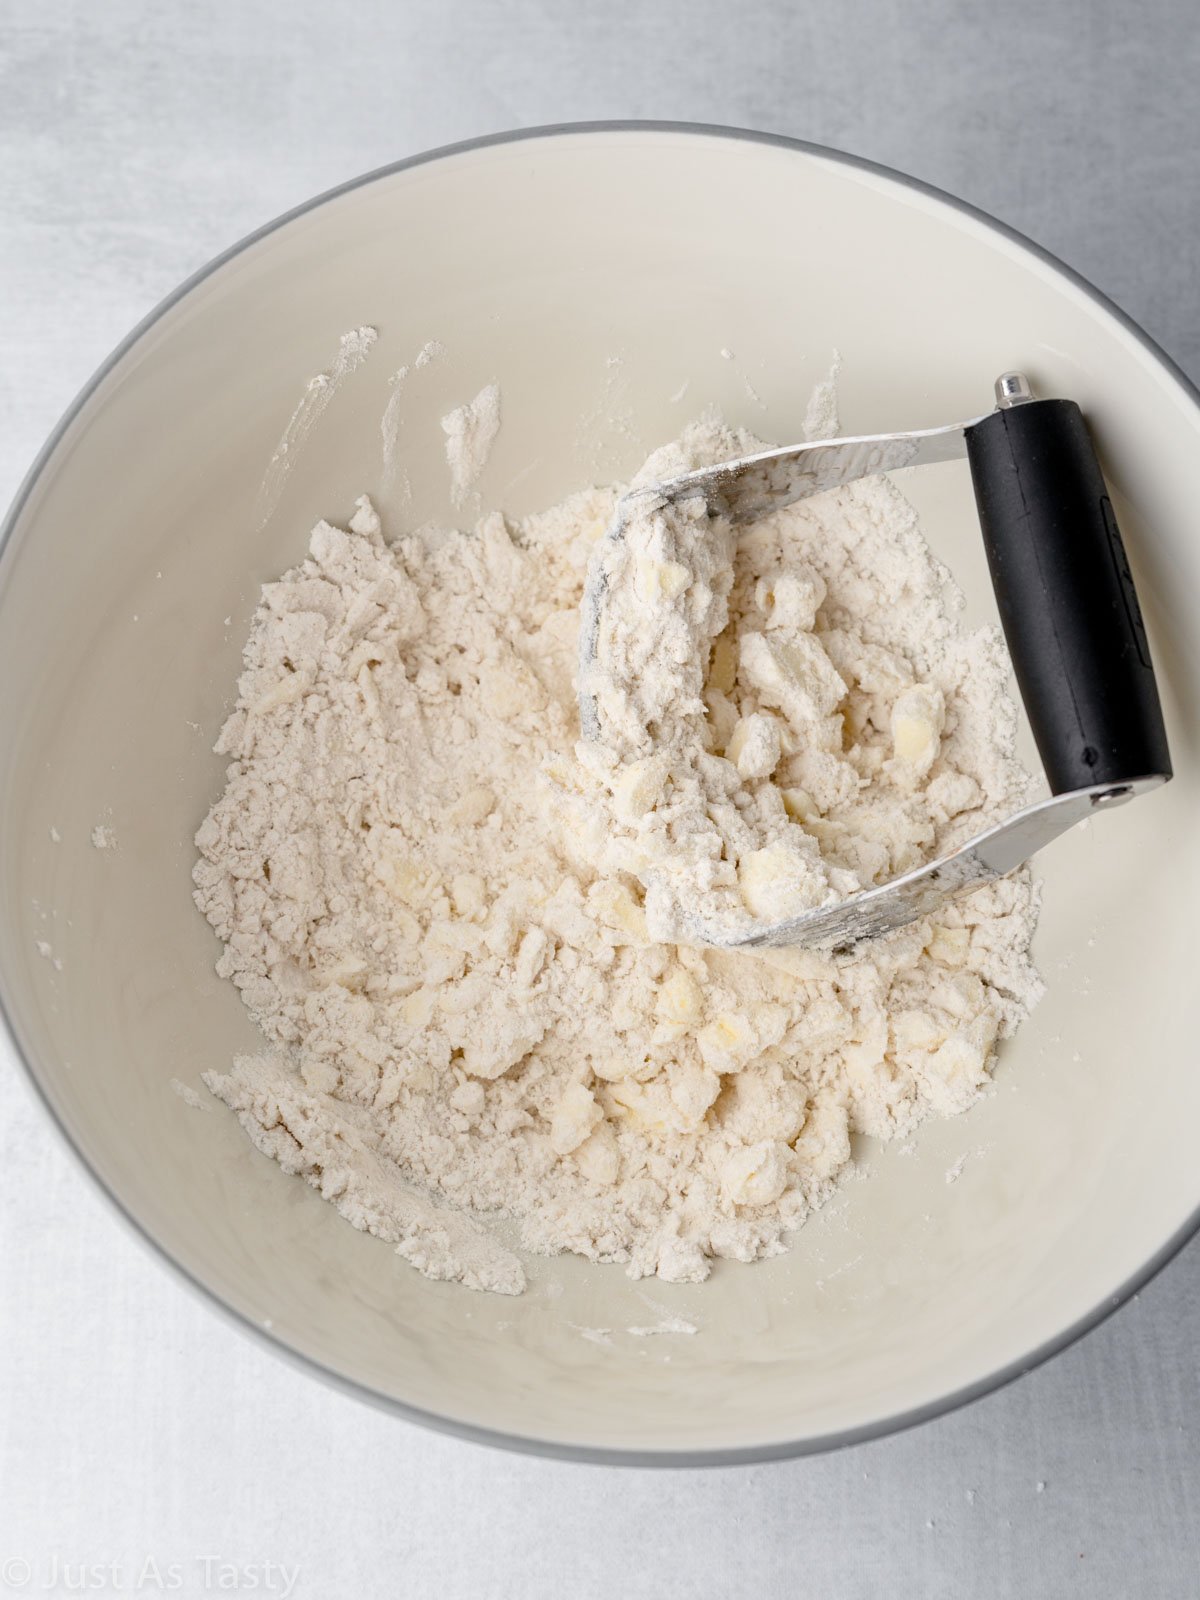
STEP ONE: Start by making the pie dough. Whisk the dry ingredients together in a large bowl, then cut in the butter using a pastry blender. The mixture should be crumbly with pea-sized bits of butter throughout.
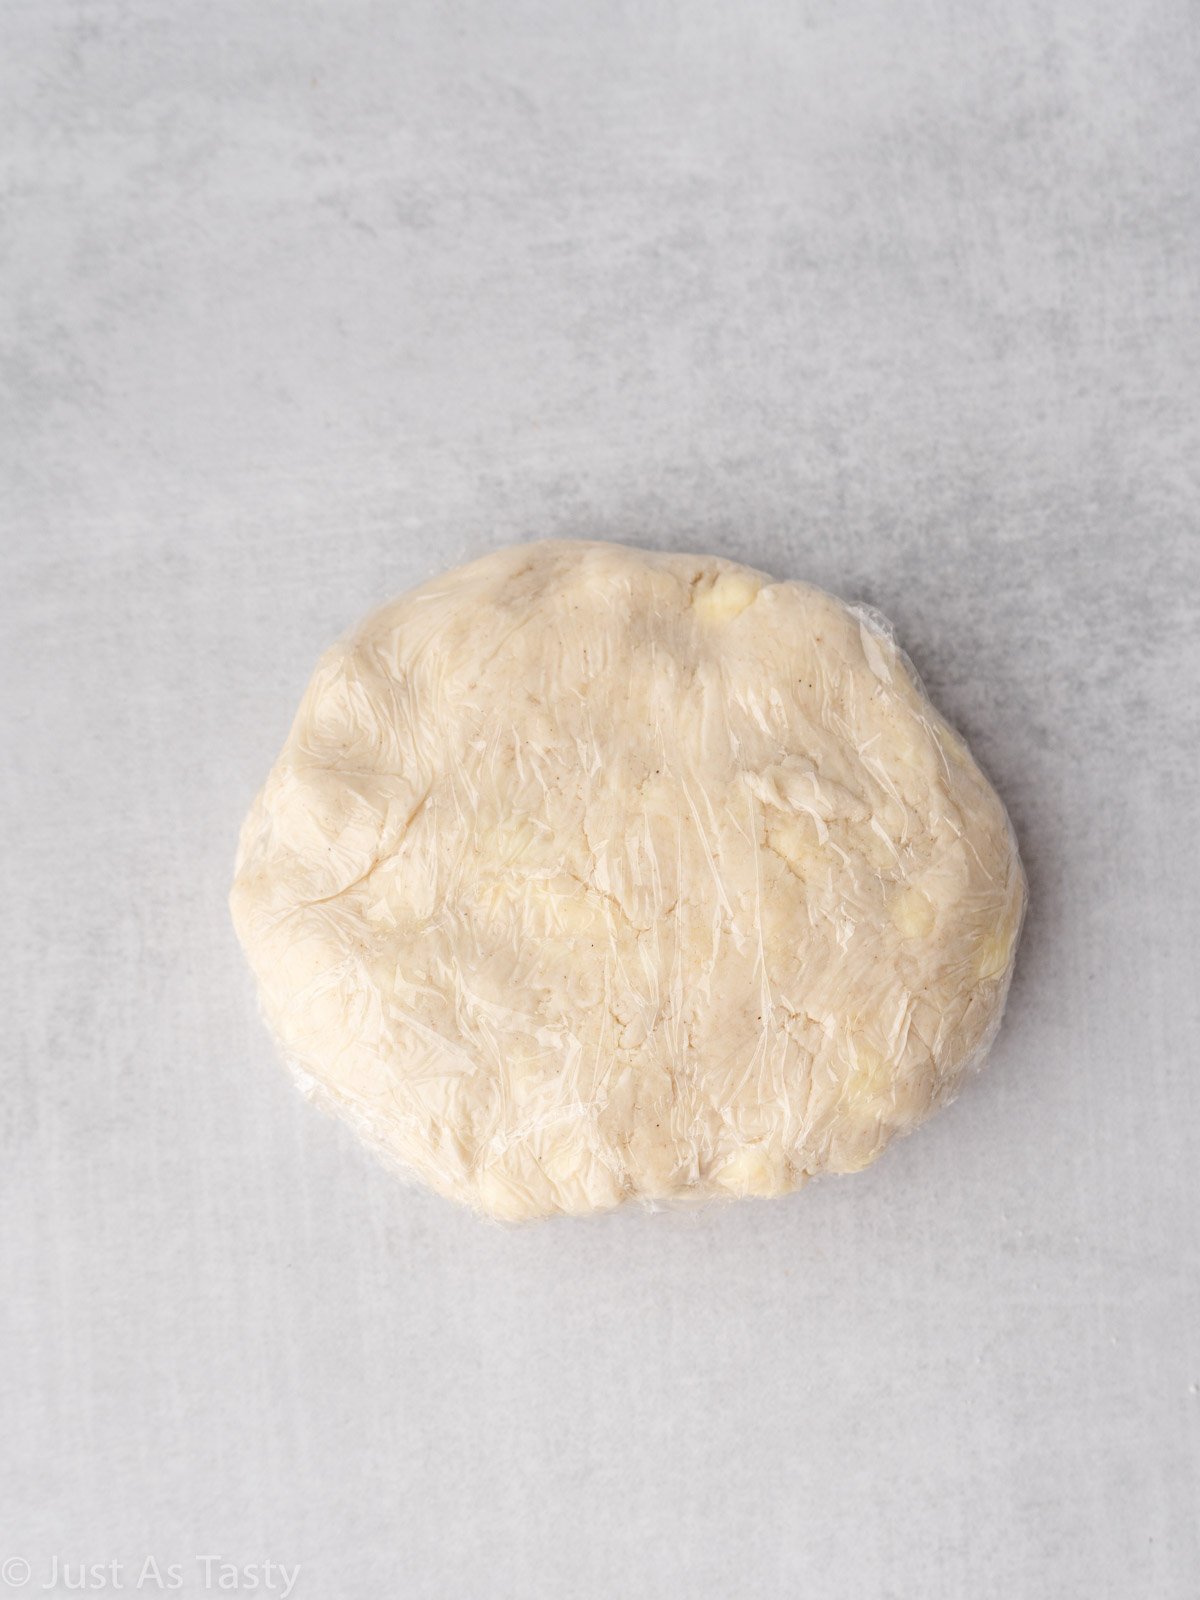
STEP TWO: Add ice water gradually and mix using a rubber spatula until the mixture is moist and holds together. Use your hands to form the dough into a round disc, then wrap tightly in plastic wrap and chill for at least 2 hours.
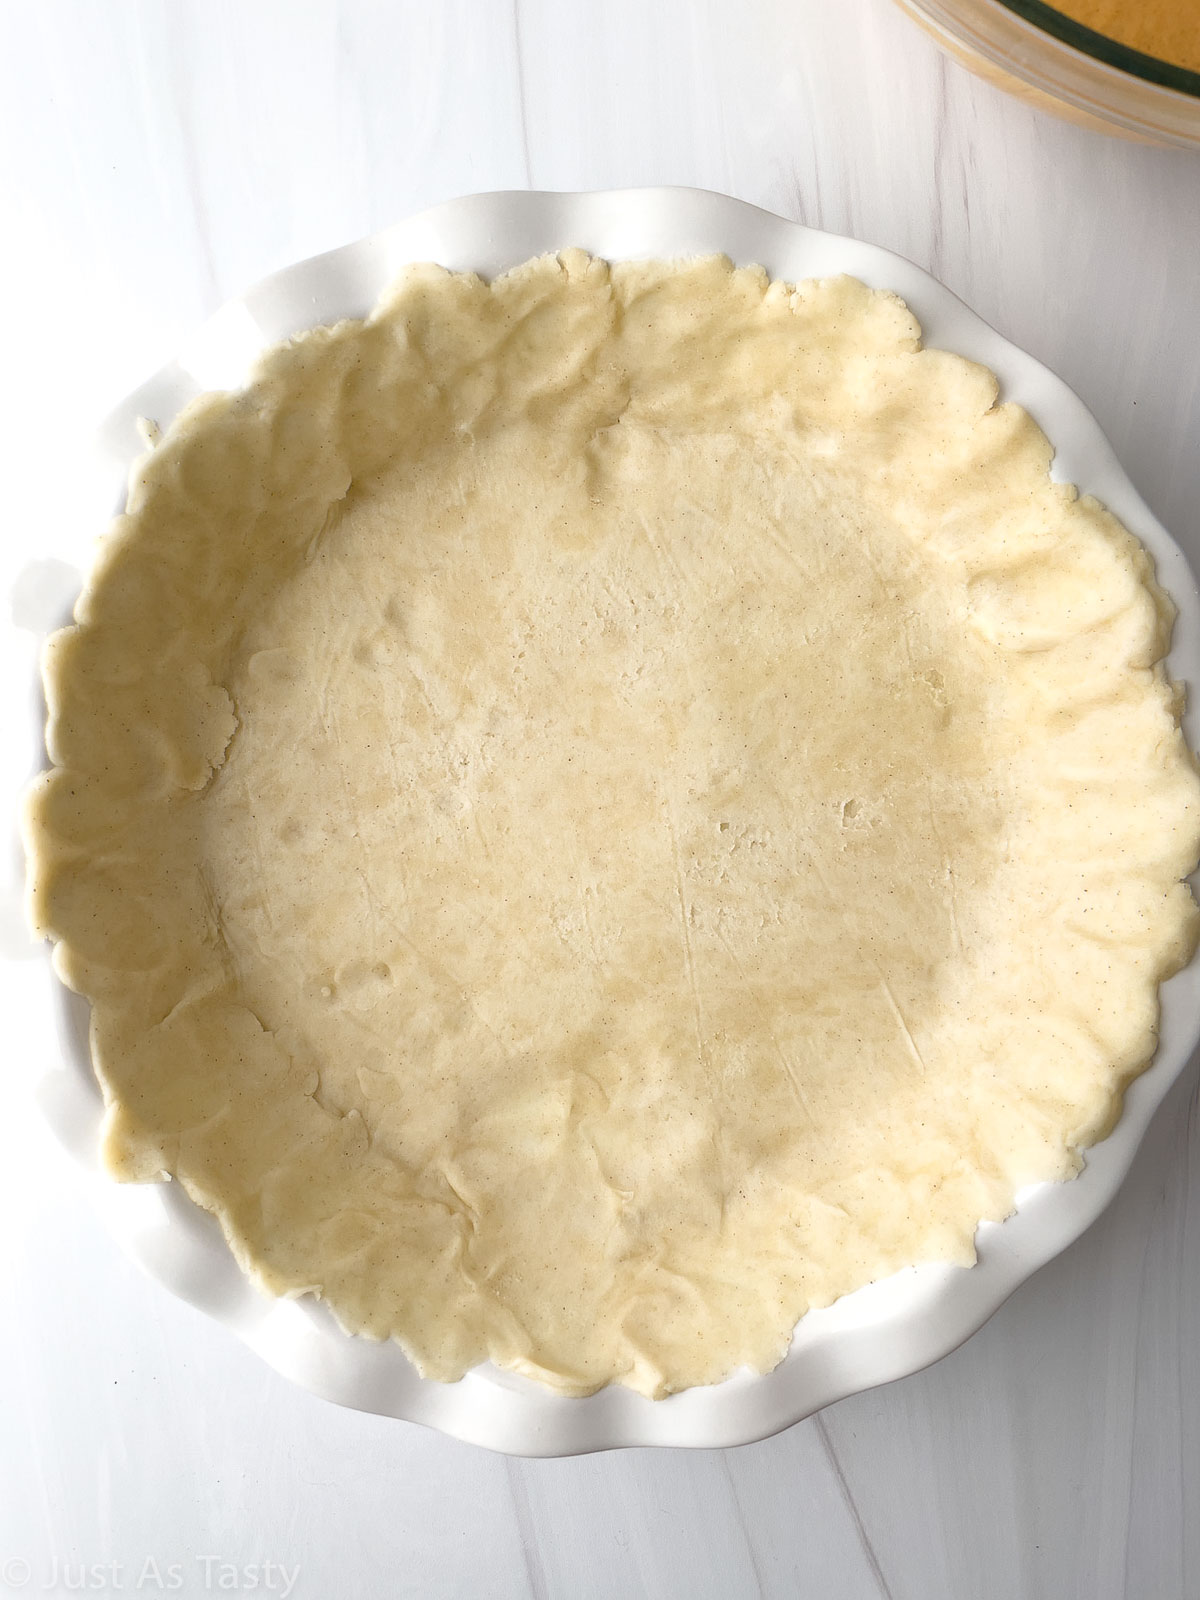
STEP THREE: Once the dough has chilled, roll it out on a lightly floured surface to a 12" round. Transfer to your pie plate.
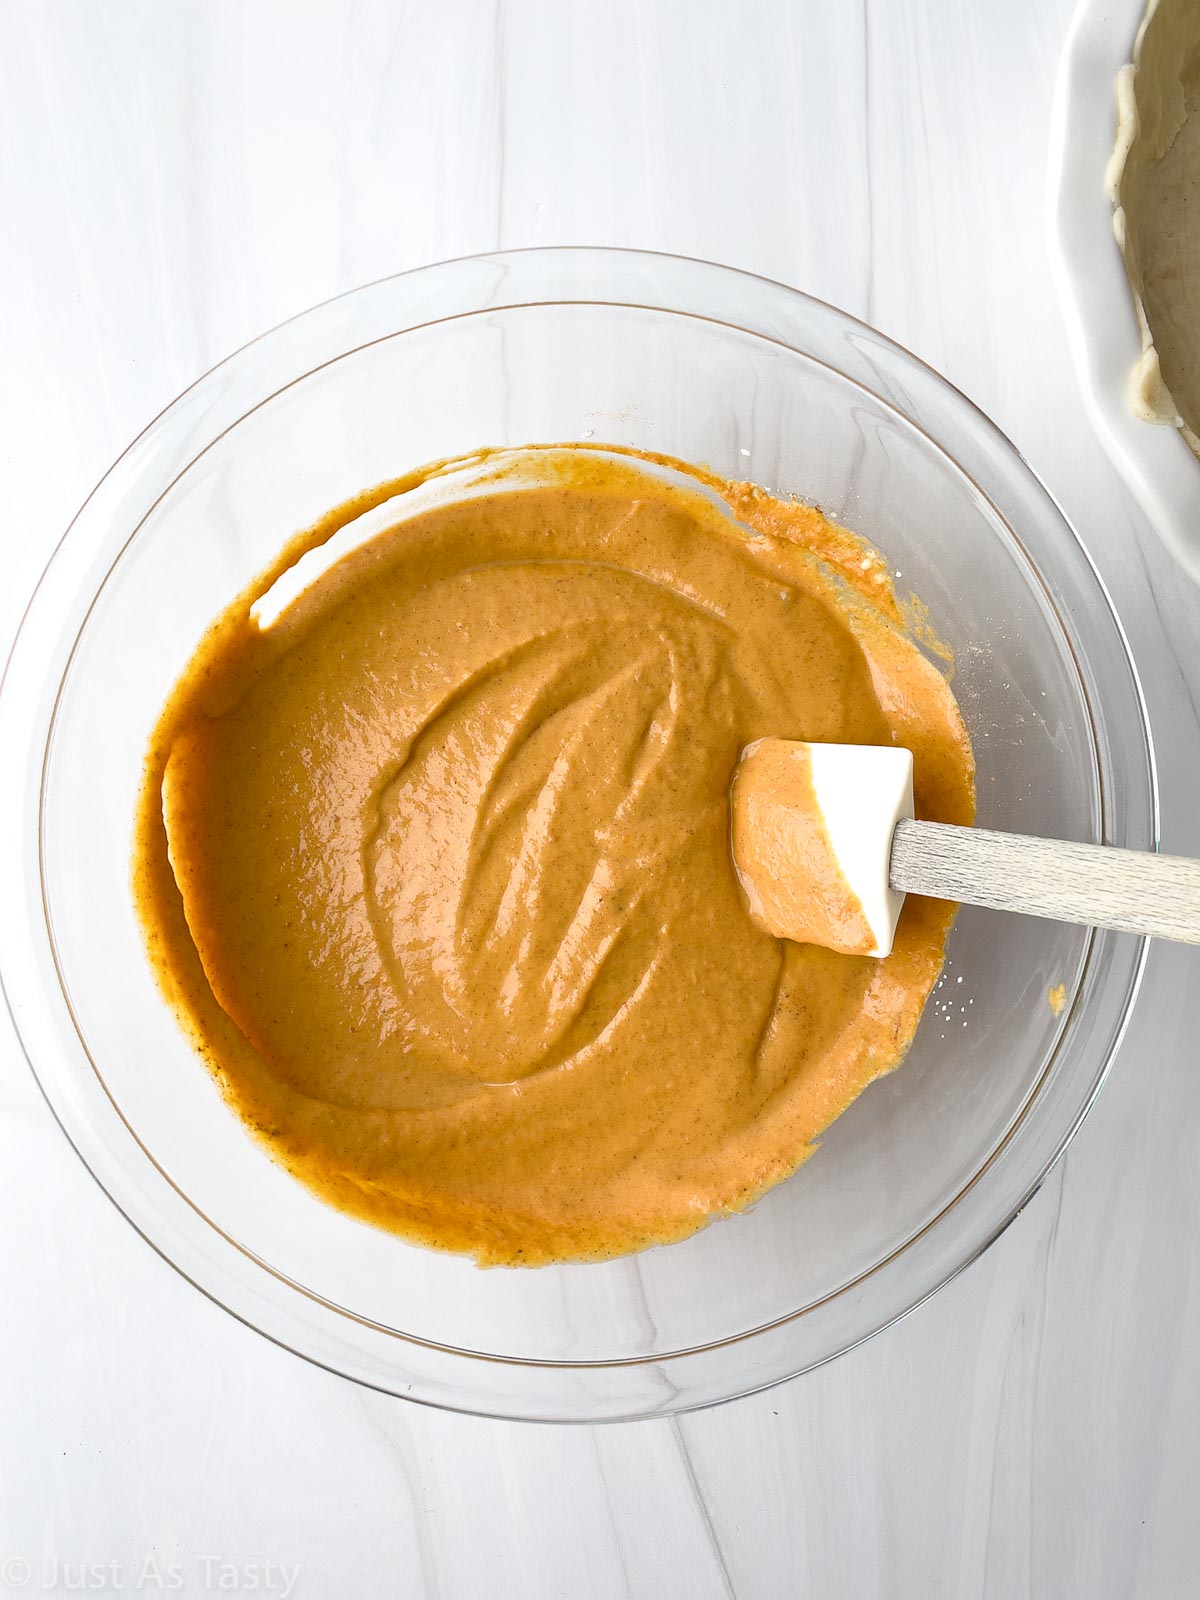
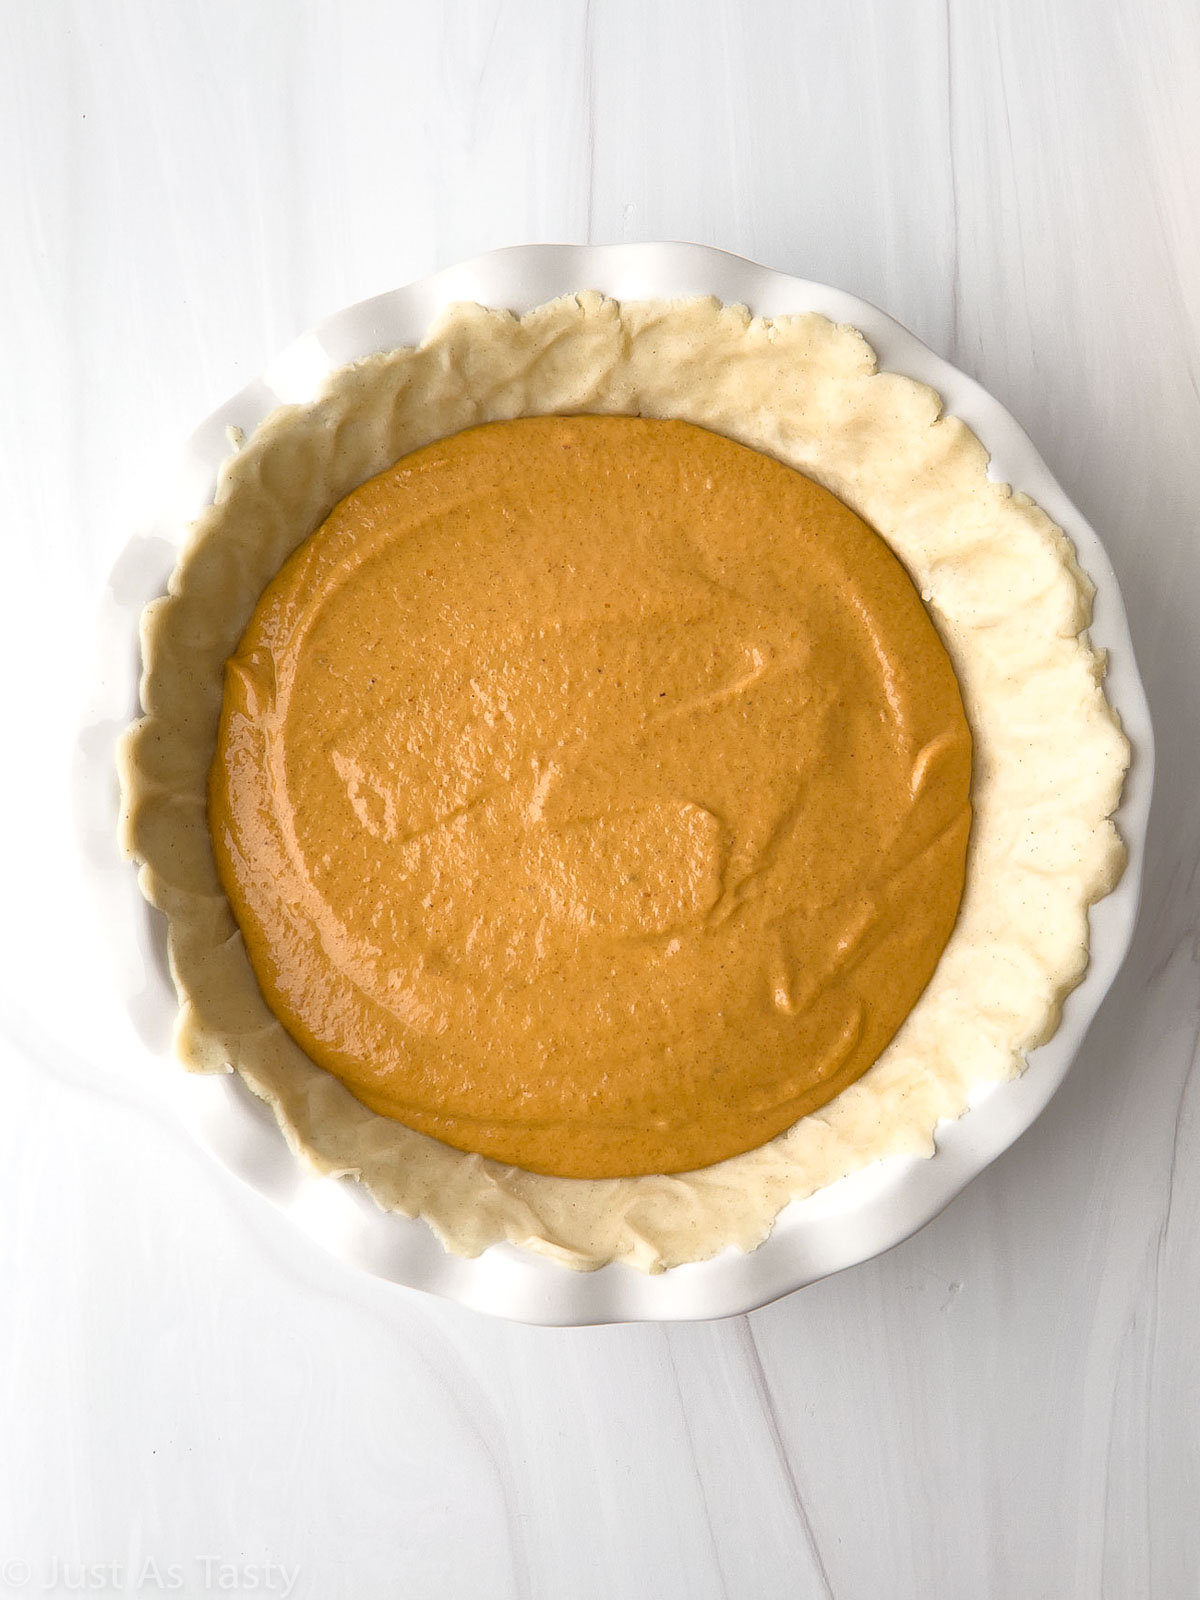
STEP FOUR: To make the filling, combine all ingredients and beat until incorporated.
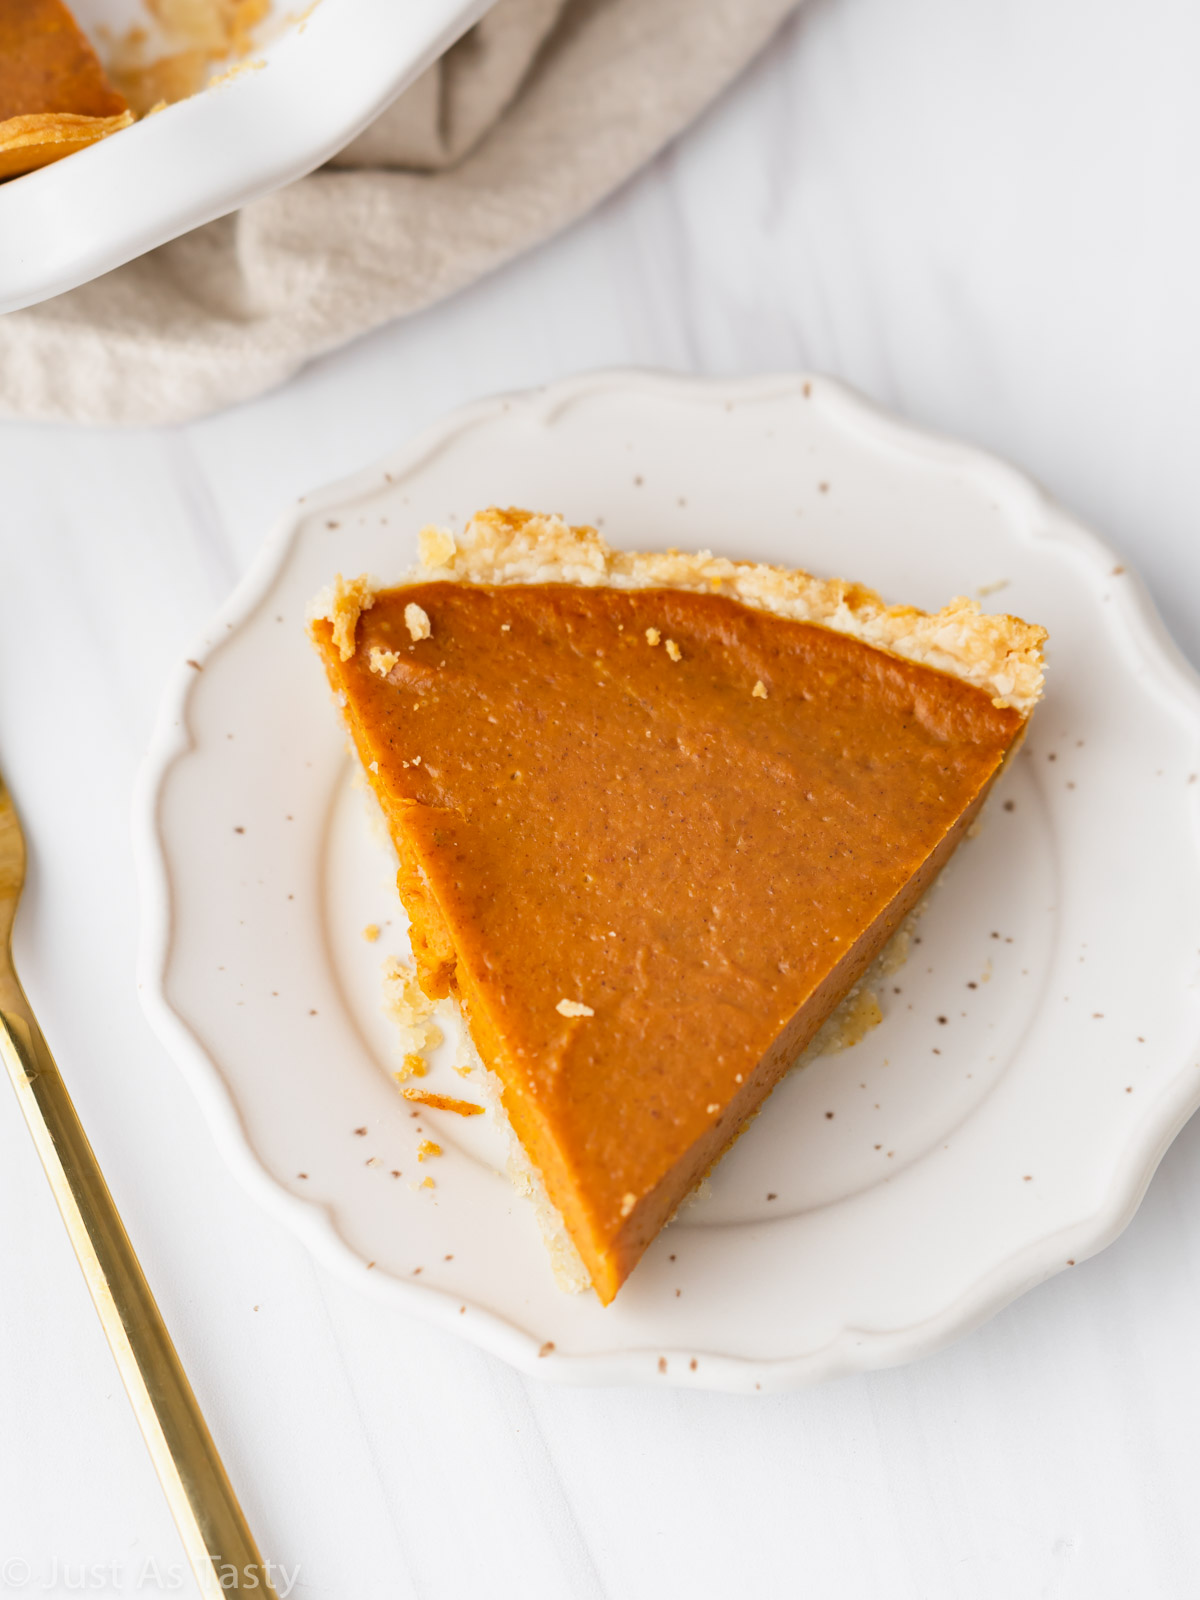
STEP FIVE: Pour the filling into the crust and bake first on 425ºF for 15 minutes then, without removing the pie from the oven, reduce to 350ºF and bake for 35 more minutes. The pie is done when the edges are set and the center still has a slight jiggle, similar to gelatin. It will continue to set as it cools.
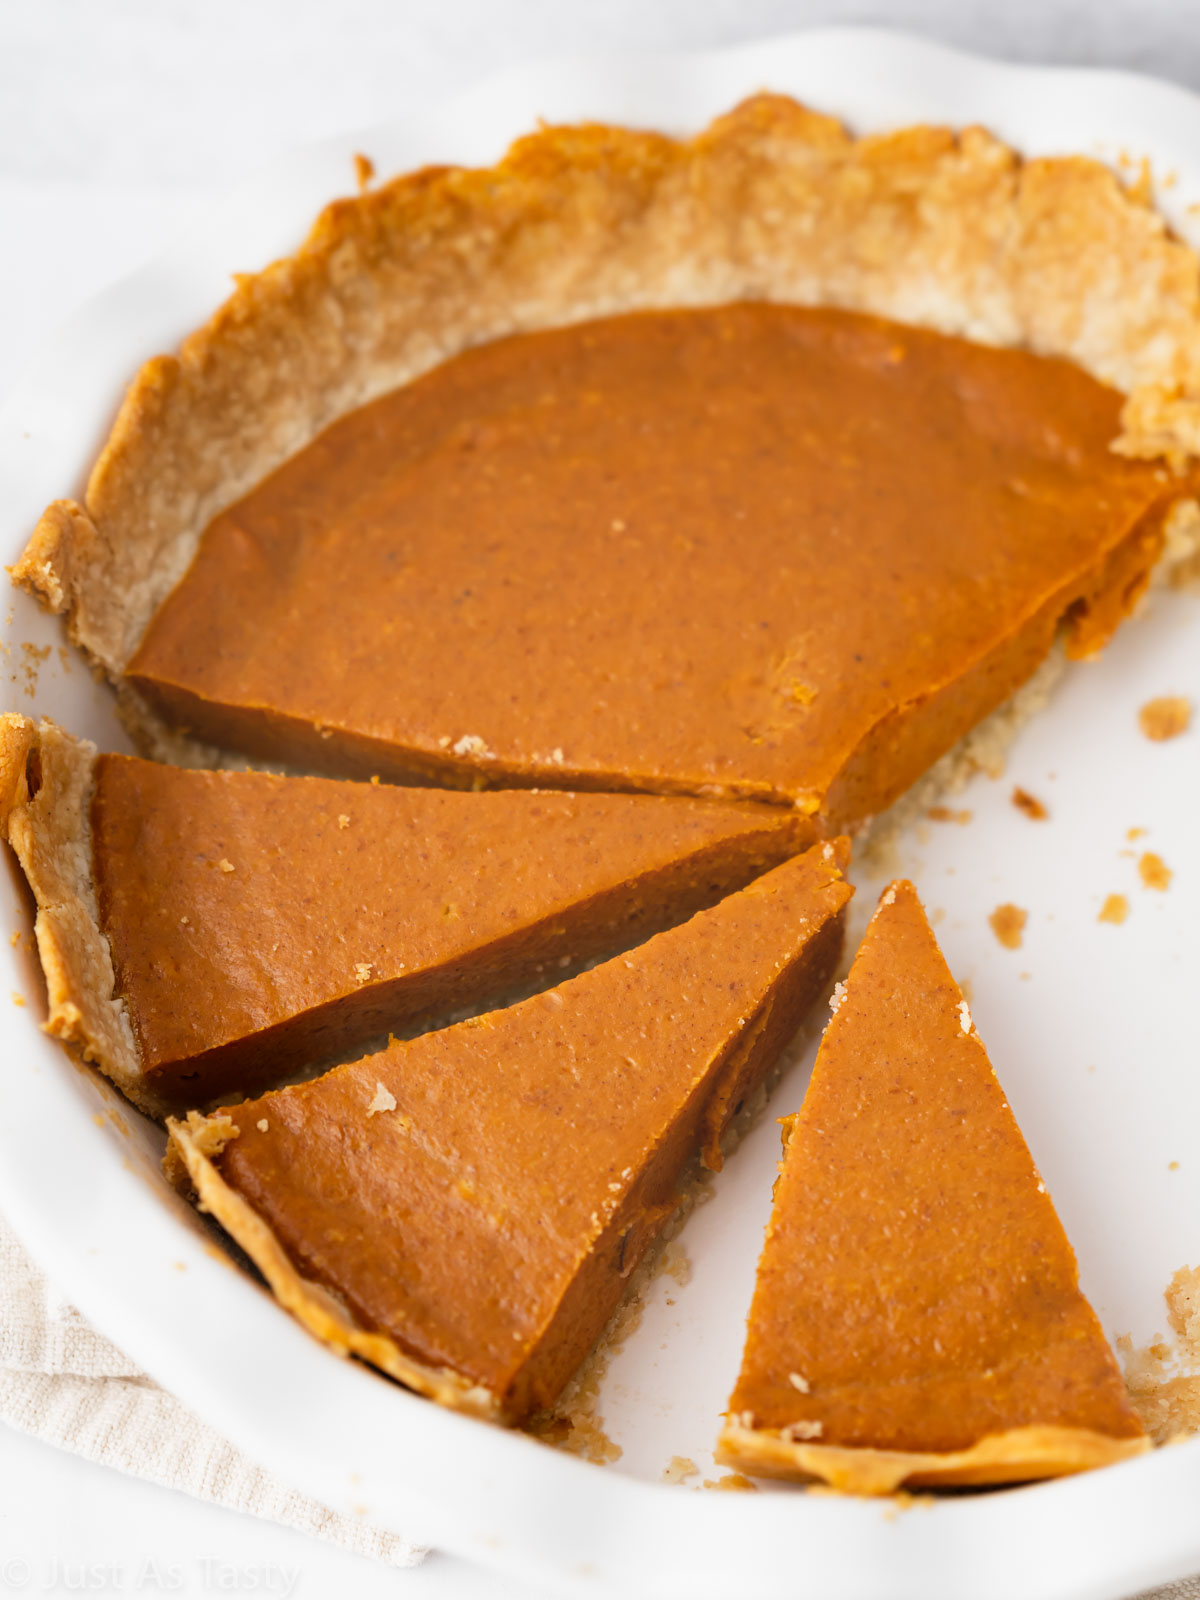
Cool the pie completely on a wire rack before refrigerating. Chilling for at least 4 hours (or overnight) gives the filling time to fully set and makes slicing much easier.
And that's it! Top with whipped cream before serving and you are good to go. Store the pie covered in the refrigerator for up to 4 days. For the best texture, serve chilled or let slices sit at room temperature for 10-15 minutes before serving. The pie also freezes well for up to one month.
Recommended Tools
- Pie plate: I like using glass or ceramic pie plates. No need to grease the pie plate before baking your pie.
- Pastry blender: A pastry blender makes cutting in the butter SO much easier.
- Pastry mat: I love using a pastry mat any time I need to roll out dough because it makes for an easy clean-up.
- Rolling pin: Any type of rolling pin will work, though I love the look of this marble one!
Expert Tips
- It's important to use cold butter and water when making the pie crust. For the same reason, it's also important not to over-work it when you are rolling it out, because the heat from your hands can warm up the dough. If you find that you are warming the dough up too much, pop it back into the refrigerator for 20 minutes.
- Speaking of the crust, you may want to take the dough out about 15 minutes before you're ready to start rolling, as it may be challenging to roll out when it's so cold.
- Once you transfer the crust into the pie plate, you can either trim the edges or crimp. It's totally up to you and the look you are going for!
- Don't overmix the filling, as overmixing can introduce excess air and lead to small cracks.
- If the edges of your crust brown too quickly, loosely cover them with foil during the final part of baking.
- Feel free to go with a graham cracker crust if that's your favorite. This recipe is flexible and either crust would be Just As Tasty!
- For the cleanest slices, wipe your knife clean between each cut.
If you love this recipe, you'll definitely want to check out my gluten-free fall dessert roundup for even more cozy pumpkin and apple ideas.
Frequently Asked Questions
If your dough is crumbly, add another tablespoon of water and mix to see if that helps. It's important to add the water gradually so that you do not accidentally add too much.
While I haven't done it myself, you can use fresh pumpkin if you'd like. You will have to roast or steam the pumpkin, then blend it into a smooth puree.
No. Sweetened condensed milk and evaporated milk are very different products. Sweetened condensed milk contains added sugar and creates the rich, creamy texture this recipe is designed for. Substituting evaporated milk will change both the sweetness and consistency.
Pumpkin pie usually cracks because it was baked a little too long or cooled too quickly. Remove the pie when the center still has a slight jiggle, then let it cool gradually at room temperature before refrigerating.
Yes. Because the filling contains pumpkin and dairy, the pie should be refrigerated after it has cooled completely. Store it covered in the refrigerator for up to four days.
Yes! The pie dough can be made ahead and frozen. I would just thaw it in the refrigerator overnight, and then make the filling the day you plan to bake.
Yes! Once completely cooled, wrap the pie tightly in plastic wrap followed by foil and freeze for up to one month. Thaw overnight in the refrigerator before serving.
The pie is done when a knife inserted into the center comes out clean. The edges will look set and the center will still have a slight jiggle.
Did you try my pumpkin pie with condensed milk? Leave me a comment below or tag me on Instagram @justastastyblog and #justastastyblog! And don't forget to subscribe to get new recipes directly in your inbox.
Related Recipes You Might Like
📖 Recipe
Pumpkin Pie With Condensed Milk
Ingredients
Pie Crust
- 1 ¼ cups (185g) flour* (I use Bob's Red Mill 1 to 1)
- 1 teaspoon granulated sugar
- ½ teaspoon fine sea salt
- ½ cup (113g) unsalted butter cold and cut into cubes
- 4-6 tablespoons ice cold water
Filling
- 15 ounces pumpkin puree
- 14 ounces sweetened condensed milk
- 2 tablespoons arrowroot
- 1 teaspoon pumpkin pie spice
- ½ teaspoon vanilla extract
Instructions
- In a large bowl, whisk the flour, sugar, and salt together. Add the cubes of butter and use a pastry blender (or two forks) to cut the butter in until it's incorporated and the mixture is coarse, with pea sized pieces of butter throughout.1 ¼ cups (185g) flour*, 1 teaspoon granulated sugar, ½ teaspoon fine sea salt, ½ cup (113g) unsalted butter
- Add the ice water, one tablespoon at a time, and mix until dough just comes together when pressed. Use your hands to form into a round disc. Wrap in plastic wrap and chill in the refrigerator for 2 hours.4-6 tablespoons ice cold water
- Preheat the oven to 425°F. Remove the pie dough from the refrigerator. On a lightly floured surface, roll the dough out to a 12-inch circle. Transfer to a glass pie plate and crimp or trim the edges.15 ounces pumpkin puree, 14 ounces sweetened condensed milk, 2 tablespoons arrowroot, 1 teaspoon pumpkin pie spice, ½ teaspoon vanilla extract
- To make the filling, use a hand mixer or a stand mixer fitted with the paddle attachment to beat the pumpkin, condensed milk, arrowroot, pumpkin pie spice, and vanilla until well combined. Transfer to the pie crust.
- Bake for 15 minutes. Then, without removing the pie from the oven, reduce the temperature to 350°F and continue to bake for 35-40 minutes, or until a knife inserted into the center of the pie comes out clean.
Notes
- I use Bob's Red Mill 1 to 1 flour to make this pie gluten free. Otherwise, you can use AP flour.
- If the pie dough is too crumbly, add more water, one tablespoon at a time.
- Cornstarch may be substituted for the arrowroot.

Pat says
This pumpkin pie turned out really delicious!
Taleen Benson says
I'm so glad to hear that!