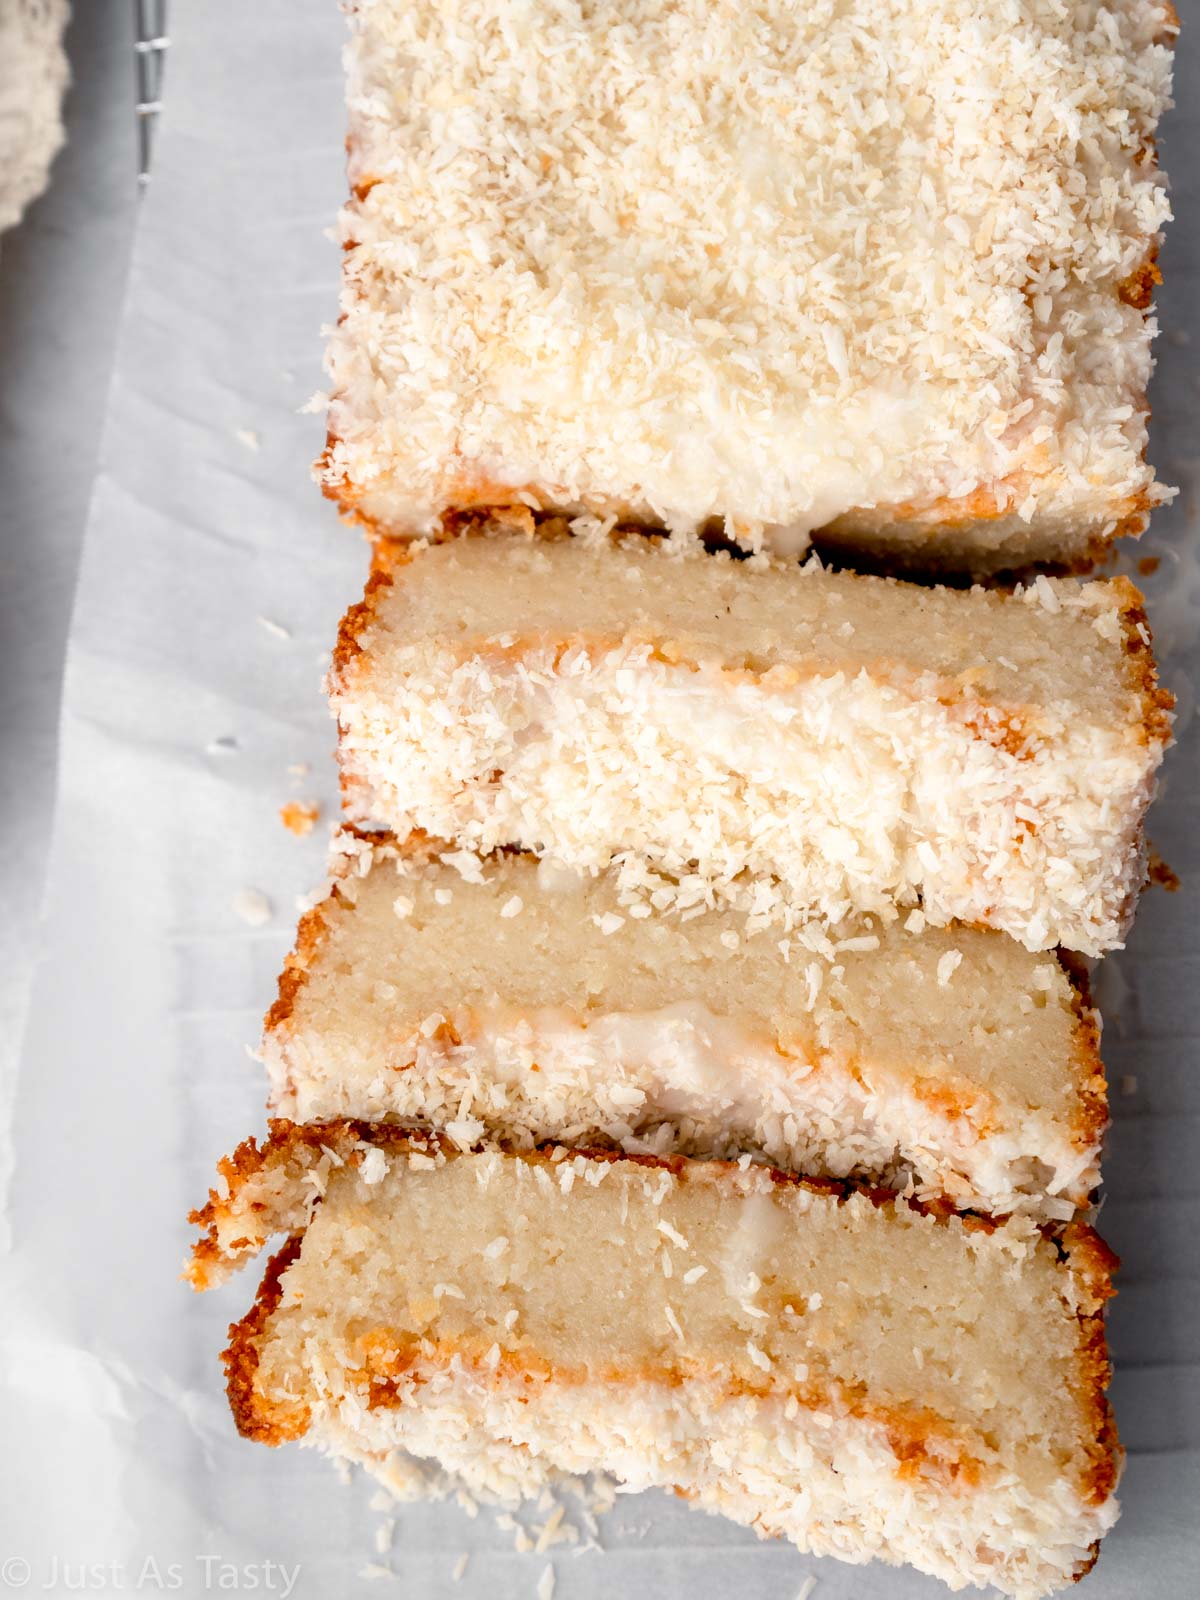
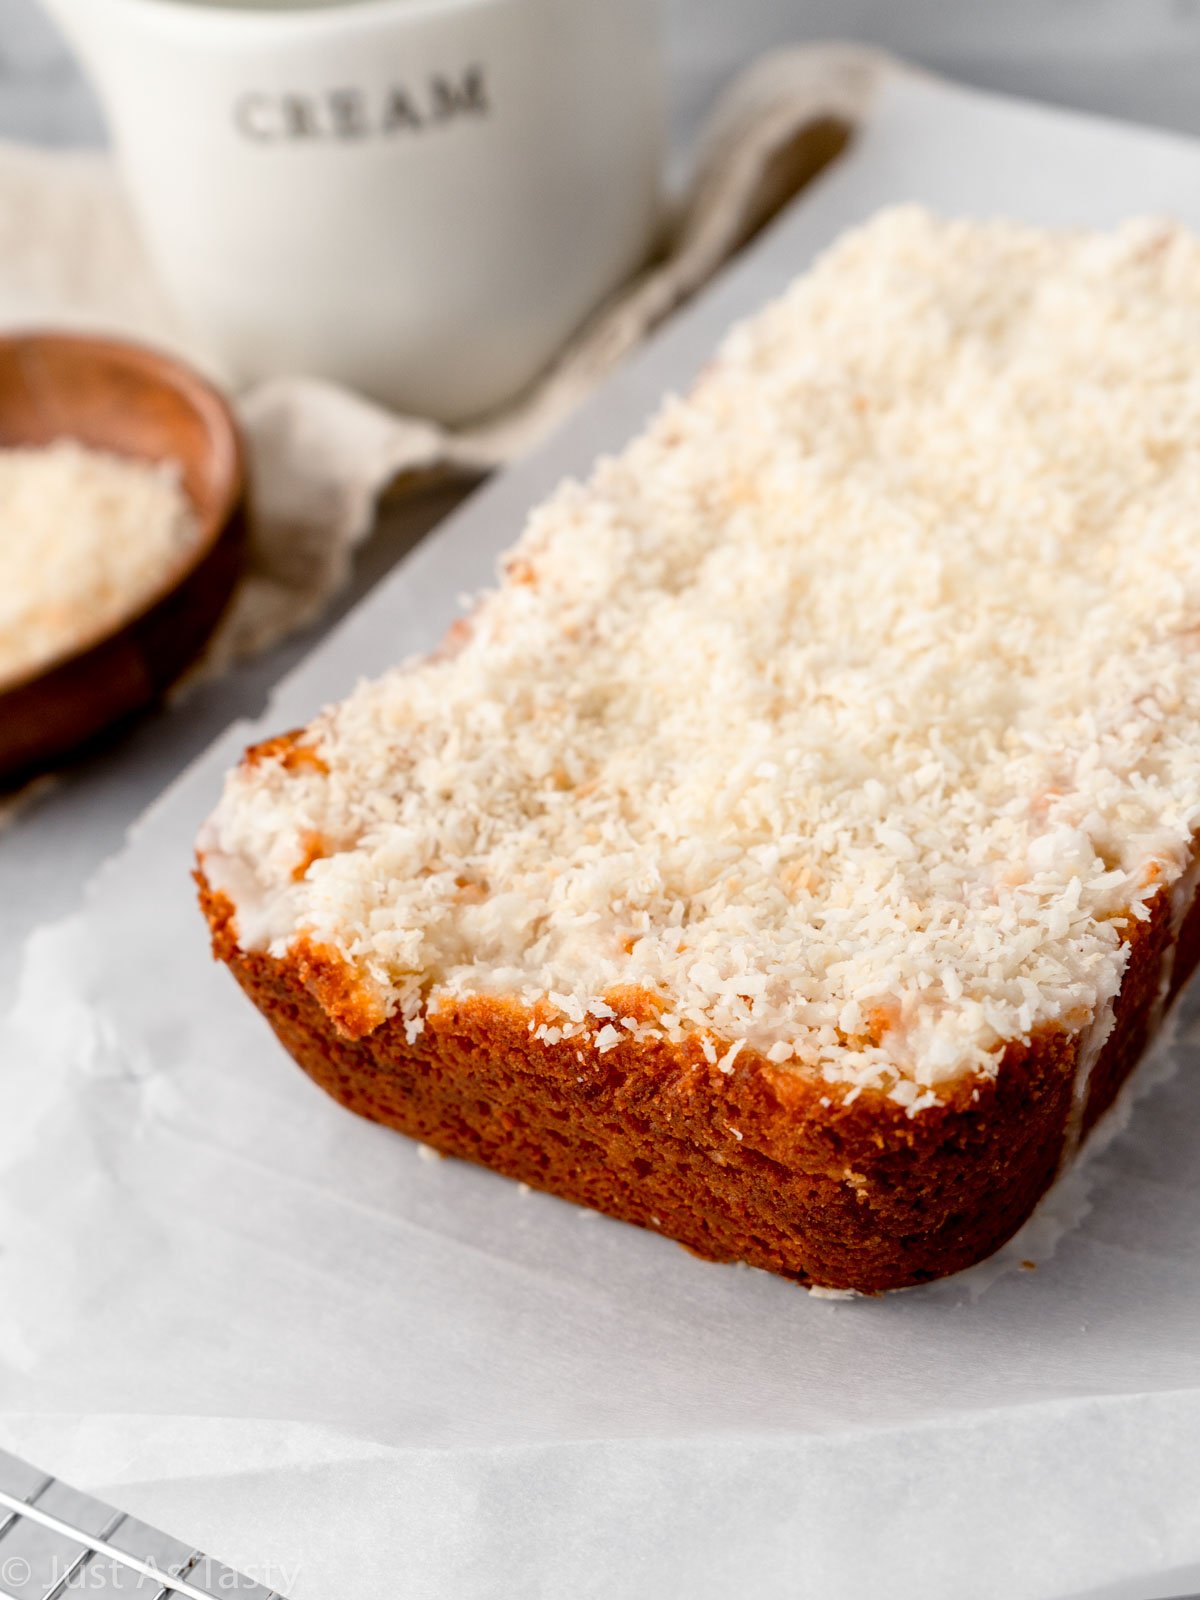
This is hands down the best gluten free coconut cake! This coconut pound cake is super moist thanks to the buttermilk, and beyond easy to make. The two-ingredient icing and toasted coconut on top is the perfect finishing touch.
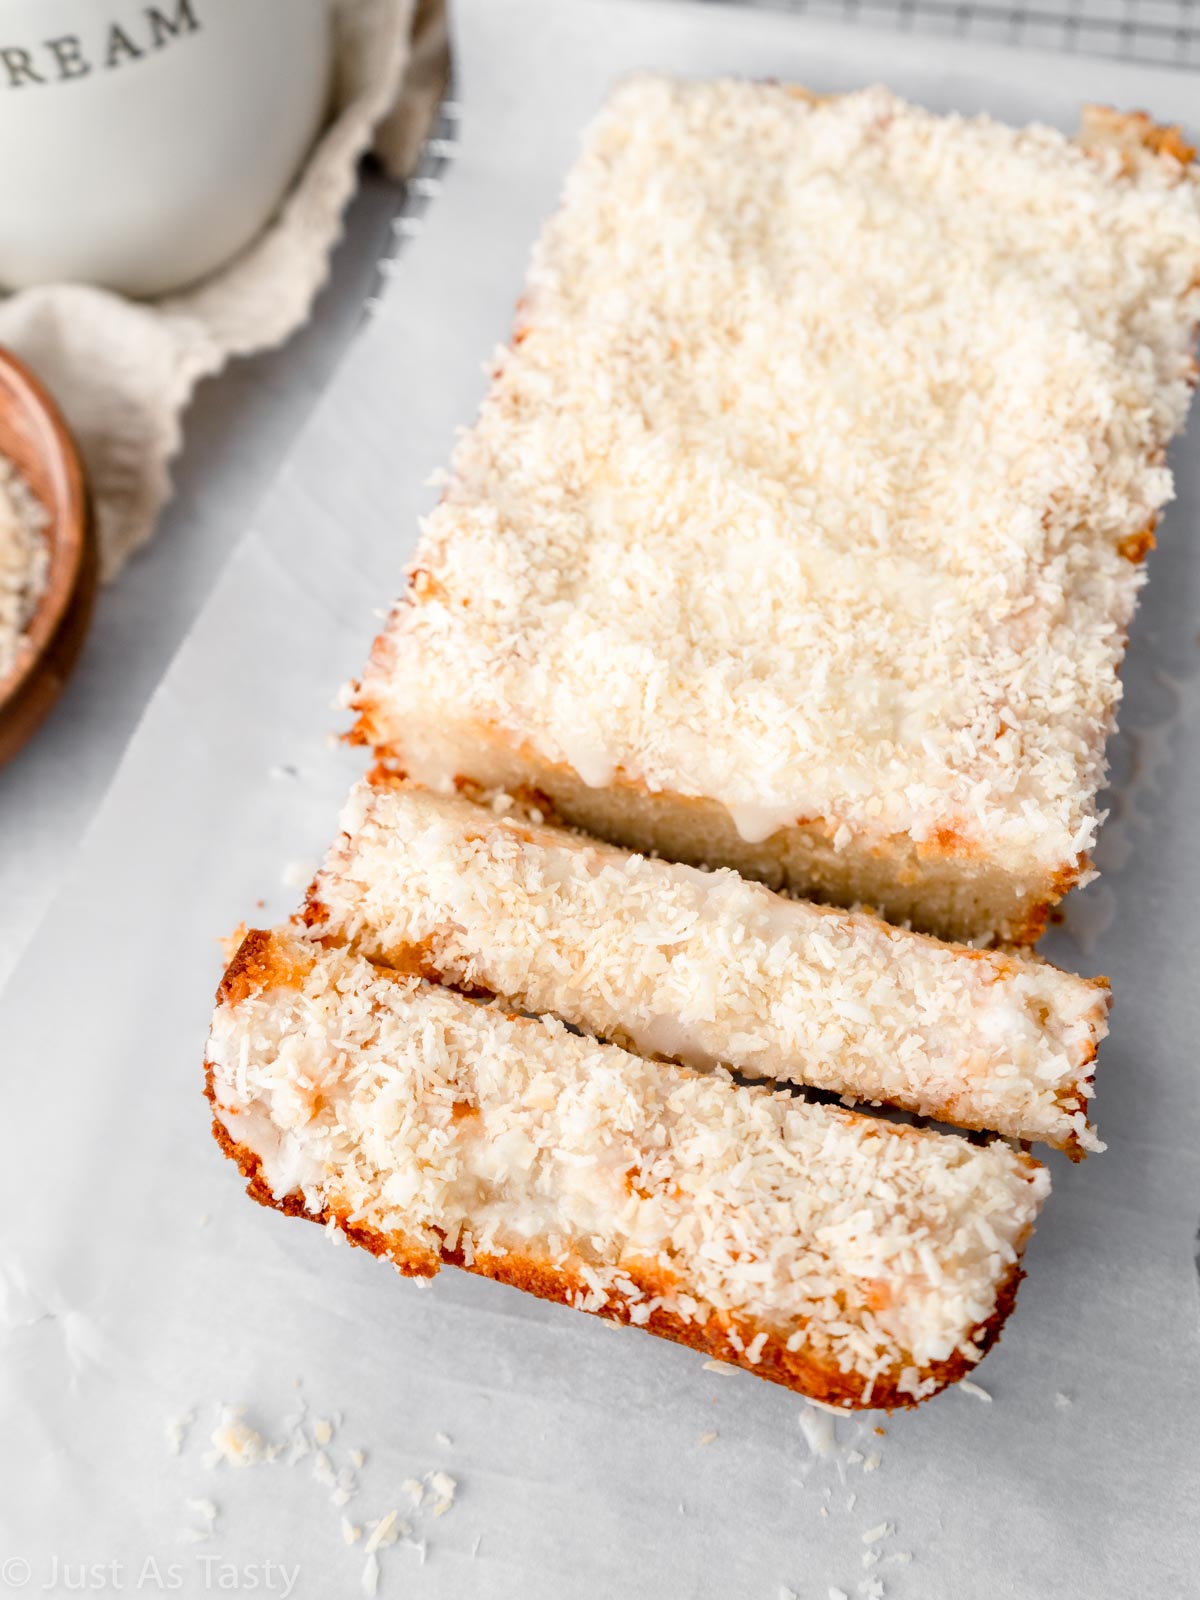
Let me start by saying, my husband is SO not a fan of coconut in his dessert, yet he gladly came back for seconds and thirds of this pound cake. That should tell you all you need to know.
When I set out to develop this recipe, I knew I wanted to make a coconut pound cake simply because I LOVE all sorts of pound cake! Pound cake typically calls for just a few ingredients and is more dense than fluffy.
If you're looking for more gluten free pound cake recipes, check out my vanilla pound cake and my chocolate chip pound cake, too!
This particular coconut pound cake is made in a loaf pan and involves mixing shredded coconut into the batter AND topping the finished cake off with even more coconut.
While coconut cakes are often topped with cream cheese frosting, I opted for a super simple glaze on top to really let the flavors of the cake shine through.
Jump to:
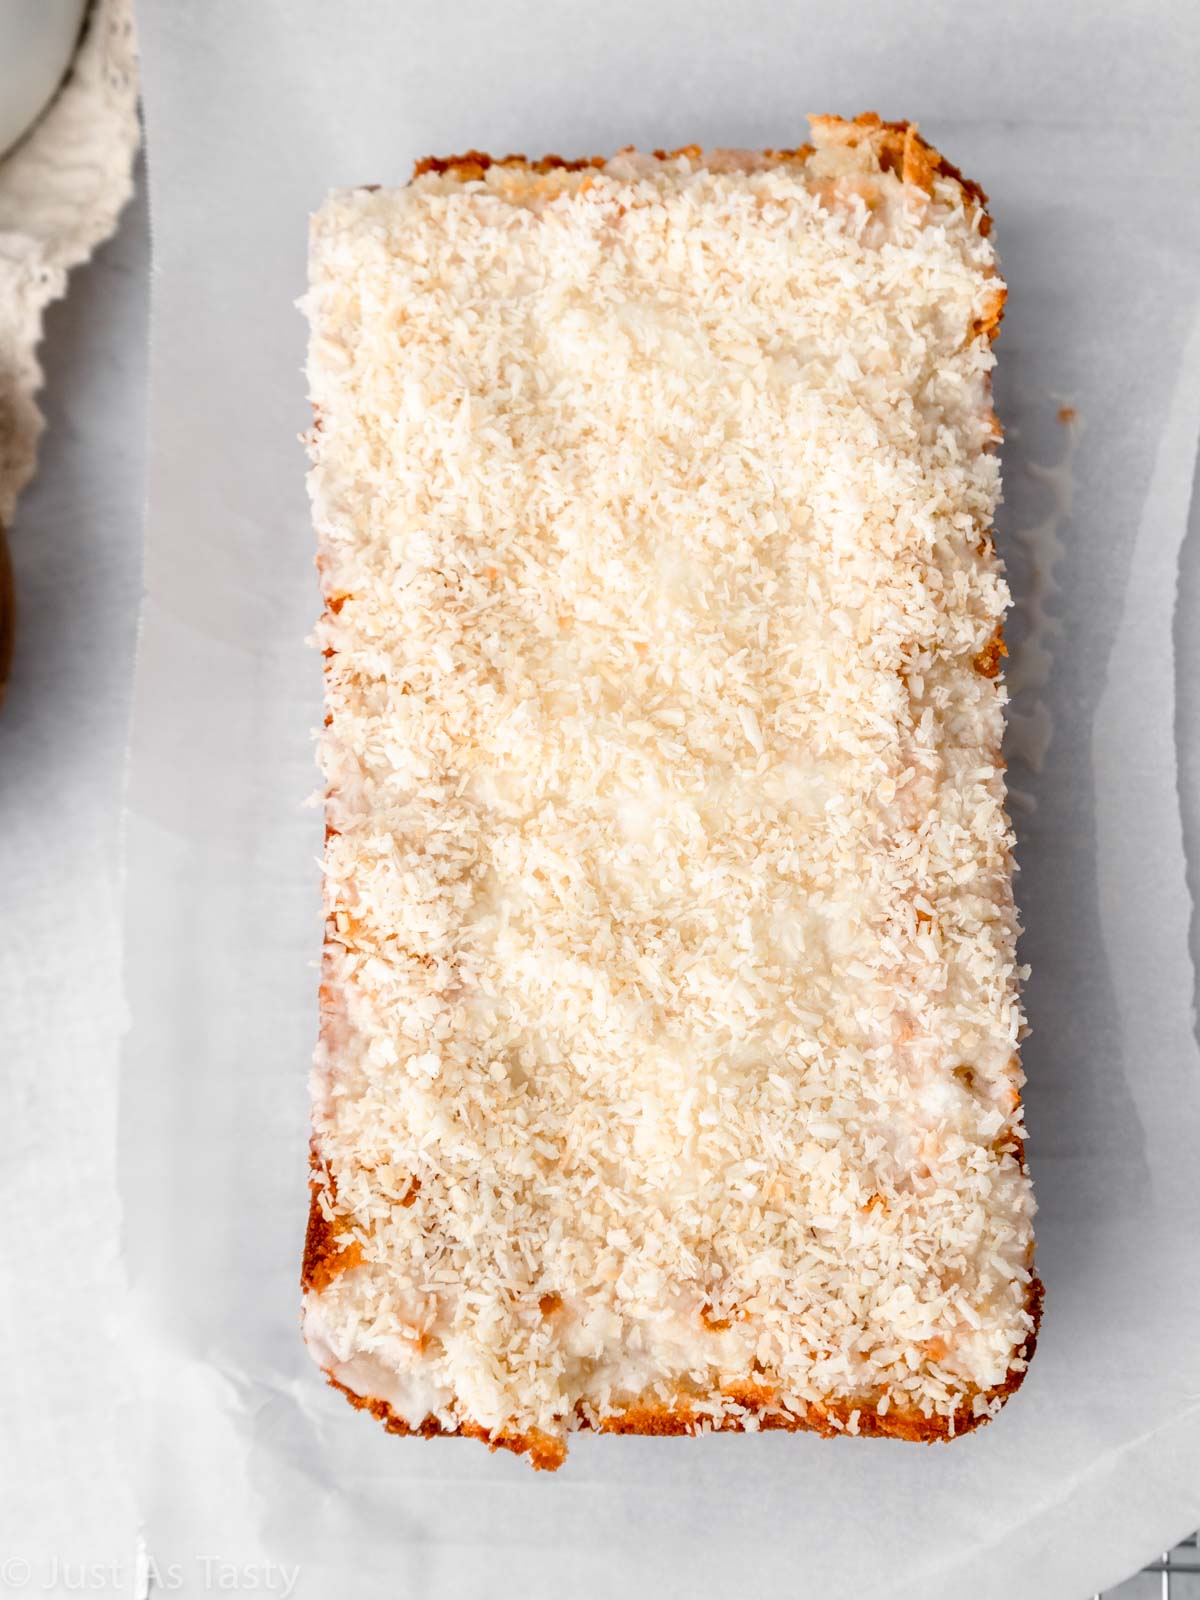
Why You'll Love This Recipe
- The flavor is just SO good. That's why I'm calling this the BEST coconut pound cake! It's sweet without being cloying, and there's just enough coconut flavor without being overpowering.
- This cake is perfectly moist due to the buttermilk and yogurt. Even though it's a dense cake (which is how I like my pound cakes), it's not dry whatsoever.
- It's such an easy recipe! The whole process will take you no time at all. The two-ingredient icing is the perfect finishing touch.
Ingredient Notes and Substitutions
- Gluten free flour blend: My favorite flour is Bob's Red Mill 1 to 1 Flour. This is the flour I use for practically all of my recipes (unless otherwise noted). You can use any gluten free blend you like, as long as it contains xanthan gum. You cannot substitute almond flour or any other nut flour.
- Plain Greek yogurt: I love using Greek yogurt for added moisture and as an egg substitute. You can use 0% or 2% yogurt. I tend to alternate and have never noticed a difference.
- Buttermilk: I used low-fat buttermilk in this recipe and it was perfect! I know it can be hard to find full-fat buttermilk sometimes, so either one will work here.
- Unsweetened shredded coconut: You will want to make sure you're using unsweetened coconut. The sweetened flakes have added sugar and would just be too sweet in this cake.
Step-by-Step Instructions
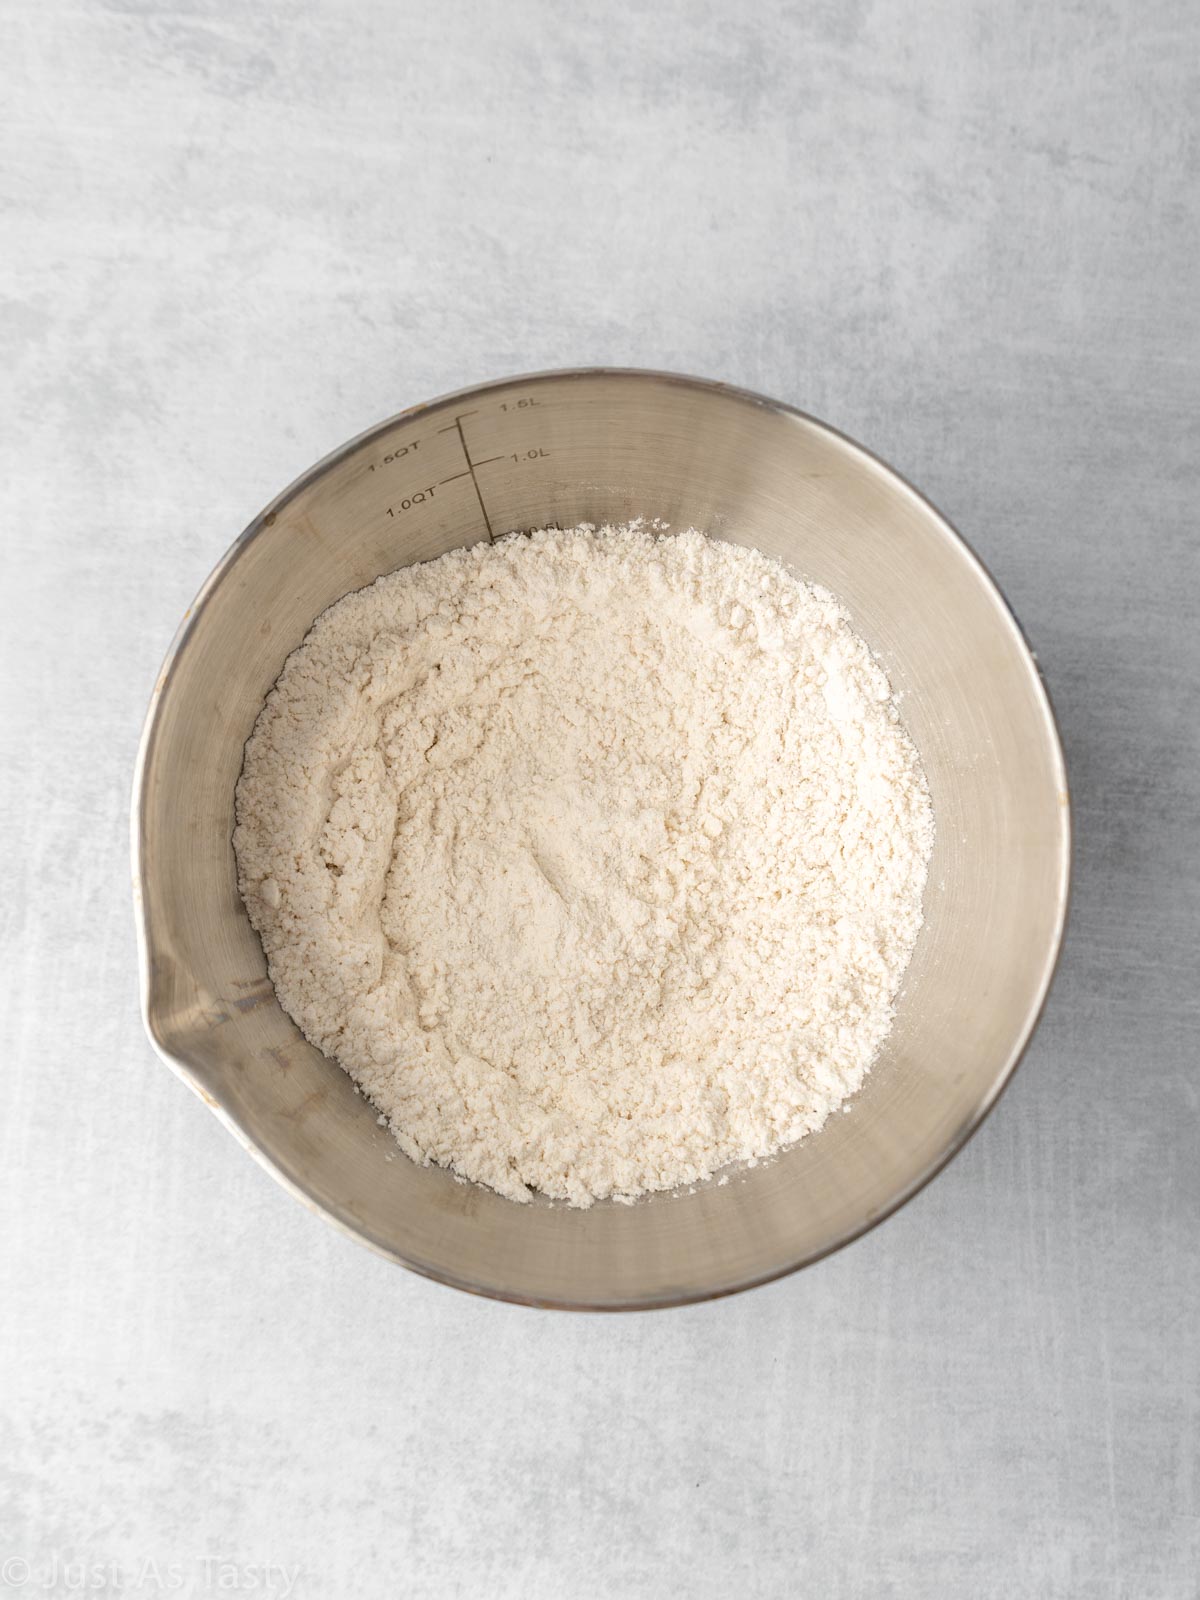
STEP ONE: Mix the dry ingredients. In a medium bowl, whisk the flour, baking powder, and salt together.
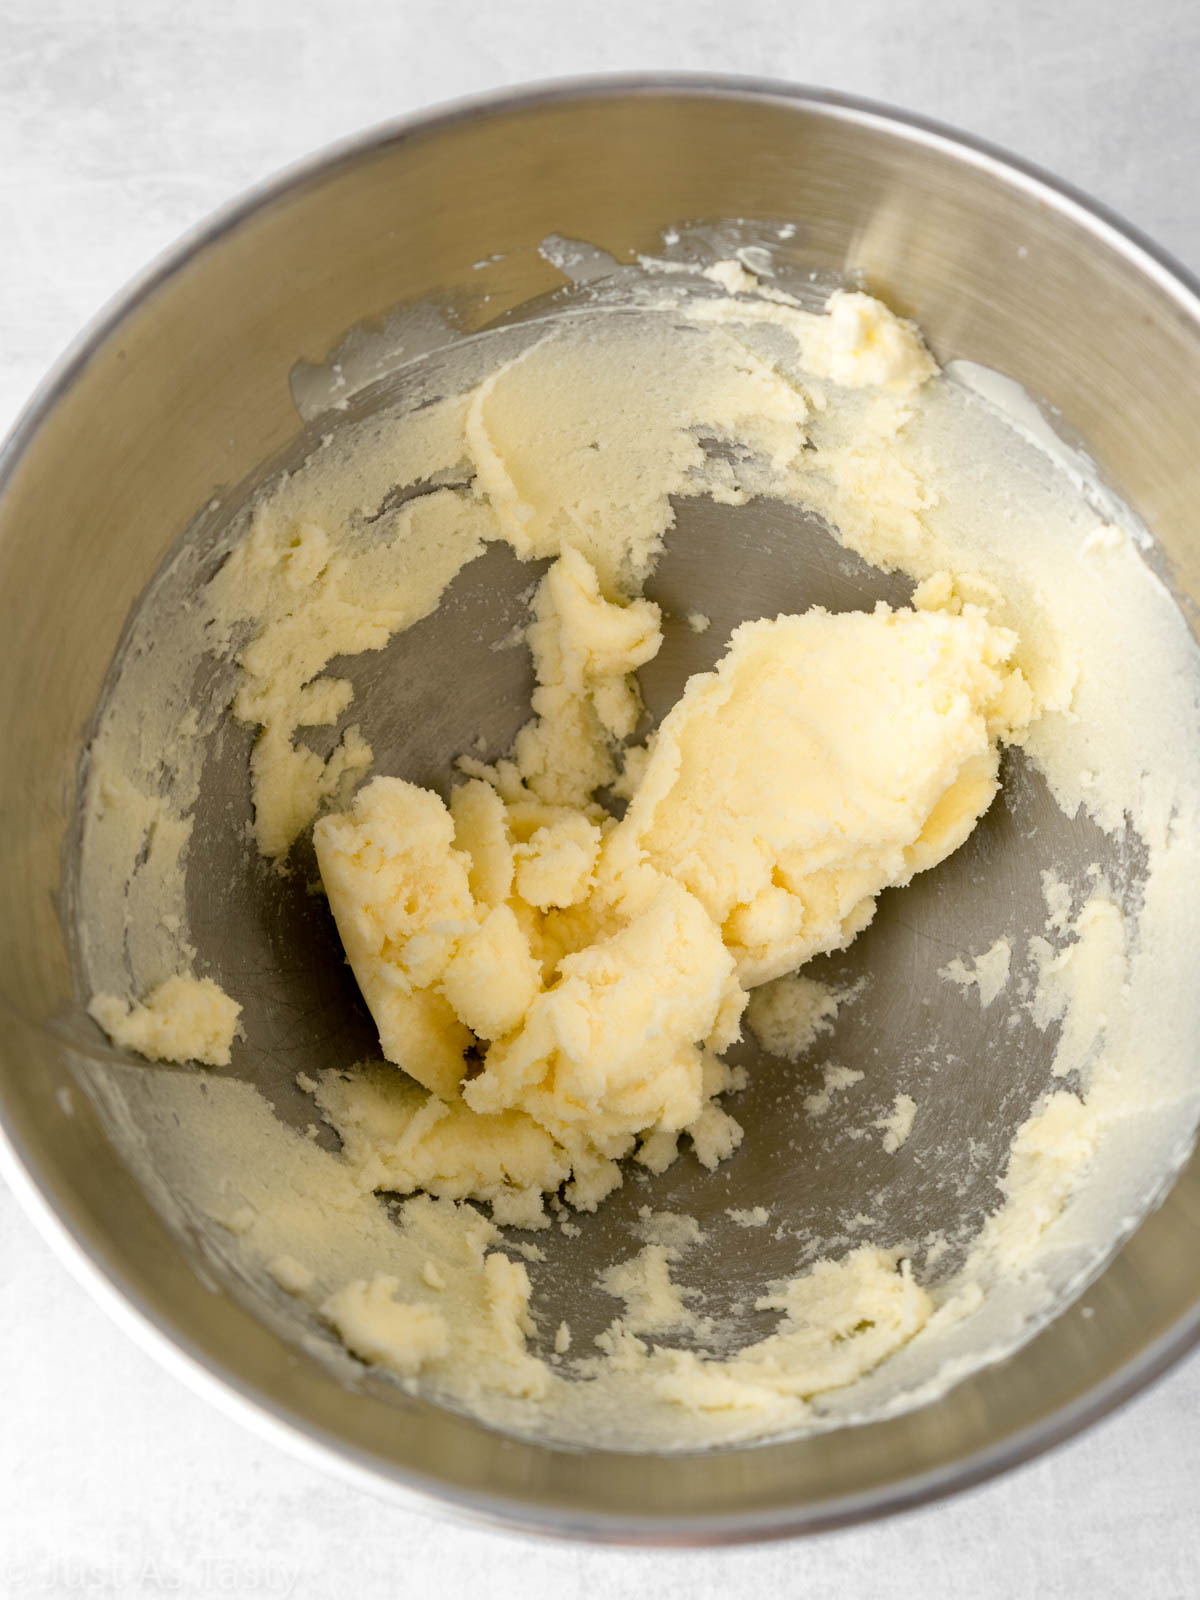
STEP TWO: Cream the butter and sugar. Use an electric mixer to cream the butter and sugar until it's smooth and lighter in color.
STEP THREE: Add the yogurt and vanilla extract.
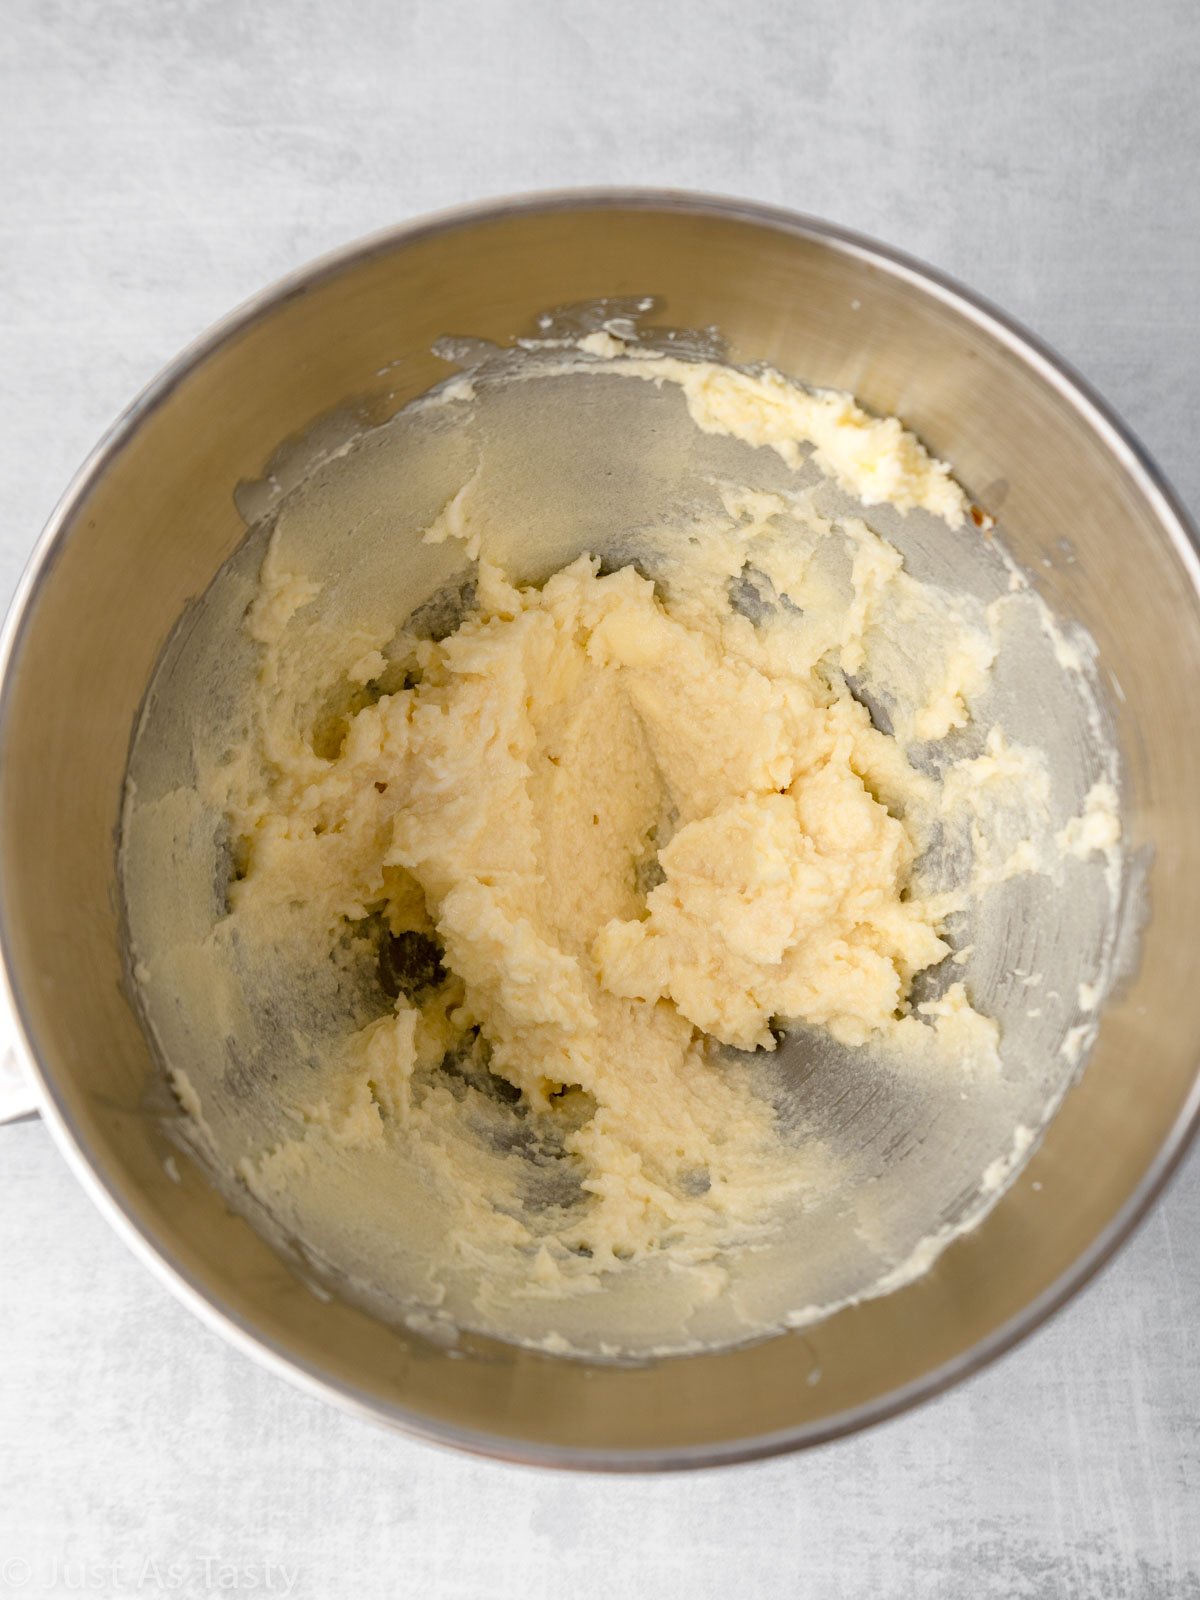
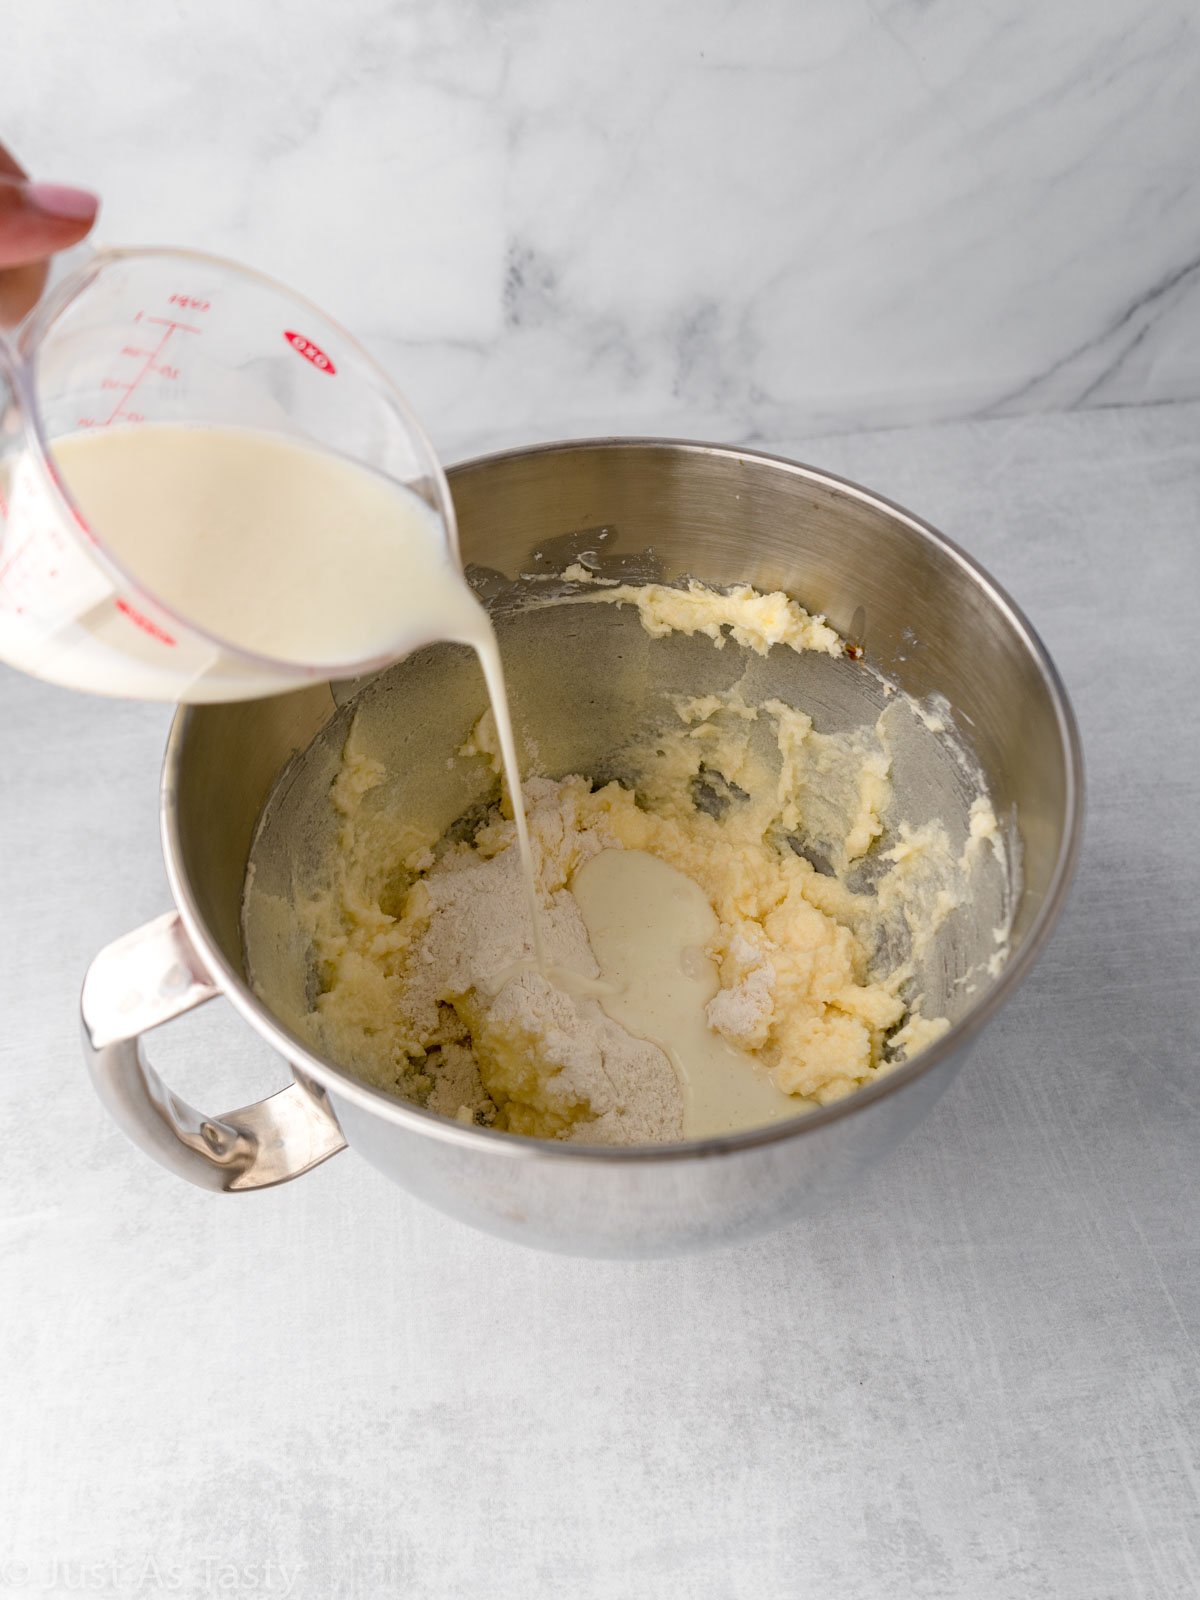
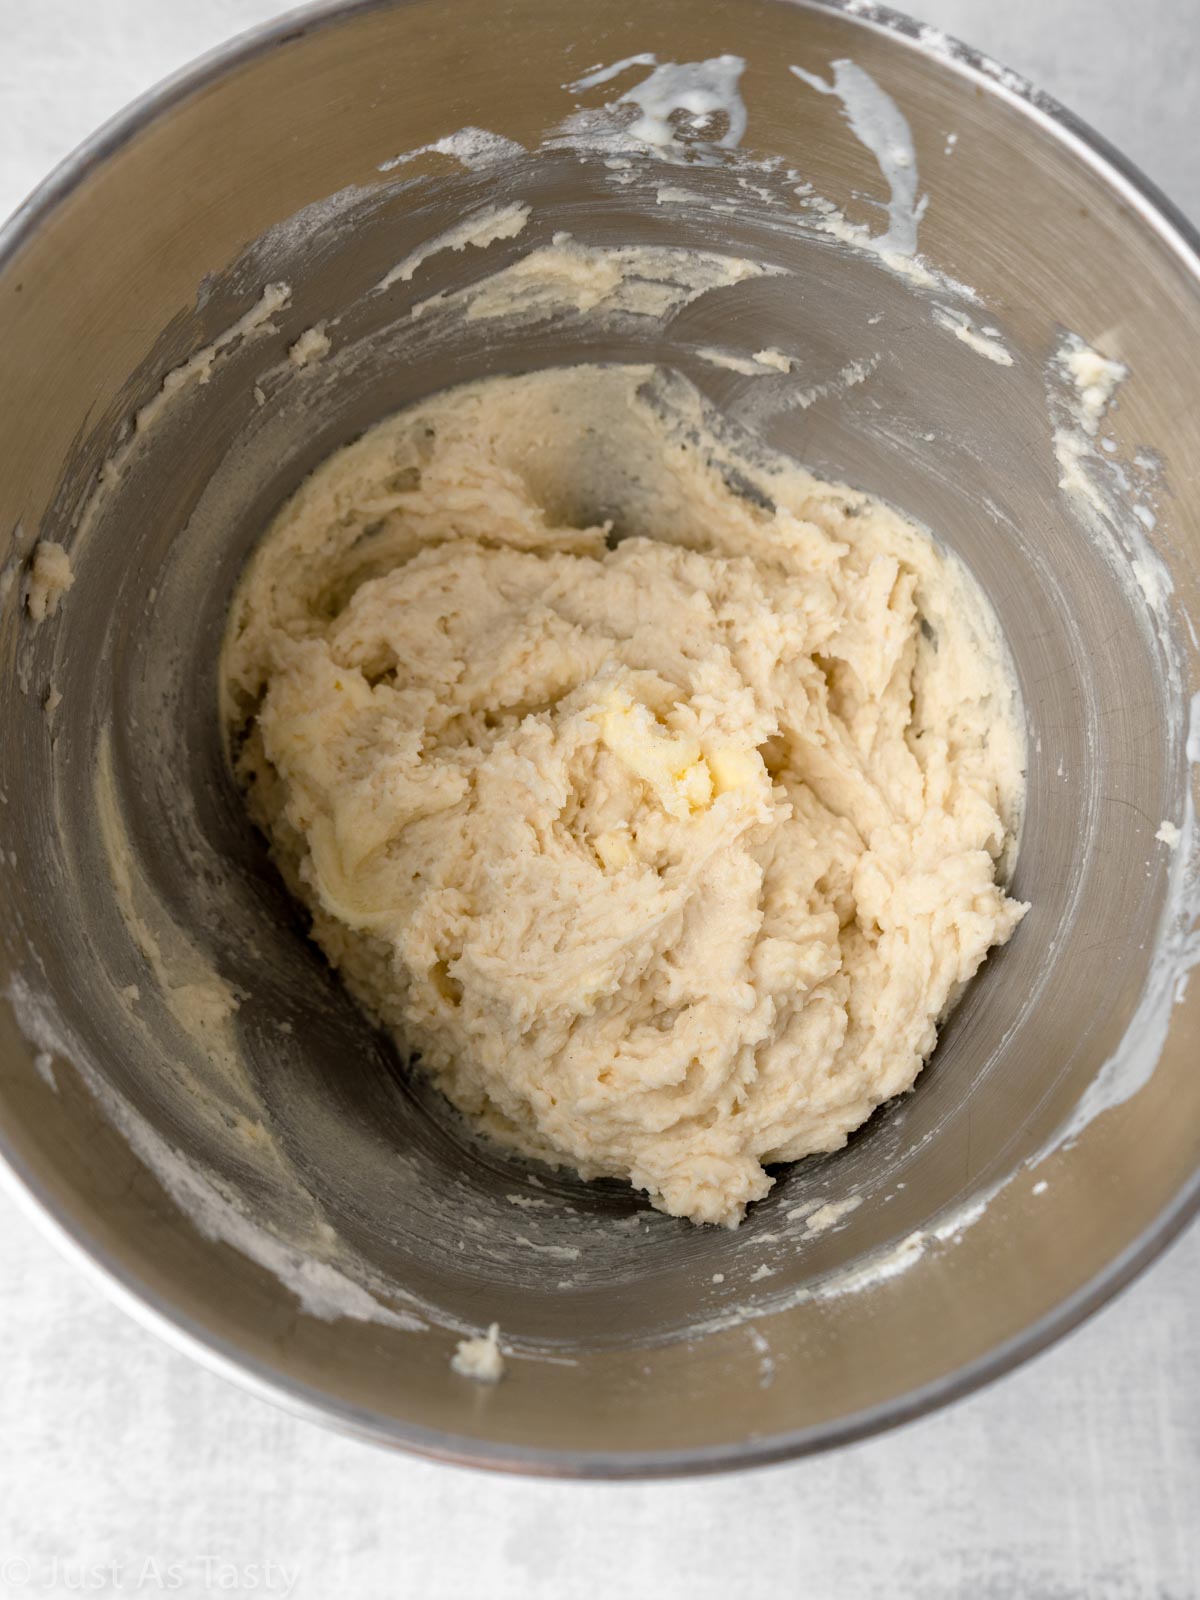
STEP FOUR: Add the dry ingredients with the buttermilk. You're going to add the flour mixture in thirds, alternating with the buttermilk. Start and end with the flour mixture, and beat very briefly after each addition to incorporate.
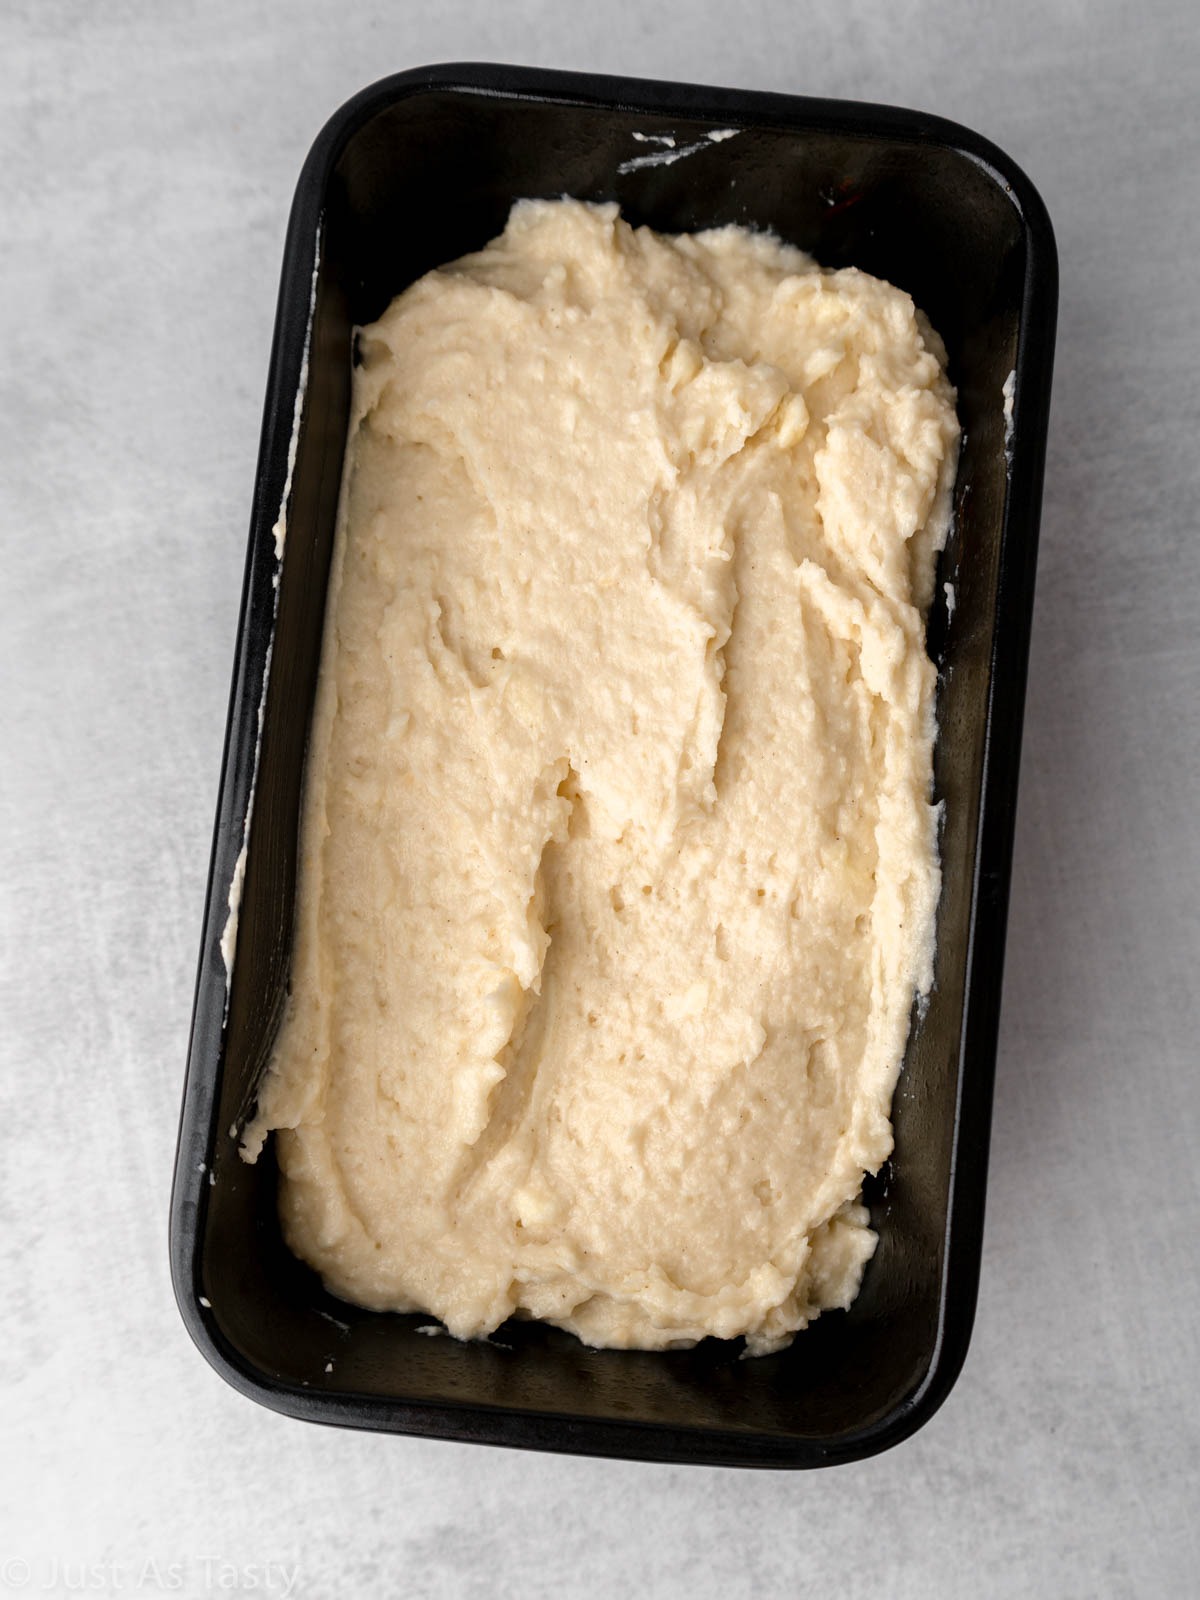
STEP FIVE: Bake. Transfer the cake batter (it'll be thick) to a greased loaf pan and bake on 350ºF for 60-65 minutes.
STEP SIX: Make the icing. Stir the powdered sugar with the buttermilk until you have the consistency you want. Spread or drizzle over the cooled cake. Add the toasted coconut on top and voila! This cake is ready to be proudly displayed on a cake stand or serving plate.
Expert Tips
- One of my top baking tips is to weigh your flour using a scale. This is especially important in gluten free baking, because you want to be accurate. Too much flour will really change the texture of the cake. We'll need 222 grams for this recipe.
- The recommended bake time is 60-65 minutes, but I recommend checking in around the 60-minute mark, just because all ovens are different. Use a toothpick to test if the coconut pound cake is done. If the toothpick comes out clean, you're good to go!
- When making your icing, you want to add the buttermilk one tablespoon at a time. The reason we're doing it gradually is because you're assessing how thin the glaze is. It's entirely up to you how thin you want to make it, but I find that 2 tablespoons of buttermilk to 1 cup of powdered sugar is perfect. If you accidentally thin the icing out with too much buttermilk, just add a bit more powdered sugar.
- I will be honest and tell you that I don't sift my powdered sugar for this glaze, and it works out just fine. If your powdered sugar is particularly clumpy, you might want to.
How To Toast Coconut
Did you know you can toast the shredded coconut in the microwave? It's true! In a pinch, you can spread the coconut out in a single layer on a microwave-safe dish. Microwave in 30 second intervals, stopping to stir after each interval, until the coconut is toasted.
Alternately, you can toast coconut in the oven. Spread a single layer on a lined baking sheet and bake for about 5 minutes on 325ºF.
Frequently Asked Questions
I'm unsure if this cake can be made dairy free, because you would need to substitute the butter, yogurt, and buttermilk.
Yes! If you don't have buttermilk on hand, you can make your own. Mix ¾ cup of milk with 2 ¼ teaspoons white vinegar. Let the mixture sit for about 5 minutes before using.
I have not tested this and am unsure how it would turn out.
I would not recommend sweetened coconut in this recipe.
Yes, if you happen to have coconut extract on hand, feel free to add ¼ teaspoon to the cake batter for added coconut flavor.
Yes! To freeze this cake, wrap tightly in plastic wrap and store for up to 3 months. I recommend freezing without the icing and making the icing fresh before serving, but you should be able to freeze the iced cake.
How To Store
Once the cake is glazed, it's best to store in an airtight container in the refrigerator. The cake should keep in the refrigerator for up to 4 days. If for some reason you opt not to add the icing to the cake, you can store the cake in an airtight container at room temperature.
Did you try my gluten free coconut cake? Leave me a comment below or tag me on Instagram @justastastyblog and #justastastyblog! And don't forget to subscribe to get new recipes directly in your inbox.
📖 Recipe
The BEST Gluten Free Coconut Cake
Ingredients
- 1 ½ cups (222g) gluten free flour blend
- 2 teaspoons baking powder
- ½ teaspoon fine sea salt
- 1 cup (227g) unsalted butter room temperature
- 1 cup (200g) granulated sugar
- ¾ cup (170g) Greek yogurt room temperature
- ½ teaspoon vanilla extract
- ¾ cup (180ml) buttermilk room temperature
- ½ cup (25g) unsweetened shredded coconut
For the glaze:
- 1 cup (120g) powdered sugar
- 2-3 tablespoons buttermilk
- ⅔ cup (30g) unsweetened shredded coconut toasted
Instructions
- Preheat the oven to 350°F. Grease a 9x5" loaf pan and set aside.
- In a medium bowl, whisk the flour, baking powder, and salt together. Set aside.
- Using a hand mixer or a stand mixer fitted with the paddle attachment, cream the butter with the sugar until smooth. Add the Greek yogurt and vanilla and beat to combine. Add the dry ingredients in thirds, alternating with the buttermilk and beating briefly after each addition to incorporate. Be sure to start and end with the dry ingredients. Beat until combined. Fold in the coconut.
- Transfer the batter to the prepared baking pan. Bake for 60-65 minutes, or until a toothpick inserted into the center of the cake comes out clean. Allow the cake to cool in the pan for 15 minutes, then transfer to a wire cooling rack to cool completely.
- To make the glaze, add the buttermilk to the powdered sugar, one tablespoon at a time, until desired consistency is achieved. Spread or drizzle over the cooled cake, then top with toasted coconut.
Notes
- To toast the shredded coconut in the microwave, spread in a single layer in a microwave-safe dish. Microwave in 30 second intervals, removing and stirring after each interval, until coconut is toasted.

Dina says
Can I make this a round cake instead? I have a few 8 inch round pans that I want to use to make a 2 or 3 layered cake instead. How would you adjust the baking temperature and time?
Taleen Benson says
I haven't tried it myself, so I'm not 100% sure. I know an 8 inch round pan typically holds 6 cups of batter while this type of loaf pan typically holds 8 cups. You can try scaling this recipe up by 1.5x for 2 cake layers. In terms of bake time, the round pans are not as deep so you will need to reduce the time. I'd start checking with the toothpick test around 35-40 minutes. No need to adjust the temperature. Keep in mind this is a pound cake so the texture will be denser than a typical layer cake.
Stacey says
Could I use sour cream instead of yogurt?
Taleen Benson says
Yes, that should work. Let me know how it goes!
A Dalton says
I made this poundcake today for my bosses birthday tomorrow. It looked beautiful when I took it out of the oven. Slightly jiggly in the middle but the toothpick came out clean and the temperature was 210°F. As it was sitting the center sunk quite a bit. Is that normal? If not, how can I avoid that without overcooking the poundcake
Taleen Benson says
Hi there! I'm sorry to hear that the cake sank. Usually loaf cakes sink if they are underbaked. It sounds like, if your toothpick came out completely clean, then your cake was done. Did you use an oven thermometer, by any chance? Was your baking powder fresh? Did you open the oven several times to check for doneness? All of these things could be a factor.