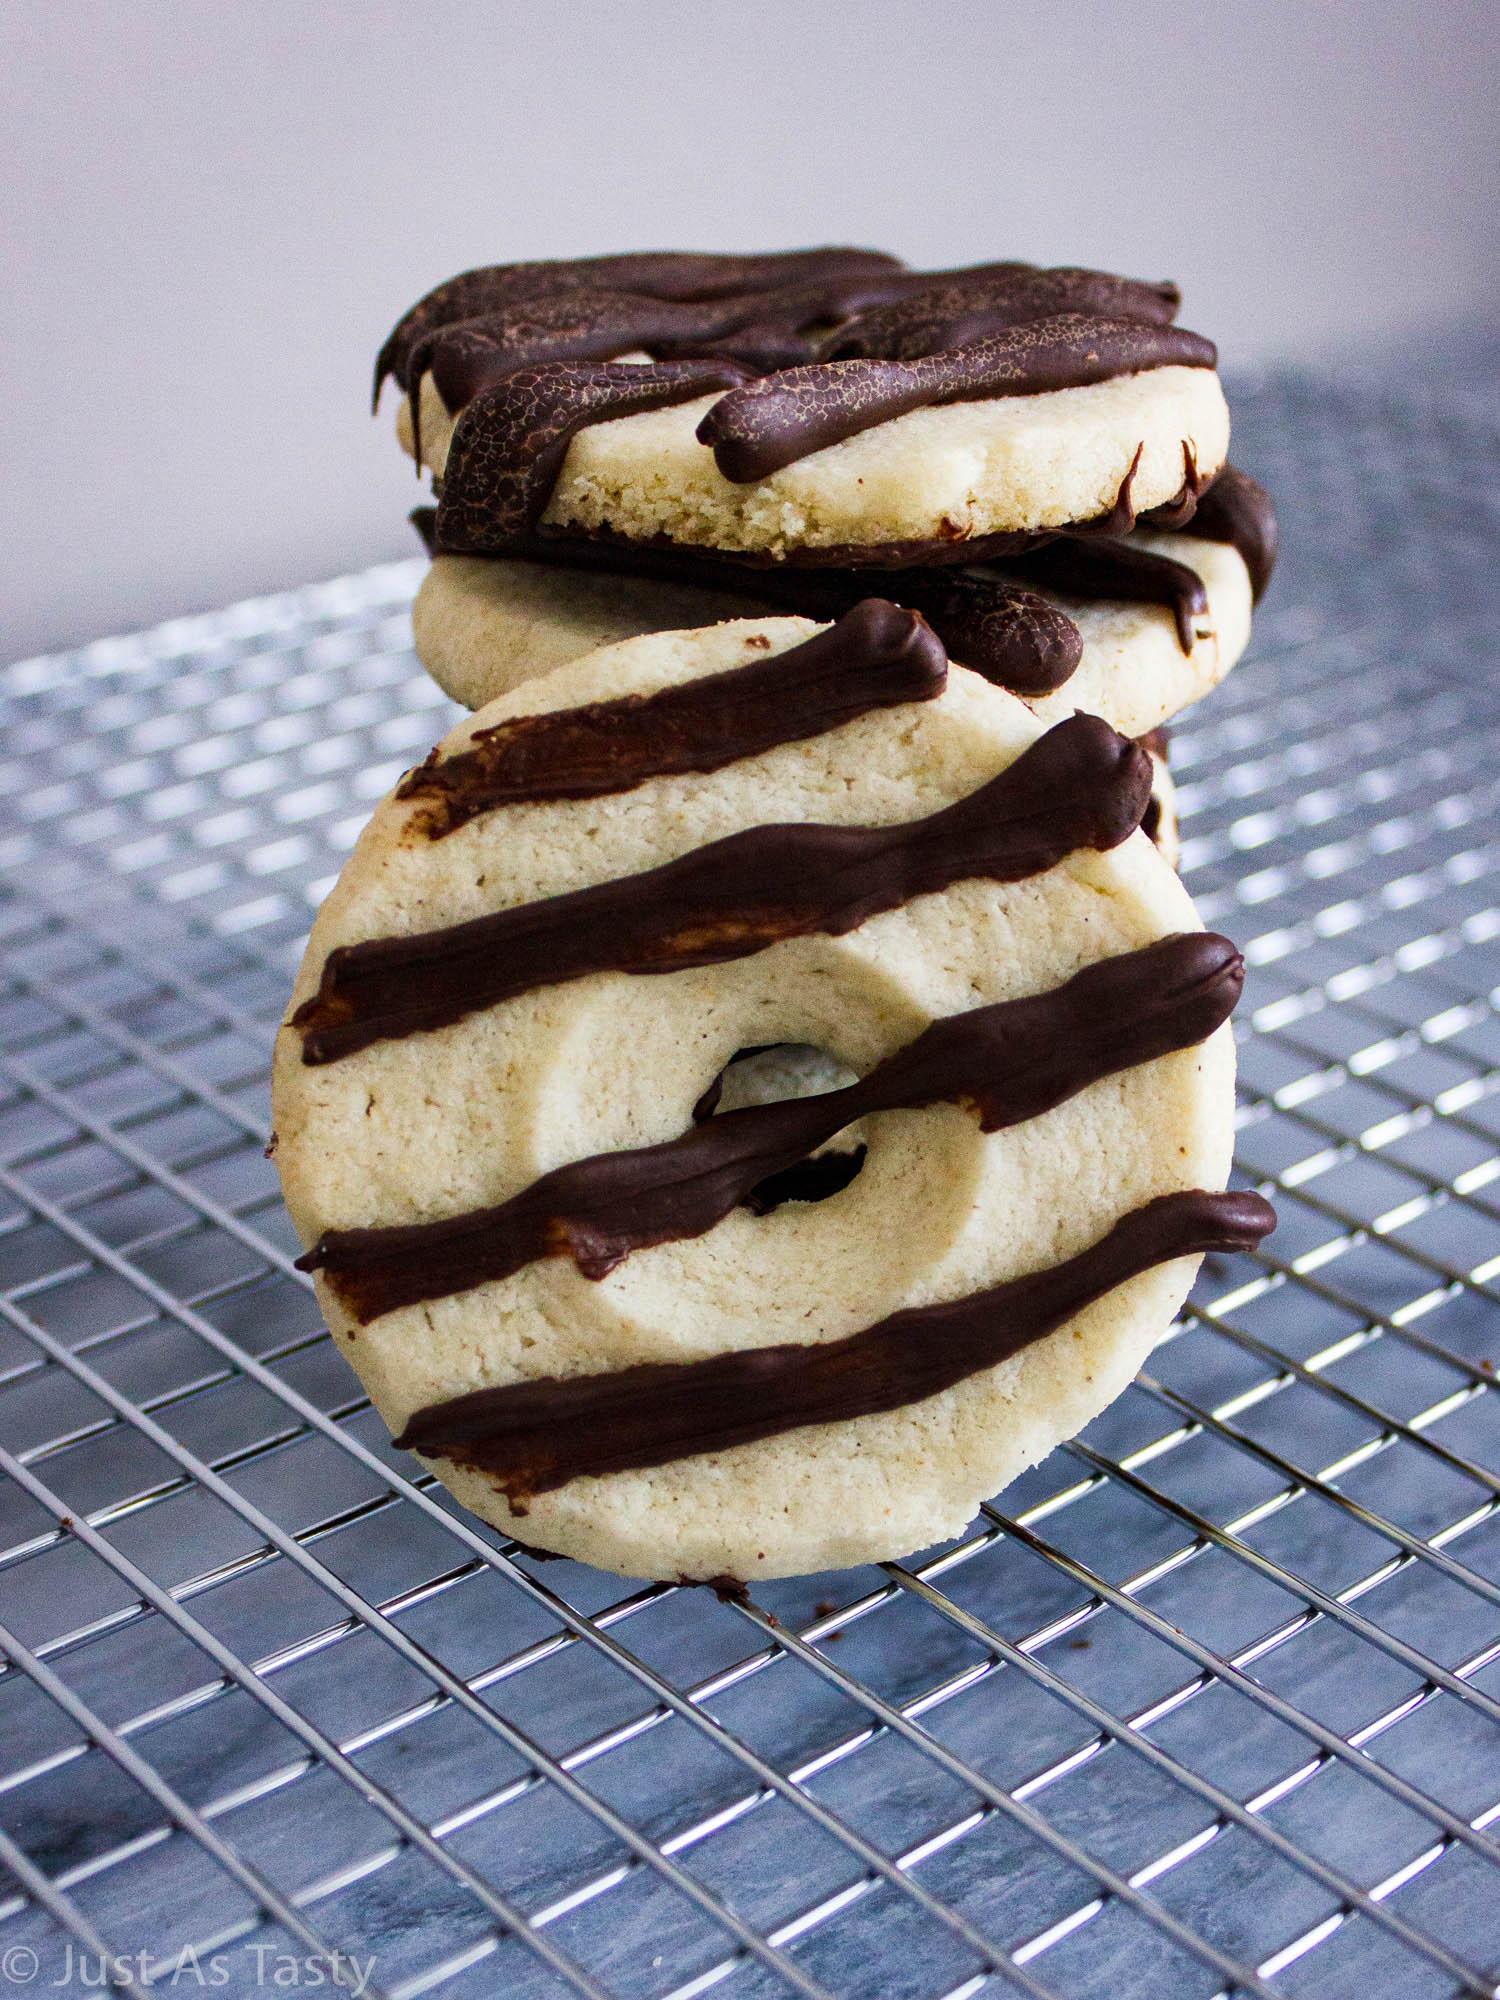
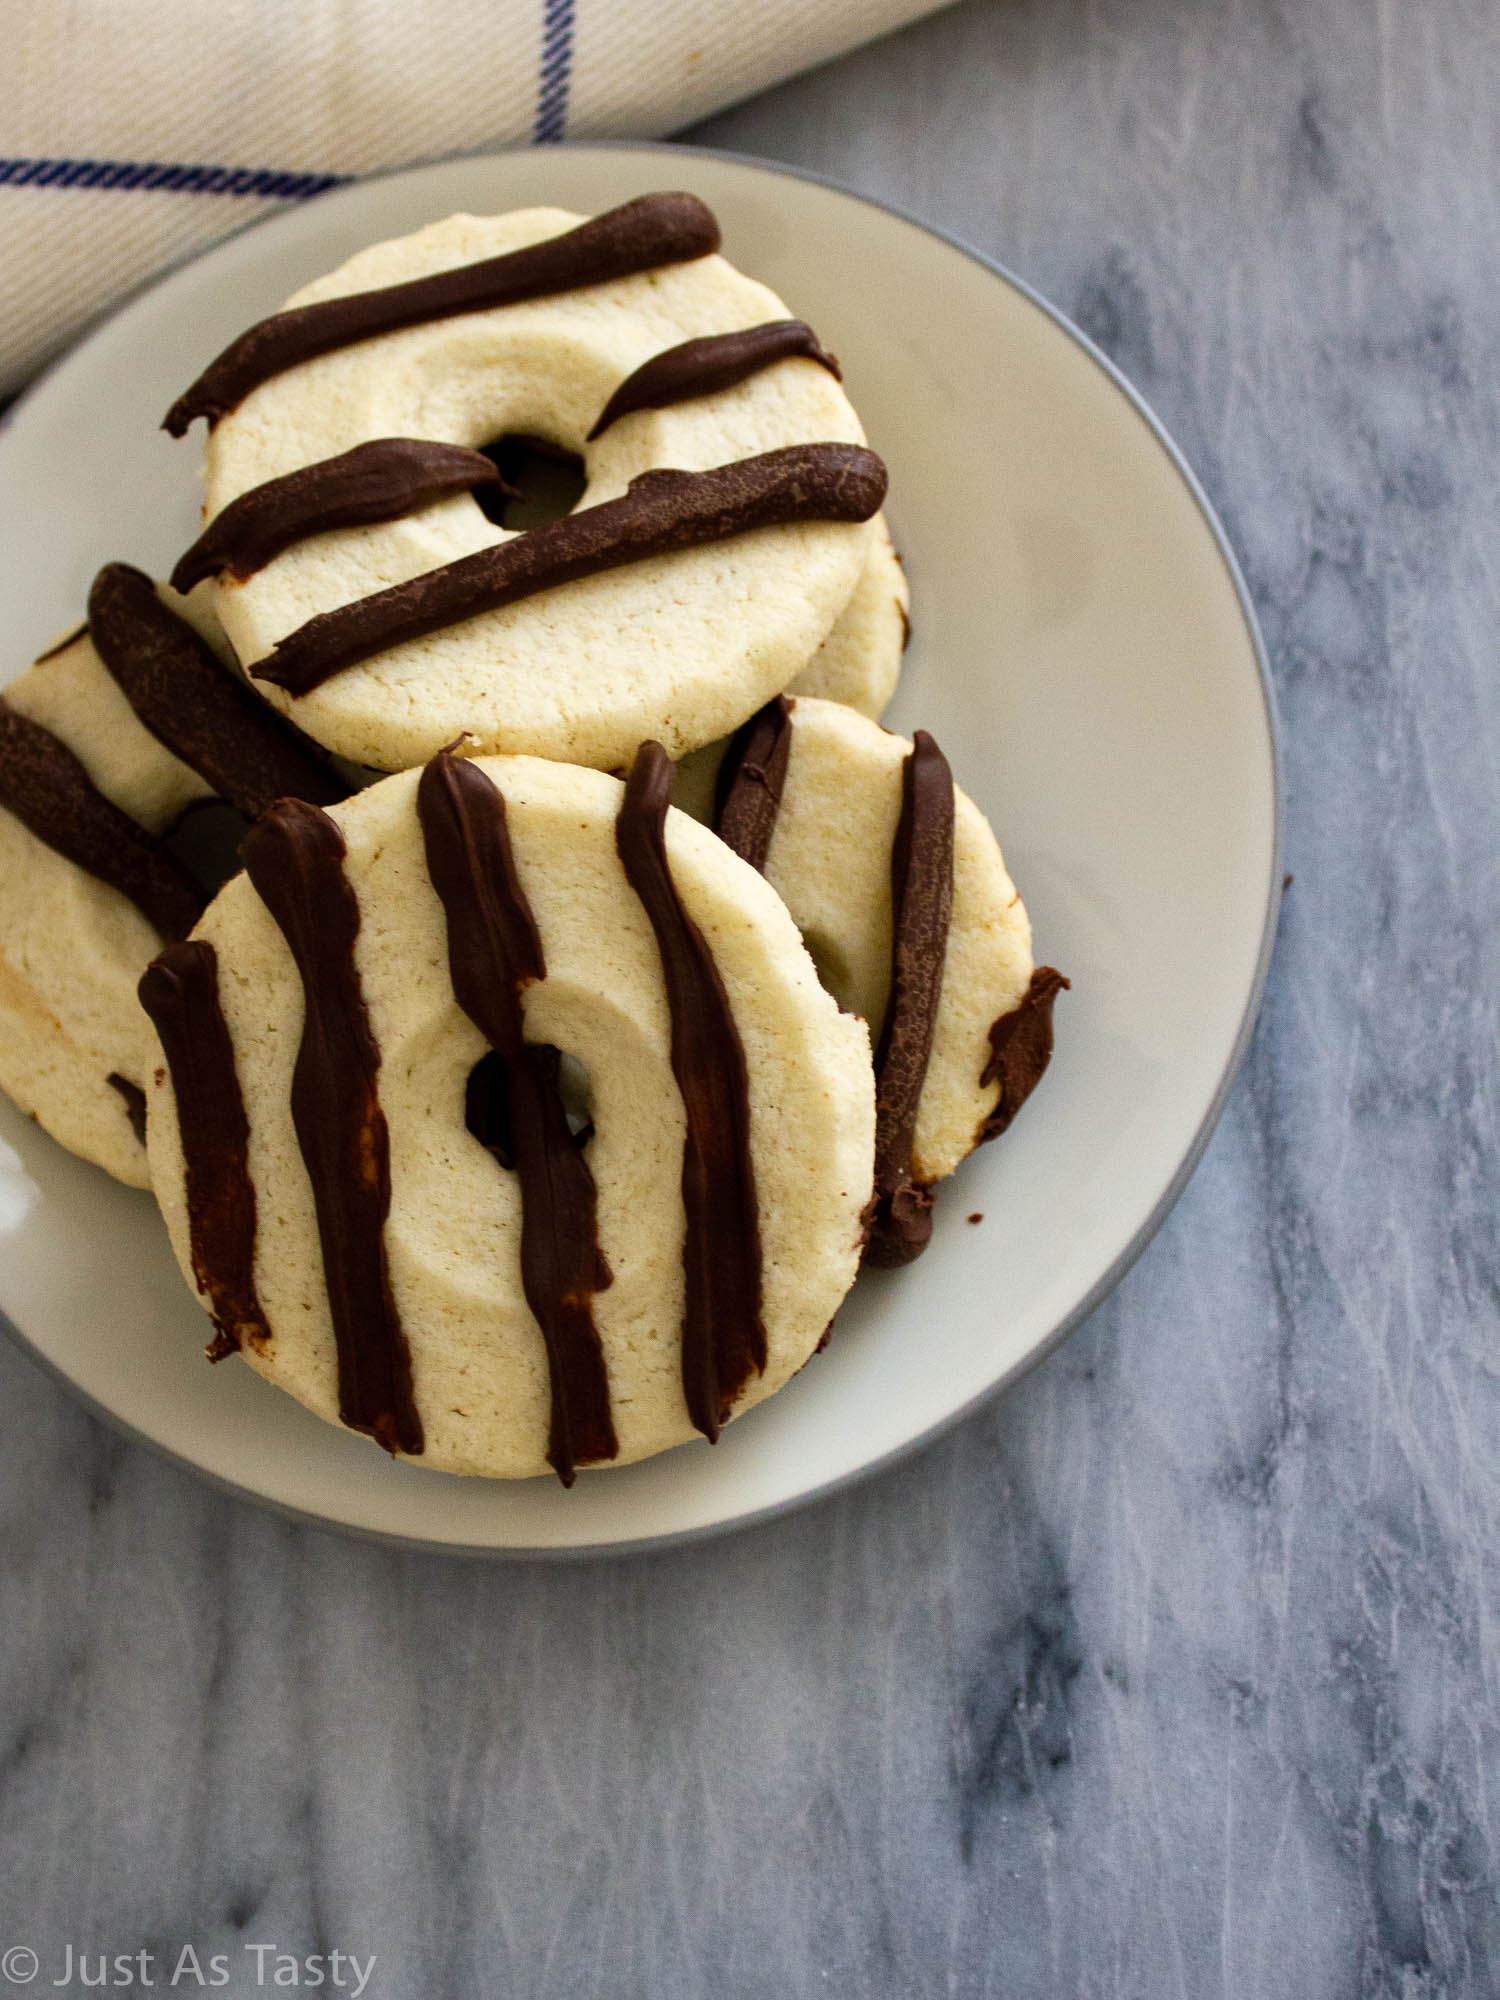
These gluten free fudge stripe cookies are so buttery and delicious! The bottoms of the cookies are covered in a thick layer of melted chocolate, and the fudge stripes on top are so fun.

I feel like everyone has that nostalgic snack that reminds them of their childhood. Maybe it's circus animal cookies or Girl Scout cookies. Or maybe it's a specific flavor of ice cream? For me, that nostalgic snack would be Keebler fudge stripe cookies, hands down.
Growing up, we pretty much always had our birthday parties at home. We'd have different color balloons filling nearly every inch of the ceiling, and of course there would be cake. But one of the snacks that always made an appearance was fudge stripe cookies. I can't even really tell you why! That's just how it was.
So what I'm getting at is that these copycat Keebler fudge stripe cookies really remind me of childhood, so I love making them. It doesn't hurt that they're also beyond delicious 😉 plus my version is gluten free, unlike the store-bought ones!
Why You'll Love These Gluten Free Fudge Stripe Cookies...
- These are buttery, shortbread-style cookies. So if that's your jam, you are in for a real treat!
- The chocolate pairs perfectly with the sweet vanilla flavor of the cookies. Because we're not submerging the whole cookie in fudge, you still get the best of both flavors shining through.
- They're just fun to make! It might seem like a lengthy process, but I will talk you through it.
What You'll Need...
- The dry ingredients: flour + baking powder + salt.
- The flavor: sugar + vanilla extract.
- The fat: unsalted butter.
- The egg substitute: sweetened condensed milk.. if you've made my spritz cookies, you'll know that sweetened condensed milk can be an excellent egg substitute (depending on the recipe, of course). For this reason, though, we're going easy on the granulated sugar, otherwise the cookies would be way too sweet.
- To dip and drizzle: melted chocolate! Go ahead and use your favorite here. I went with semisweet but dark chocolate would be delicious, too. You can try milk chocolate but it may be too sweet.

How To Make Fudge Stripe Cookies...
To make my gluten free fudge stripe cookies, we will start by creaming the butter and sugar. Make sure to take your time on this step. We want the butter + sugar to be nice and smooth. Once that's done, add in the sweetened condensed milk and vanilla extract.
Next, you'll want to add your dry ingredients and mix on low speed until your cookie dough starts to form. This is a fairly soft and pliable dough thanks to the moisture from the condensed milk. For this reason, and to prevent too much spreading (the cookies will still spread a little), we are going to chill the cookie dough for a bit. But first, we're rolling it out.
Split the dough in half and roll each half out between two pieces of parchment paper. The dough should be about ¼ inch thick. Pop both sheets of dough into the refrigerator and chill for at least 30 minutes.
Once your dough has chilled, you're ready to cut out your cookies. Use a round cookie cutter (this is the set I always use) to cut out your cookies, and be sure to gather and re-roll the scraps of dough until you've used it all up. Then, go back in with an even smaller round cookie cutter (I always just use the wide end of a piping tip for this step) and cut a hole in each cookie.
Arrange your cut out cookies on a lined baking sheet and bake on 350ºF for just about 8 minutes. When you take your cookies out, you can always reinforce the center holes with that same small cutter or piping tip while the cookies are still warm, if necessary.
Because the cookies do spread a bit, you may find that the holes are smaller than when you put the cookies in the oven. I don't think this is an issue but if it bothers you, it's an easy fix as long as you work quickly and gently while your cookies are still warm.
And now the fun part! Once your cookies have cooled completely, cover the bottom of each cookie in melted chocolate. Place your cookies chocolate-side-up and allow the chocolate to fully set.
When the chocolate has set, fill a piping bag with the rest of the melted chocolate. You can either use a small piping tip or just snip off the edge of your bag to pipe the fudge stripes on top of each cookie.
You can really get creative here -- there is no right or wrong way to do this. As you can see, I like piping thick stripes. There's just something about the texture and the amount of chocolate that works for me. If you want to go with thinner stripes, or more/less stripes, you absolutely can. Allow the chocolate to set and then serve!

Tips For Making Perfect Fudge Stripe Cookies...
- If possible, I recommend using a scale to measure your flour. I may not say this in every post, but that's always a good rule of thumb when baking. It's really the only way to ensure that you're using the exact amount of flour that the recipe calls for. Even a little bit too much (or not enough) flour can drastically change the texture of your cookies.
- This is a soft dough. When it comes time to cut out your cookies, I would recommend leaving the second half of rolled-out dough in your refrigerator while you work on the first. If you take both out, there's a good chance the second half of dough will get too soft to work with by the time you are finished with the first half.
- In terms of coating the bottoms of the cookies in chocolate, I would say using a butter knife to spread the chocolate on is your best bet. I did try dipping directly into my melted chocolate, but that can get messy fast.
- If you're impatient (like me) and don't want to wait for the chocolate to set before moving on to the piping, you can speed up that part of the process by popping your cookies into the refrigerator for a bit. But do make sure the chocolate has fully set before flipping the cookies over, otherwise it will get messy.
📖 Recipe

Fudge Stripe Cookies - Gluten Free, Eggless
Ingredients
- 2 cups (296g) gluten free flour blend
- 2 teaspoons baking powder
- ½ teaspoon salt
- 1 cup (226g) unsalted butter room temperature
- ½ cup (100g) granulated sugar
- ¼ cup (78g) sweetened condensed milk
- ½ teaspoon vanilla extract
- 10 ounces chocolate chopped
Instructions
- In a medium bowl, whisk the flour, baking powder, and salt together. Set aside.
- Using a hand mixer or a stand mixer fitted with the paddle attachment, cream the butter with the sugar until smooth. Add the sweetened condensed milk and vanilla extract and beat to combine.
- Add the dry ingredients into the wet ingredients and mix on low speed until cookie dough forms. Split the dough in half and roll out each portion between two pieces of parchment paper, about ¼ in. thick. Chill rolled out dough in the refrigerator for 30 minutes.
- Preheat oven to 350°F and line a baking sheet with parchment paper. Remove dough from refrigerator and use a round cookie cutter to cut out cookies. Then, use a smaller round cookie cutter (or the round end of a piping tip) to cut a smaller circle in the center of each cookie. Re-roll the scraps as necessary to use up all of the dough.
- Arrange cookies on the prepared baking sheet. Bake for 8-10 minutes, or until the edges are slightly golden. Allow cookies to cool for about 5 minutes, then transfer to a cooling rack to cool completely.
- In a large microwave-safe bowl, melt the chocolate in the microwave in 30 second intervals, stirring well between each interval. Once the cookies have cooled completely, use a butter knife to spread an even layer of chocolate onto the bottom of each cookie. Place each cookie bottom-side up on parchment paper, and allow the chocolate to set completely.
- Once the chocolate has set, flip each cookie over. Drizzle or pipe stripes of chocolate across the top of each cookie. Allow the chocolate to set before serving.
Notes
- This is a soft dough, and will get softer the longer it is out of the refrigerator (and the more you work it with your hands as you cut the shapes and re-roll), so I highly recommend keeping the second half of the dough in the refrigerator while you work on the first.
- You can use your favorite chocolate here... semisweet, milk, or dark!
- I've found that the easiest way to achieve the stripes is by piping them on. Use a smaller tip for thinner stripes or, if you'd like thicker stripes like my cookies, use a slightly larger tip (or just snip off one edge of your piping bag).
Did you make my homemade fudge stripe cookies? Leave me a comment below or tag me on Instagram @justastastyblog and #justastastyblog!

Leave a Reply