This gluten free red velvet cake from scratch is so incredibly soft, moist, and full of that classic red velvet flavor. And of course, we're topping it off with a classic cream cheese frosting. This cake is perfect for Valentine's Day, but we make it year-round!
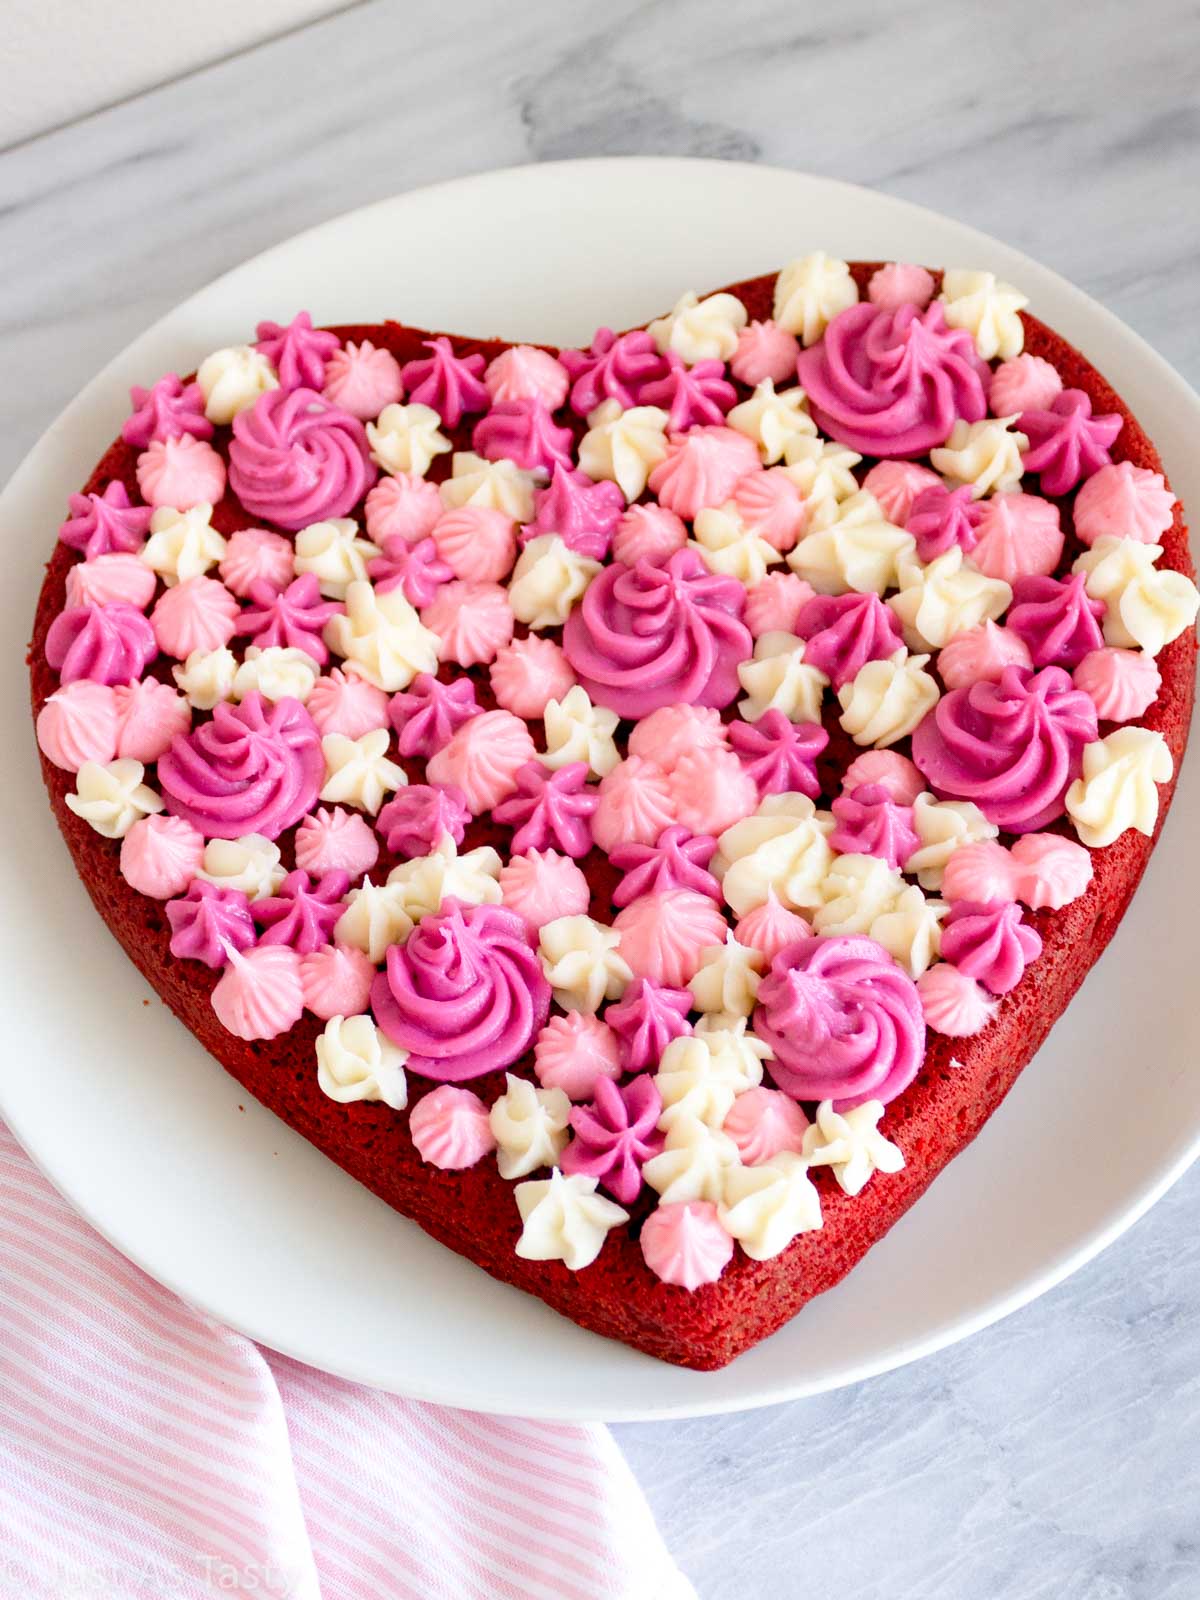
When I brought you my red velvet chocolate chip cookies, I promised that I had a gluten free red velvet cake in the works. Well, today is the day! I am beyond excited to share this one with you and I just know you are going to love it, especially if you're a fan of my gluten free red velvet cupcakes.
My mother-in-law recently sent me some of her vintage Wilton cake pans. Among them was a set of heart shaped pans that I love. I opted for the largest in the set, which is a 9" cake pan. This heart shaped red velvet cake is obviously perfect for Valentine's Day!
While I couldn't track down the exact pans she sent me, this looks like a pretty comparable option. If you don't want to make a heart shaped cake, you can also bake this cake in a 9" round cake pan.
When it came to decorating this cake, I had a ton of fun using three different colors and tips. If you consider yourself to be a novice when it comes to cake decorating, then this particular style is perfect! Sometimes it's fun to switch it up and make a single layer cake.
Jump to:
What Does Red Velvet Taste Like?
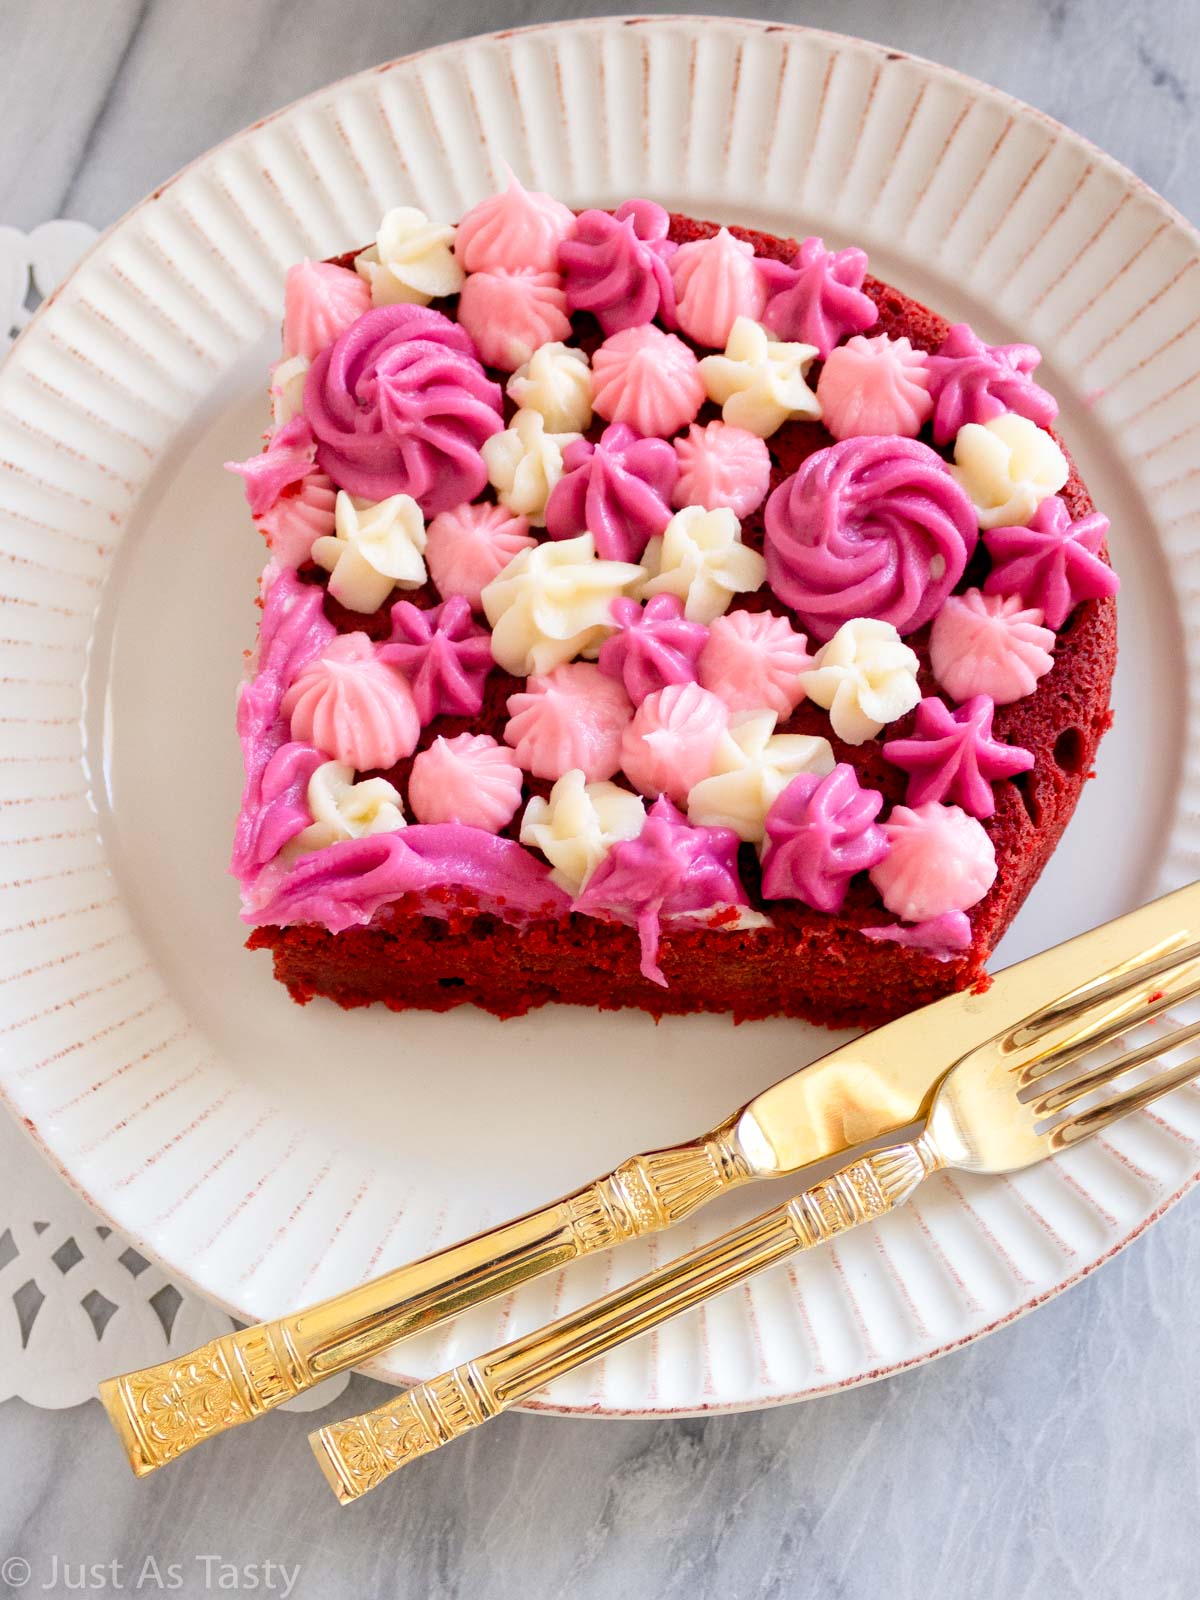
This gluten free red velvet cake contains that perfect hint of cocoa flavor. We're incorporating buttermilk and vinegar, which tend to be staples in classic red velvet. So, there's some beautiful vanilla flavor. There's some chocolate. And there's some tanginess. And red velvet fans will know, cream cheese frosting is the BEST way to top it all off.
Why You'll Love This Recipe
- The dense texture is so perfect. I think some people might think of "dense" as a bad thing when it comes to cakes, but I promise, this one is so buttery and soft.
- I mean... red velvet flavor. It's a classic, yet it's so unique in that it's not entirely chocolate or vanilla. So delicious!
- This one is so much fun to decorate. Whether you make a heart shaped cake or a simple round cake, you can really get creative with the frosting.
Ingredient Notes & Substitutions
- Gluten free flour: My favorite gluten free flour blend, and the one I use in all of my recipes unless otherwise noted, is Bob's Red Mill 1 to 1 flour. If you use a different flour blend, make sure it contains xanthan gum.
- Cocoa powder: Make sure you're using unsweetened natural cocoa powder. I always opt for Hershey's brand.
- Greek yogurt: I love baking with Greek yogurt! It adds so much richness and moisture, plus it helps bind everything together. I like to use Fage yogurt, and have successfully made this cake with both 0% and 2%.
- Buttermilk: This is a key ingredient in red velvet recipes. You can always make your own buttermilk by mixing ⅓ cup whole milk with 1 teaspoon lemon juice.
- White vinegar: This is also a common ingredient when it comes to red velvet.
- Food coloring: I highly recommend using gel food coloring because it's the most concentrated and will give you that gorgeous red color. A little bit goes a long way! Liquid food coloring probably won't work because you will need a lot, and too much liquid will change the consistency of your cake batter. Of course, you can also skip the food coloring if you want to. The flavor will still be there!
- Cream cheese: For the frosting, make sure you're using a full-fat block of cream cheese, not the spreadable kind that comes in a tub.
Step-by-Step Instructions
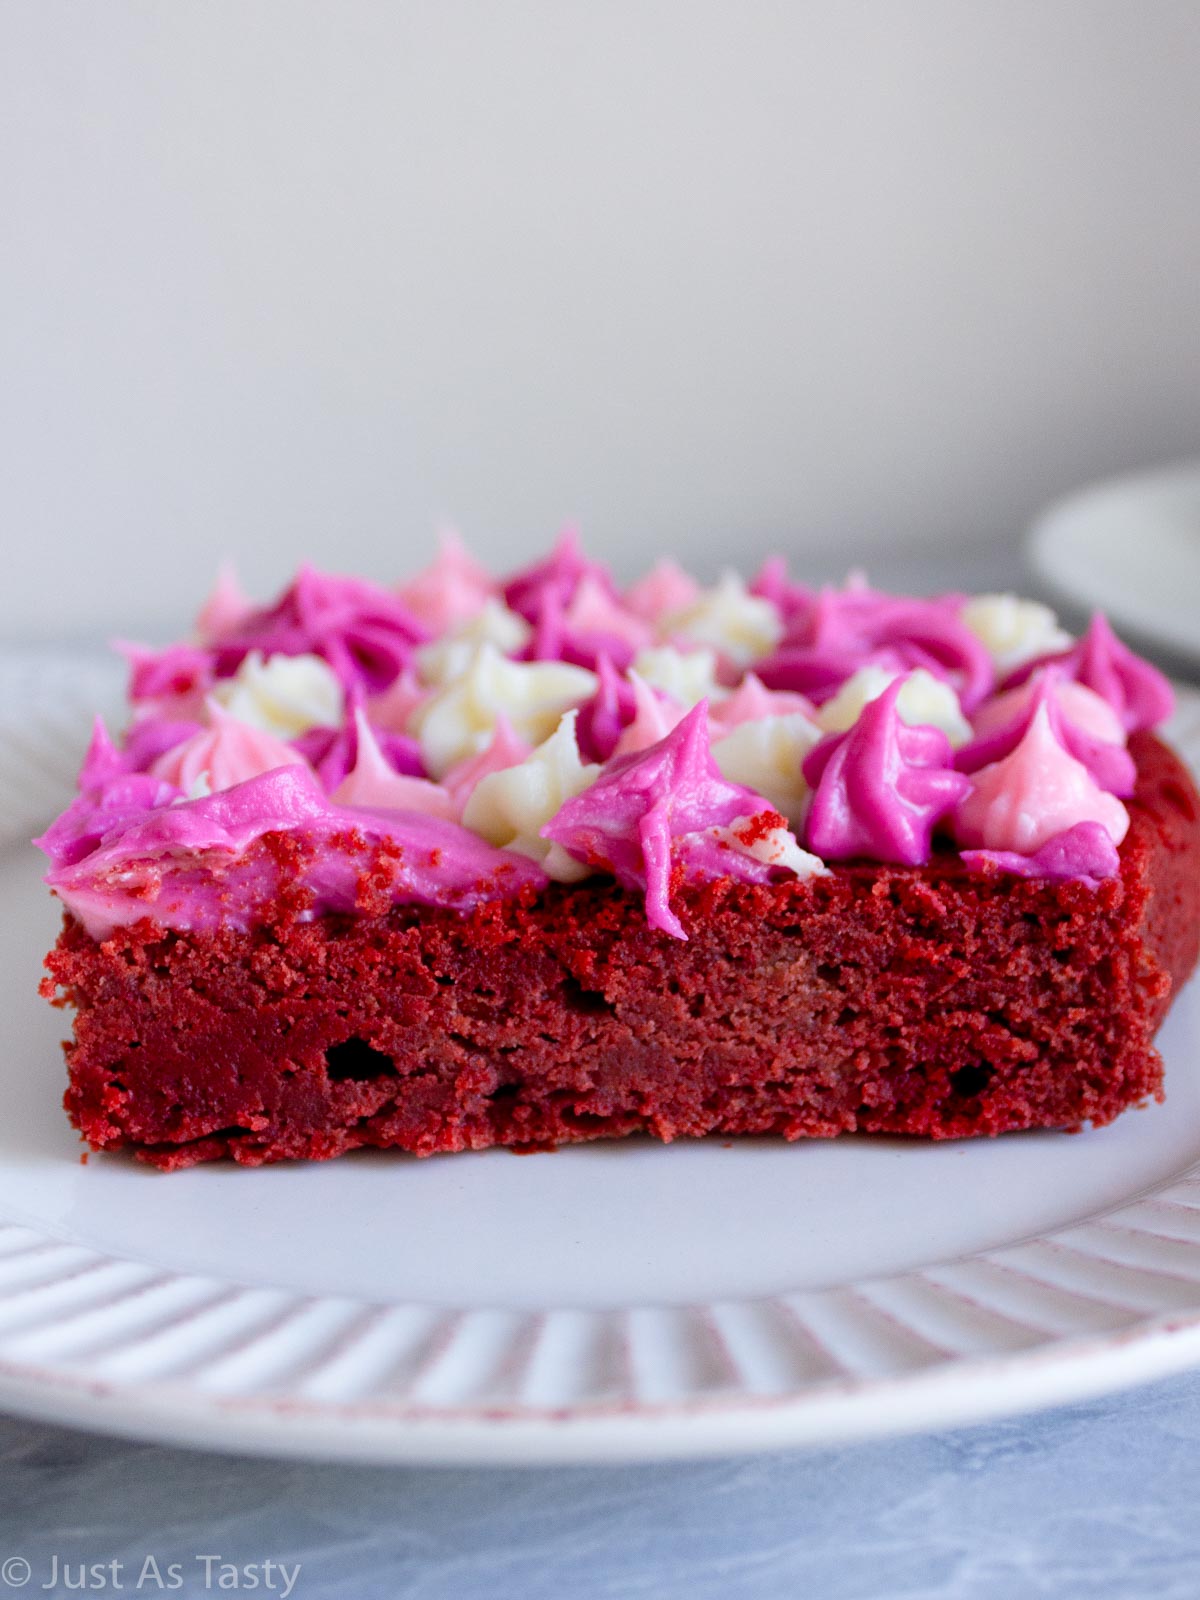
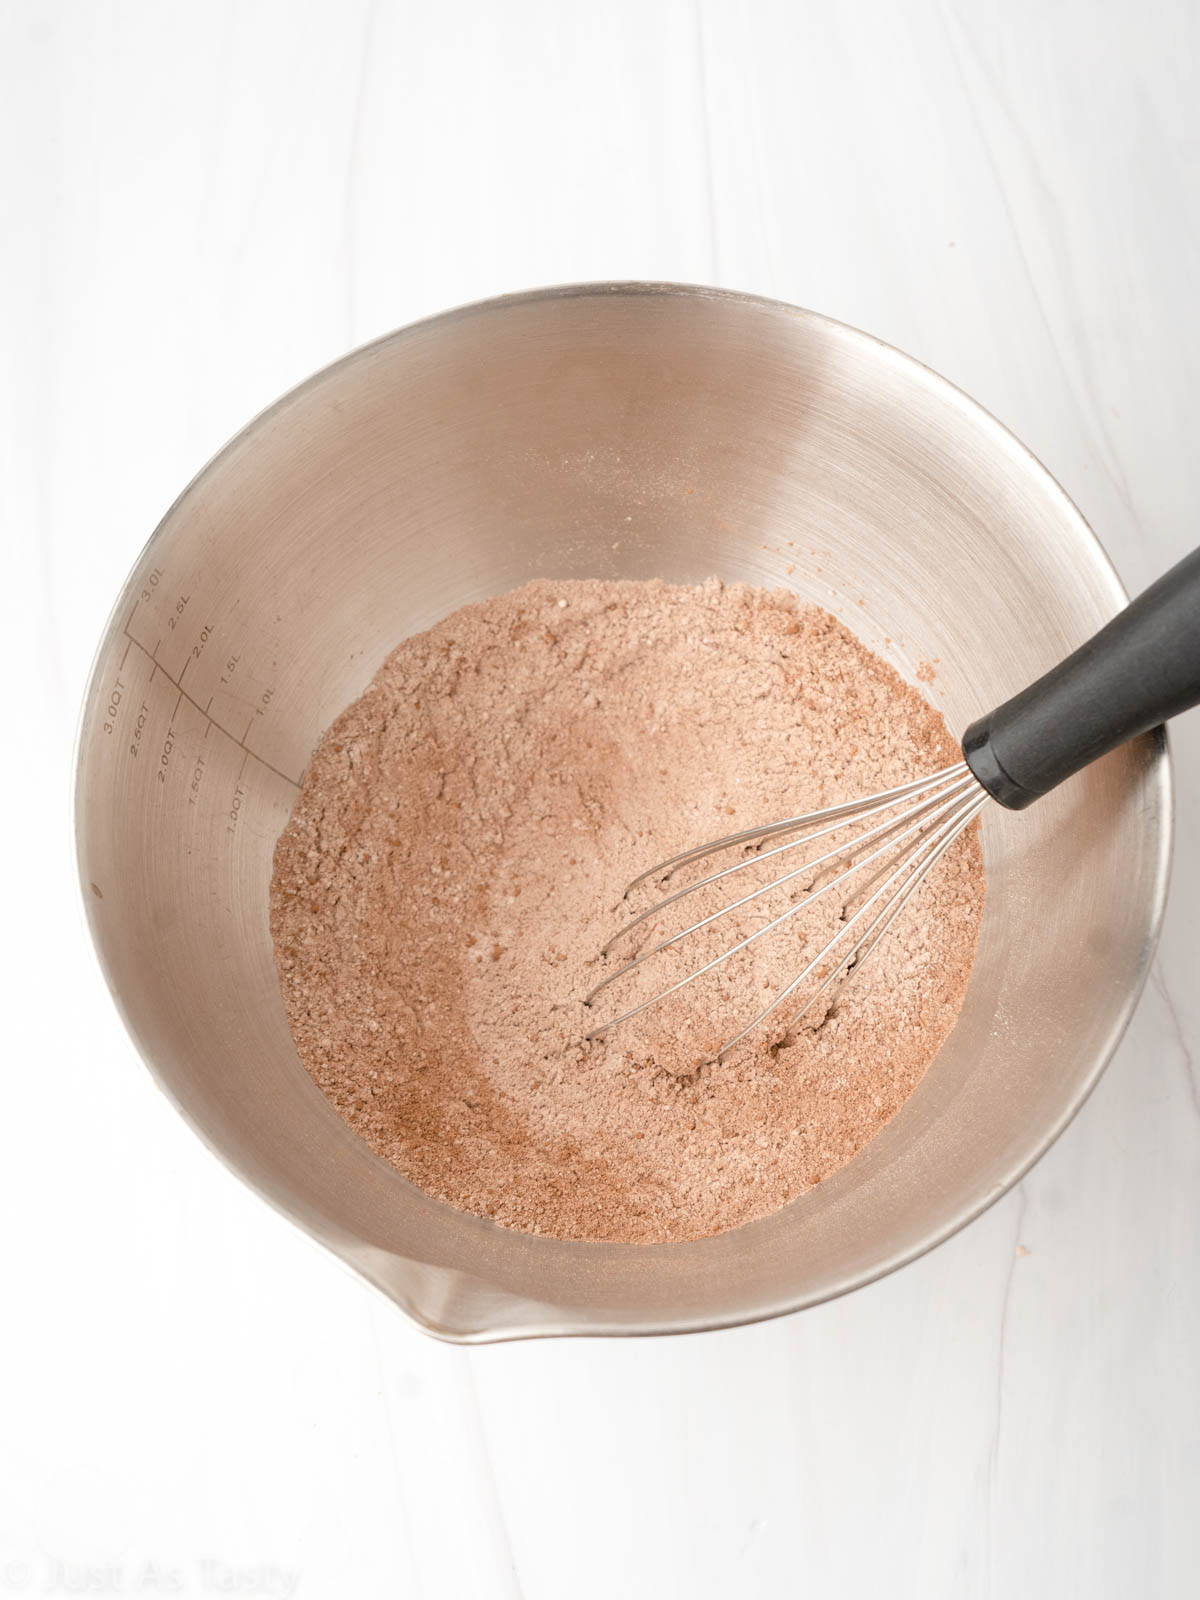
STEP ONE: Start by combining the dry ingredients (including the cocoa powder) in a medium mixing bowl. Give it a good whisk, then set that aside.
STEP TWO: Next, cream the butter with the sugar. Add in the yogurt, vanilla extract, and vinegar.
STEP THREE: Add the dry ingredients in, alternating with the buttermilk. Start with ⅓ of the dry mix, then ½ the buttermilk, then another ⅓ of the dry mix, then the rest of the buttermilk, then end with the remaining dry mix. Make sure to stop and mix after each addition.
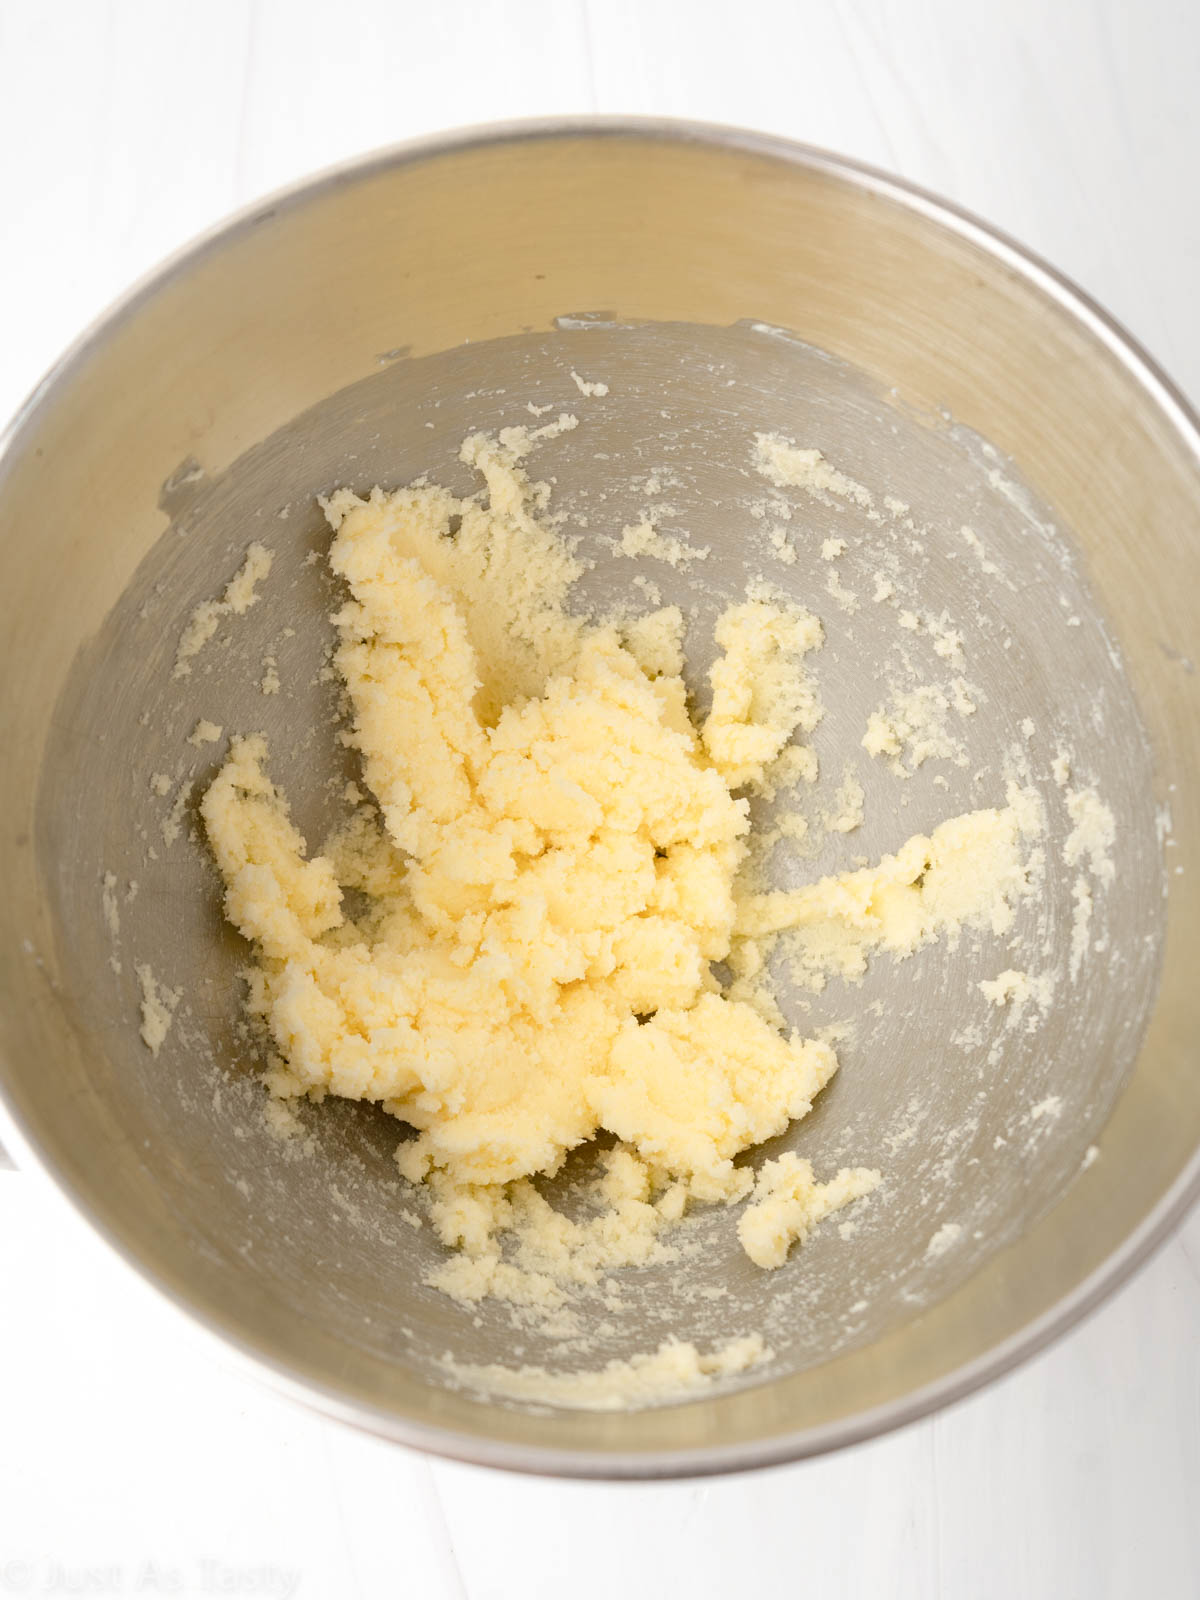
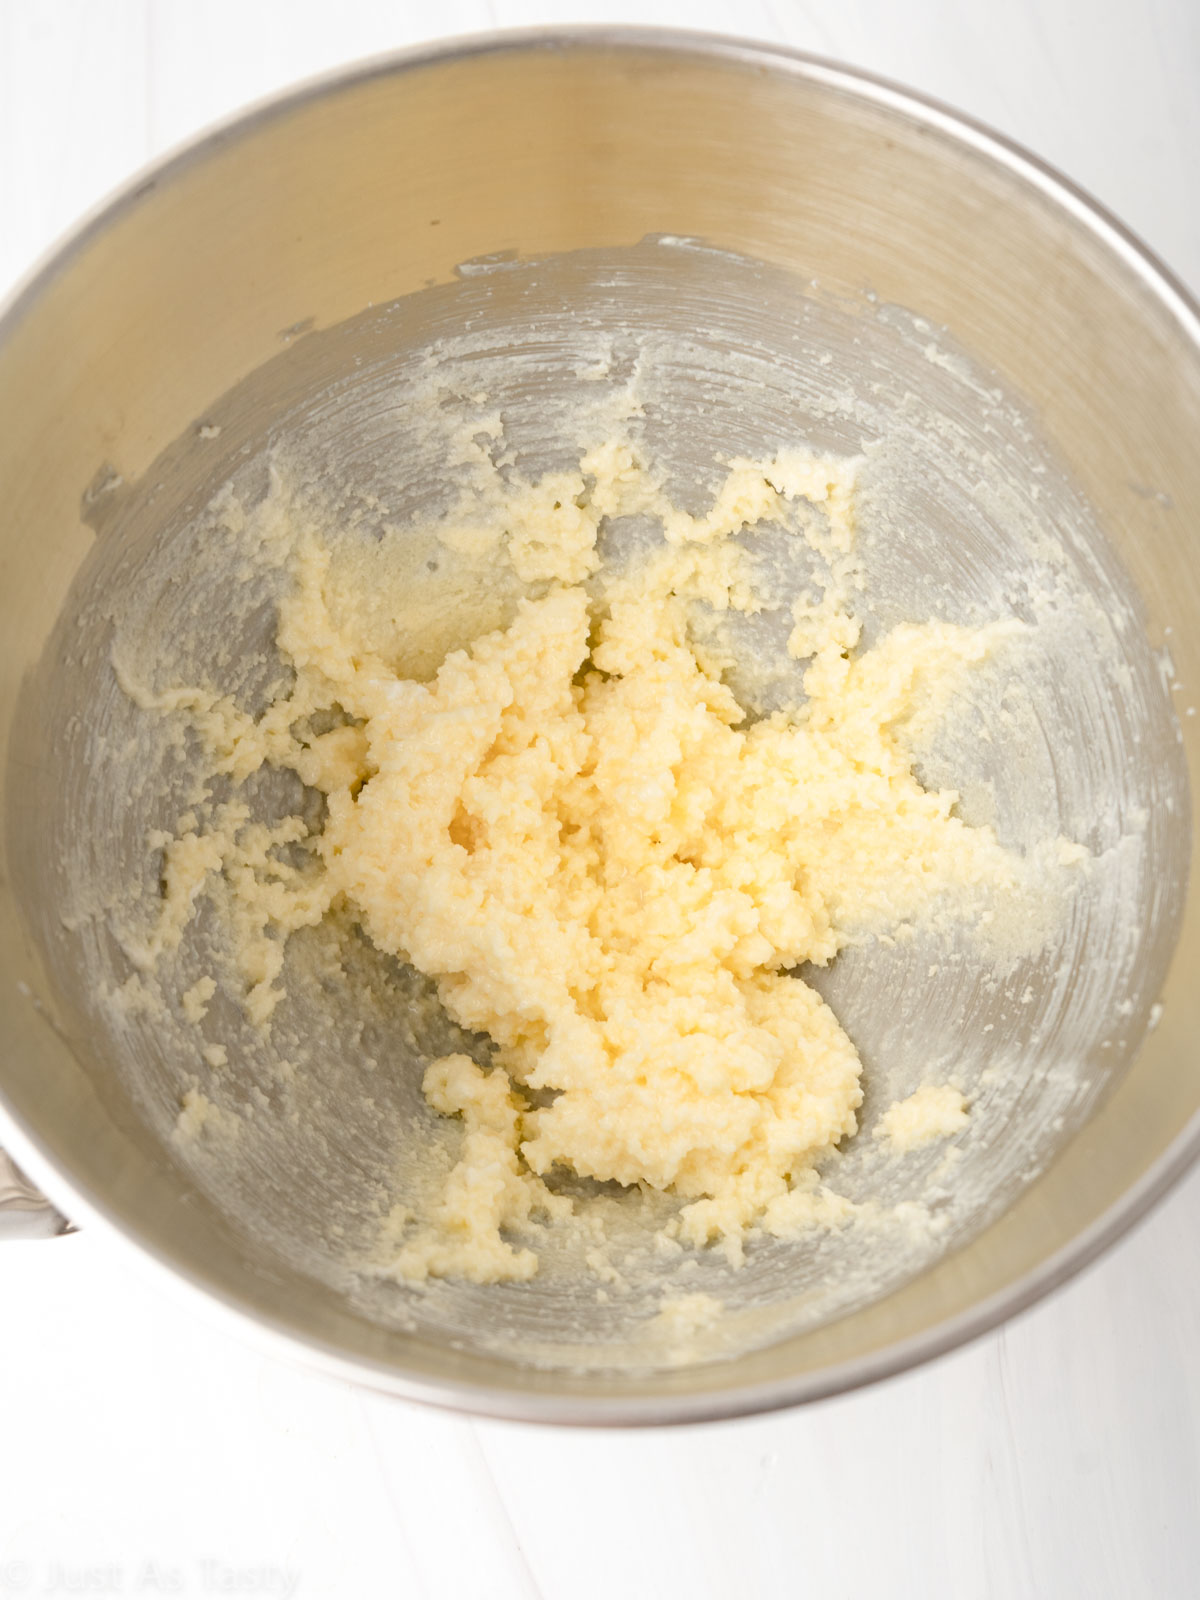
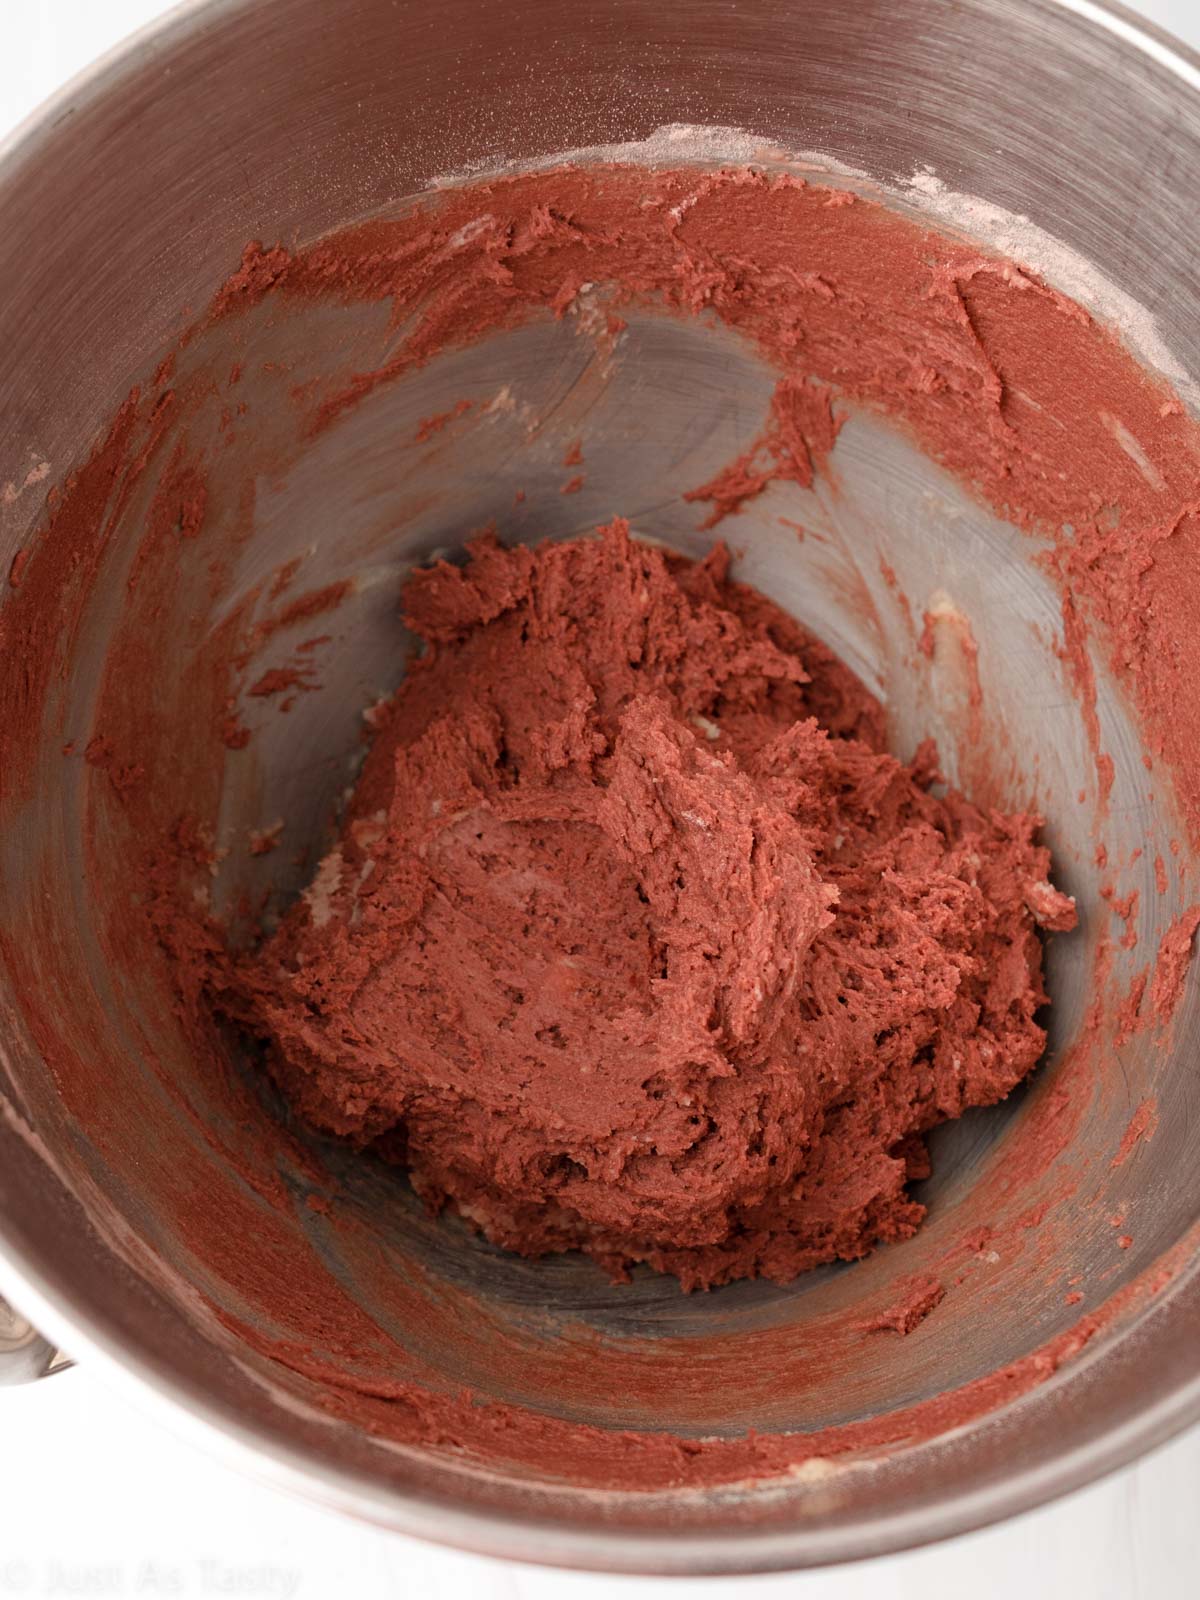
STEP FOUR: The last step is mixing in the food coloring. I didn't specify how much -- I usually just add a few drops of gel food coloring.
STEP FIVE: Note that the cake batter will be sticky, so you may have to grease or butter your rubber spatula VERY lightly to make it easier to spread the batter in your pan. Bake on 350ºF for 22-24 minutes, then cool in the pan completely before removing and frosting.
How To Pipe Cream Cheese Frosting
Because what's red velvet cake without the cream cheese frosting? Cream cheese frosting can be a little challenging to pipe, because it's not as stiff as buttercream, but I have a few tips below that should help.
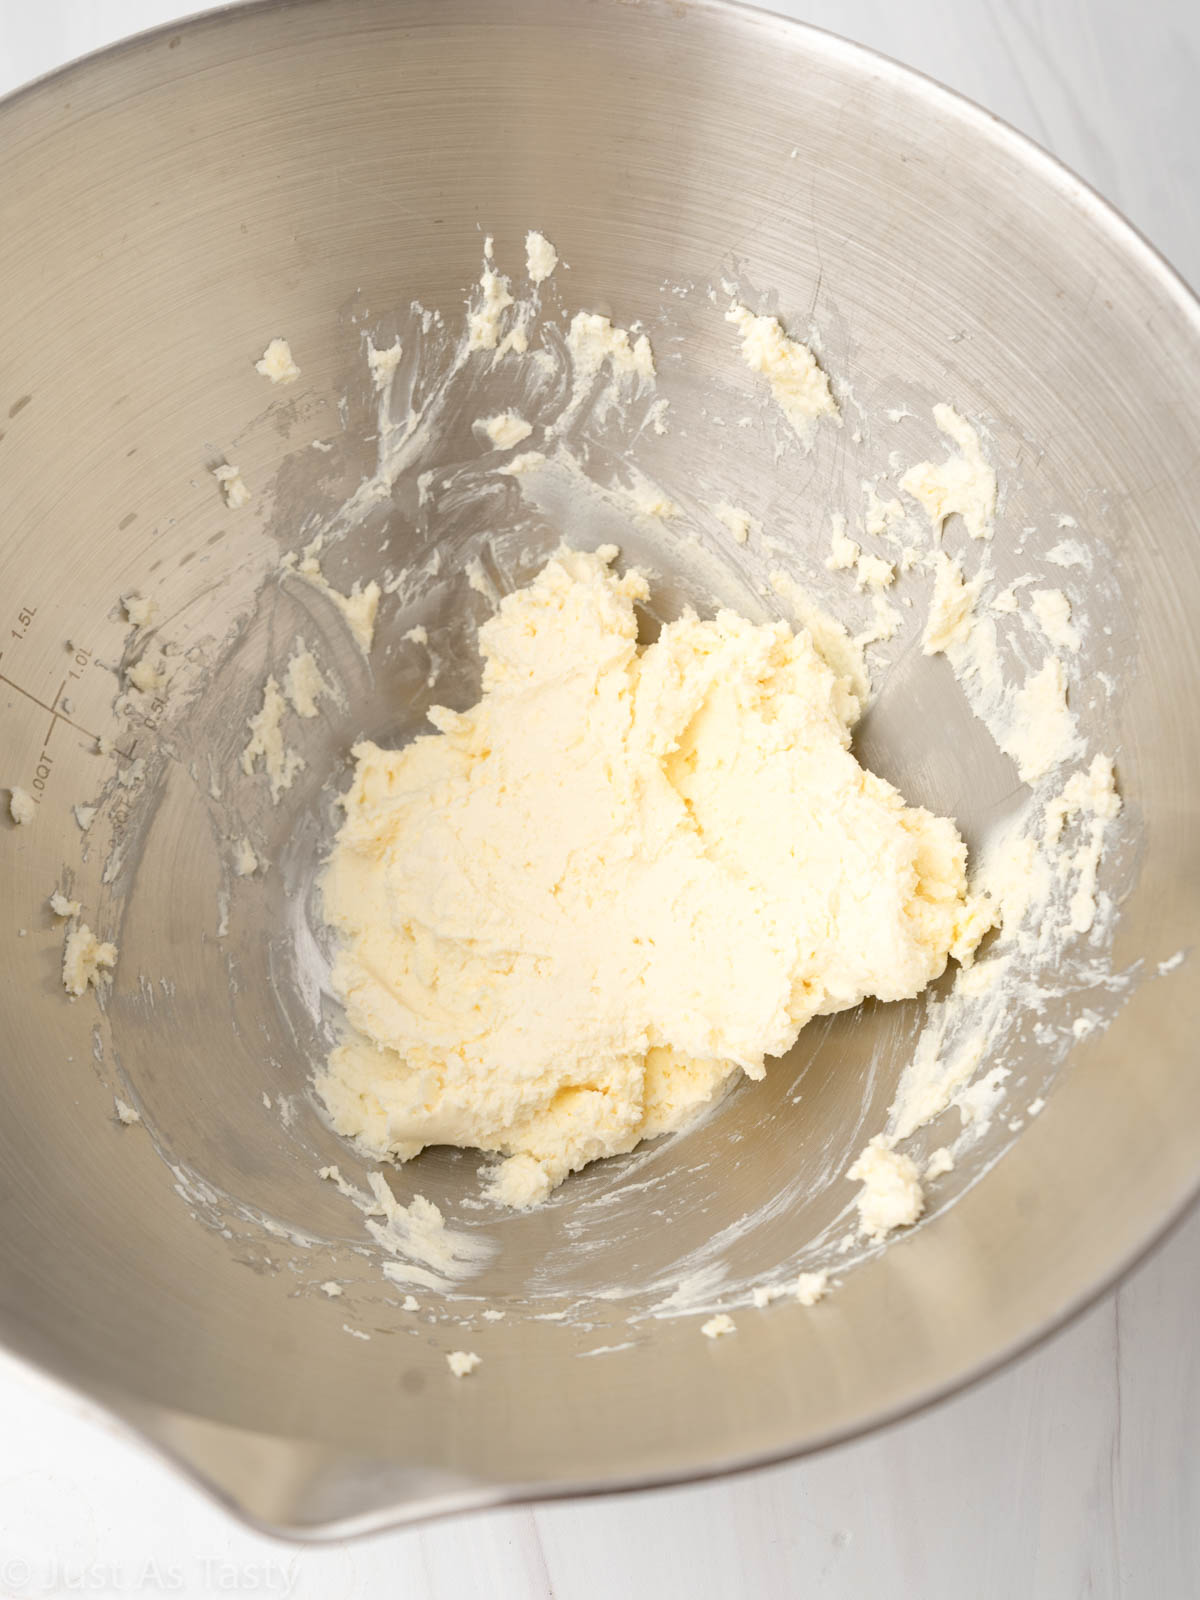
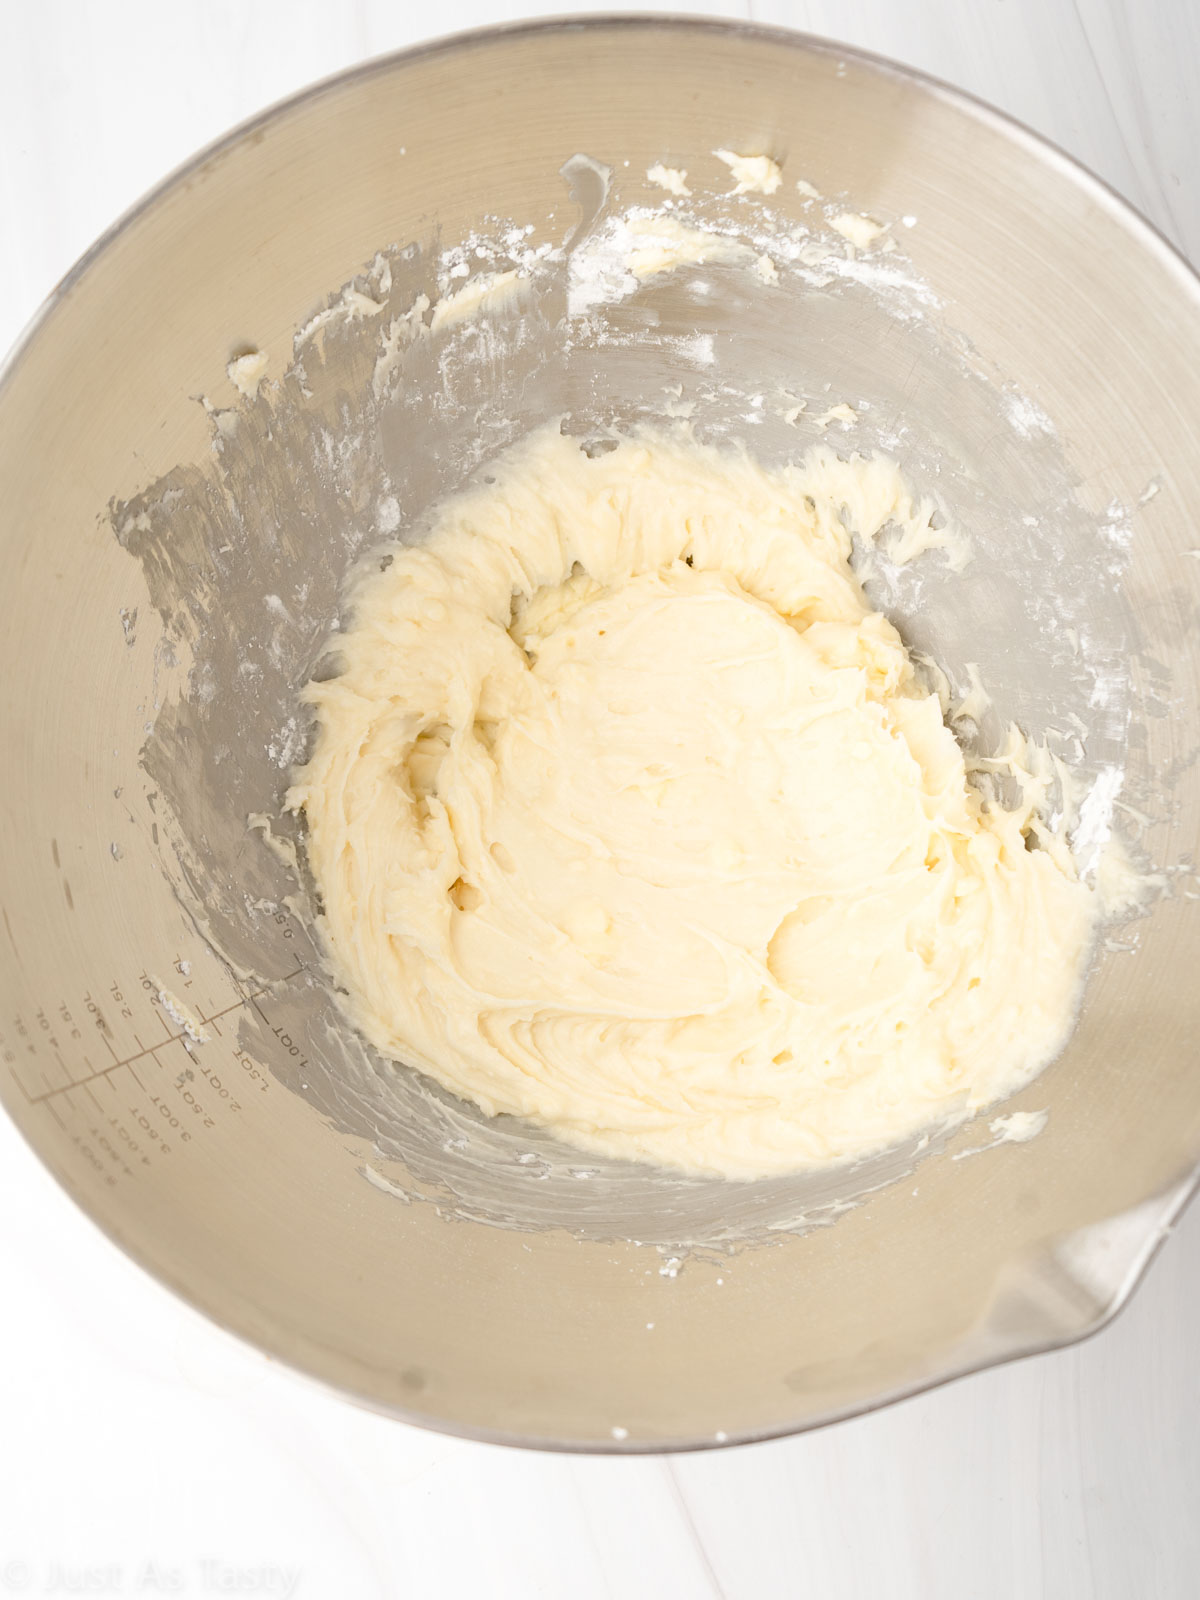
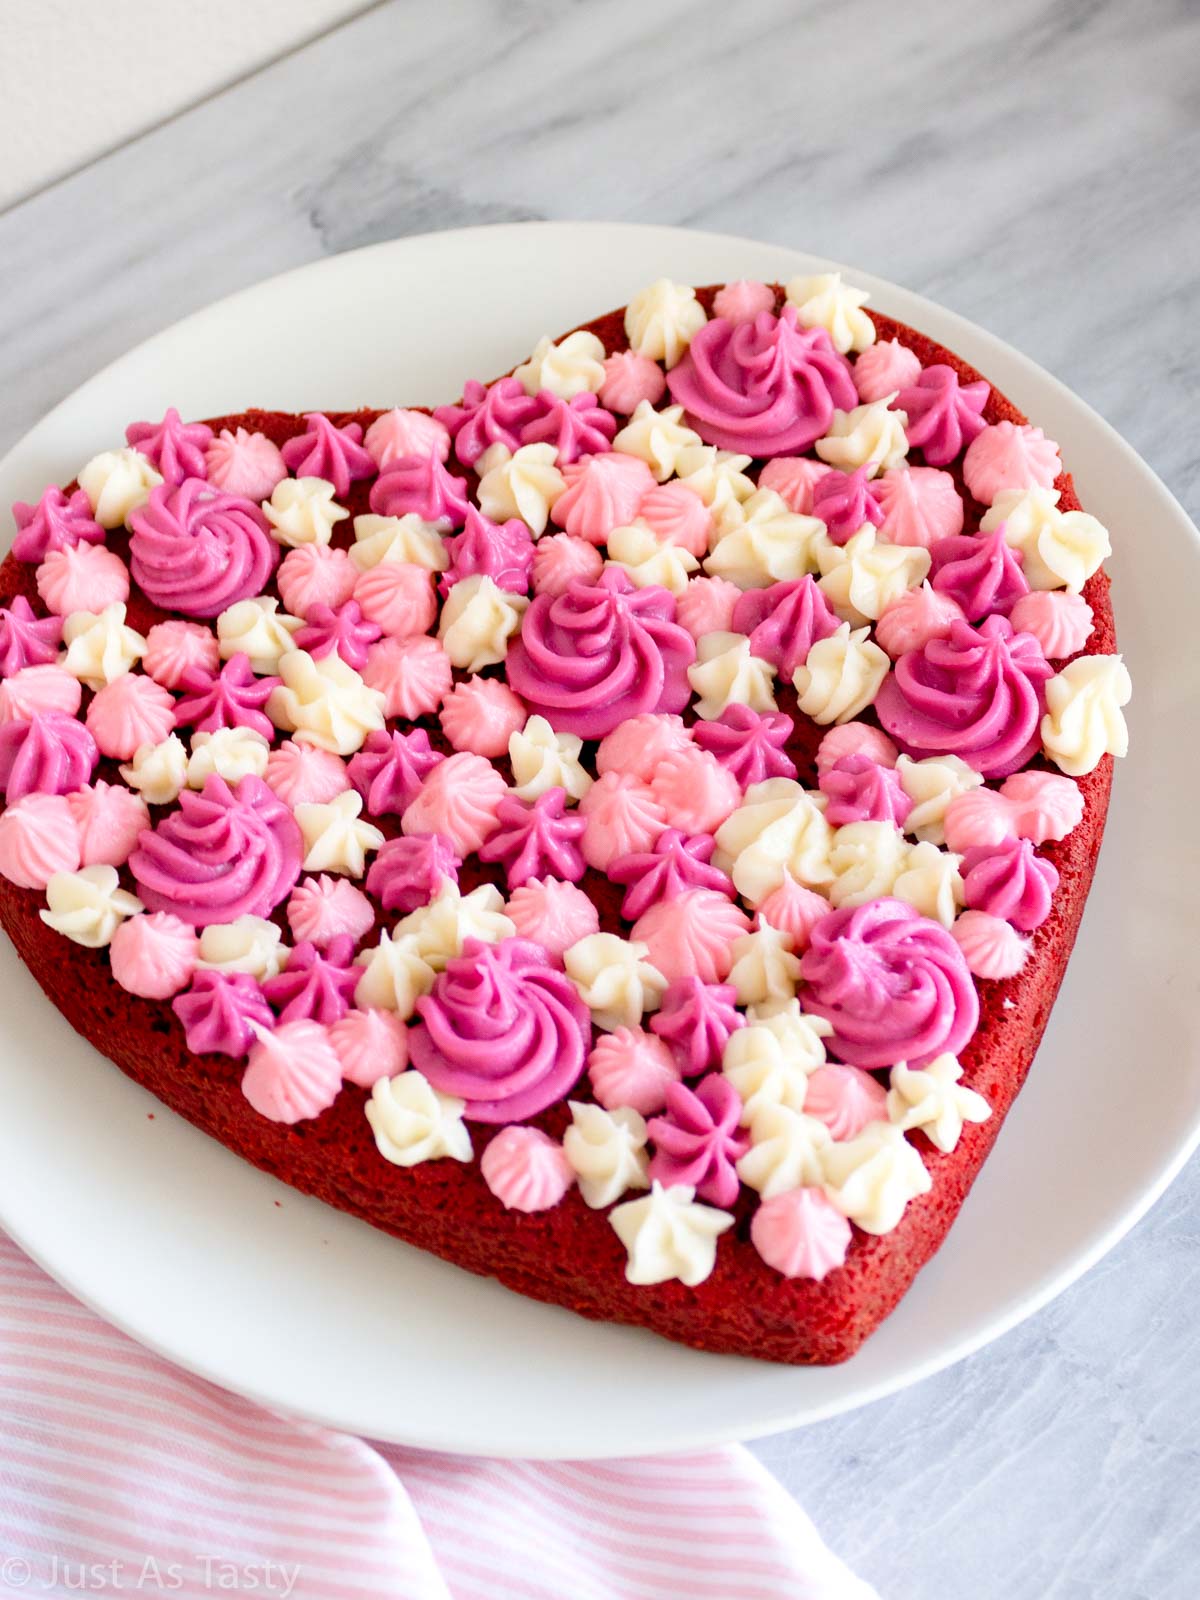
For this cake, I split my cream cheese frosting into thirds and tinted two out of the three portions, leaving the last third white. I always use this gel coloring kit, and to achieve these shades of pink I specifically used Fuchsia and Deep Pink.
To pipe this particular design, I used Wilton tips 1M and 4B for the pinks, and Kootek tip K28 for the white. From here, you really can get creative! Go in with a general idea of how you want the design to look, but there's really no right or wrong way to do this.
I started with some of the larger flowers, then just filled in all of the empty spaces in between without too much rhyme or reason! And it was so much more fun that way.
Expert Tips
- My top baking tip is always to use a kitchen scale to weigh your dry ingredients, especially the flour. This is the best way to ensure accuracy. Adding too much or not enough flour will really impact the texture of your cake.
- For the frosting, make sure to use room temperature butter (I just set it out on the counter for around 30 minutes in this case) and COLD, cut-up cream cheese. Beat the butter and cream cheese with the vanilla extract first until smooth, then add the powdered sugar and pinch of salt.
- If you'll be piping this frosting (rather than spreading it), I HIGHLY recommend refrigerating for 20-30 minutes after mixing in your color, to keep the frosting from getting too runny. Cream cheese frosting does not have the same consistency as buttercream, which tends to be easier to pipe.
Frequently Asked Questions
I haven't tested it, but it should work. However, you'd need non-dairy butter, a milk alternative (to make your own buttermilk), non-dairy yogurt, and non-dairy cream cheese.
You can store the frosted cake in an airtight container in the refrigerator for up to 4 days.
Yes! I recommend freezing before frosting. Thaw the cake fully, then frost.
Did you make my gluten free red velvet cake? Leave me a comment below or tag me on Instagram @justastastyblog and #justastastyblog!
Related Recipes To Try
📖 Recipe

Gluten Free Red Velvet Cake
Ingredients
- 1 ½ cups (222g) gluten free flour (I use Bob's Red Mill 1 to 1)
- 2 tablespoons unsweetened cocoa powder
- 1 teaspoon baking powder
- ½ teaspoon salt
- ¼ teaspoon baking soda
- 12 tablespoons (170g) unsalted butter room temperature
- ¾ cup (150g) granulated sugar
- ½ cup (112g) Greek yogurt room temperature
- ½ teaspoon vanilla extract
- ½ teaspoon white vinegar
- ⅓ cup (80ml) buttermilk* room temperature
- red gel food coloring
For the cream cheese frosting:
- 8 ounces cream cheese
- ½ cup (118g) unsalted butter room temperature
- ½ teaspoon vanilla extract
- 3 cups (360g) powdered sugar
- ⅛ teaspoon salt
Instructions
- Preheat oven to 350°F. Grease a 9" pan and set aside.
- In a medium bowl, whisk the flour, cocoa powder, baking powder, baking soda, and salt together. Set aside.1 ½ cups (222g) gluten free flour, 2 tablespoons unsweetened cocoa powder, 1 teaspoon baking powder, ½ teaspoon salt, ¼ teaspoon baking soda
- Using a hand mixer or a stand mixer fitted with the paddle attachment, cream the butter with the sugar until smooth. Add the Greek yogurt, vanilla extract, and vinegar and mix to combine.12 tablespoons (170g) unsalted butter, ¾ cup (150g) granulated sugar, ½ cup (112g) Greek yogurt, ½ teaspoon vanilla extract, ½ teaspoon white vinegar
- Add the dry ingredients into the wet ingredients in thirds, alternating with the buttermilk and mixing between each addition. Add gel food coloring until desired color is achieved and mix until well combined.⅓ cup (80ml) buttermilk*, red gel food coloring
- Pour cake batter into the pan and use a lightly greased rubber spatula to spread. Bake for 22-24 minutes, or until a toothpick inserted into the center comes out clean. Allow cake to cool in the pan before removing and frosting.
To make the cream cheese frosting:
- Beat the cream cheese, unsalted butter, and vanilla extract for a few minutes, until smooth. Gradually add the powdered sugar and salt, scraping the bowl as necessary.8 ounces cream cheese, ½ cup (118g) unsalted butter, ½ teaspoon vanilla extract, 3 cups (360g) powdered sugar, ⅛ teaspoon salt
- To tint the frosting, separate into thirds. Leave one third white and tint the other two thirds two different shades of pink. Refrigerate frosting for 20-30 minutes before filling piping bags and piping onto cake.
Notes
- If you don't have a heart-shaped pan or want to make this as a single-layer round cake, feel free to use a 9" round pan instead.
- To make your own buttermilk, mix ⅓ cup whole milk with 1 teaspoon lemon juice.
- For the frosting, be sure to use a full-fat block of cream cheese rather than the spreadable kind.
- Cream cheese frosting can be piped or spread onto the cake. If piping, be sure to refrigerate for 20-30 minutes after mixing colors but before attempting to pipe.'

Francine says
Can this cake be made ahead and frozen without losing quality?
Taleen Benson says
I haven't tried myself, but you should be able to make ahead and freeze the unfrosted cake for up to 2-3 months at the most. Thaw the cake overnight before frosting and serving. Please let me know how it turns out!