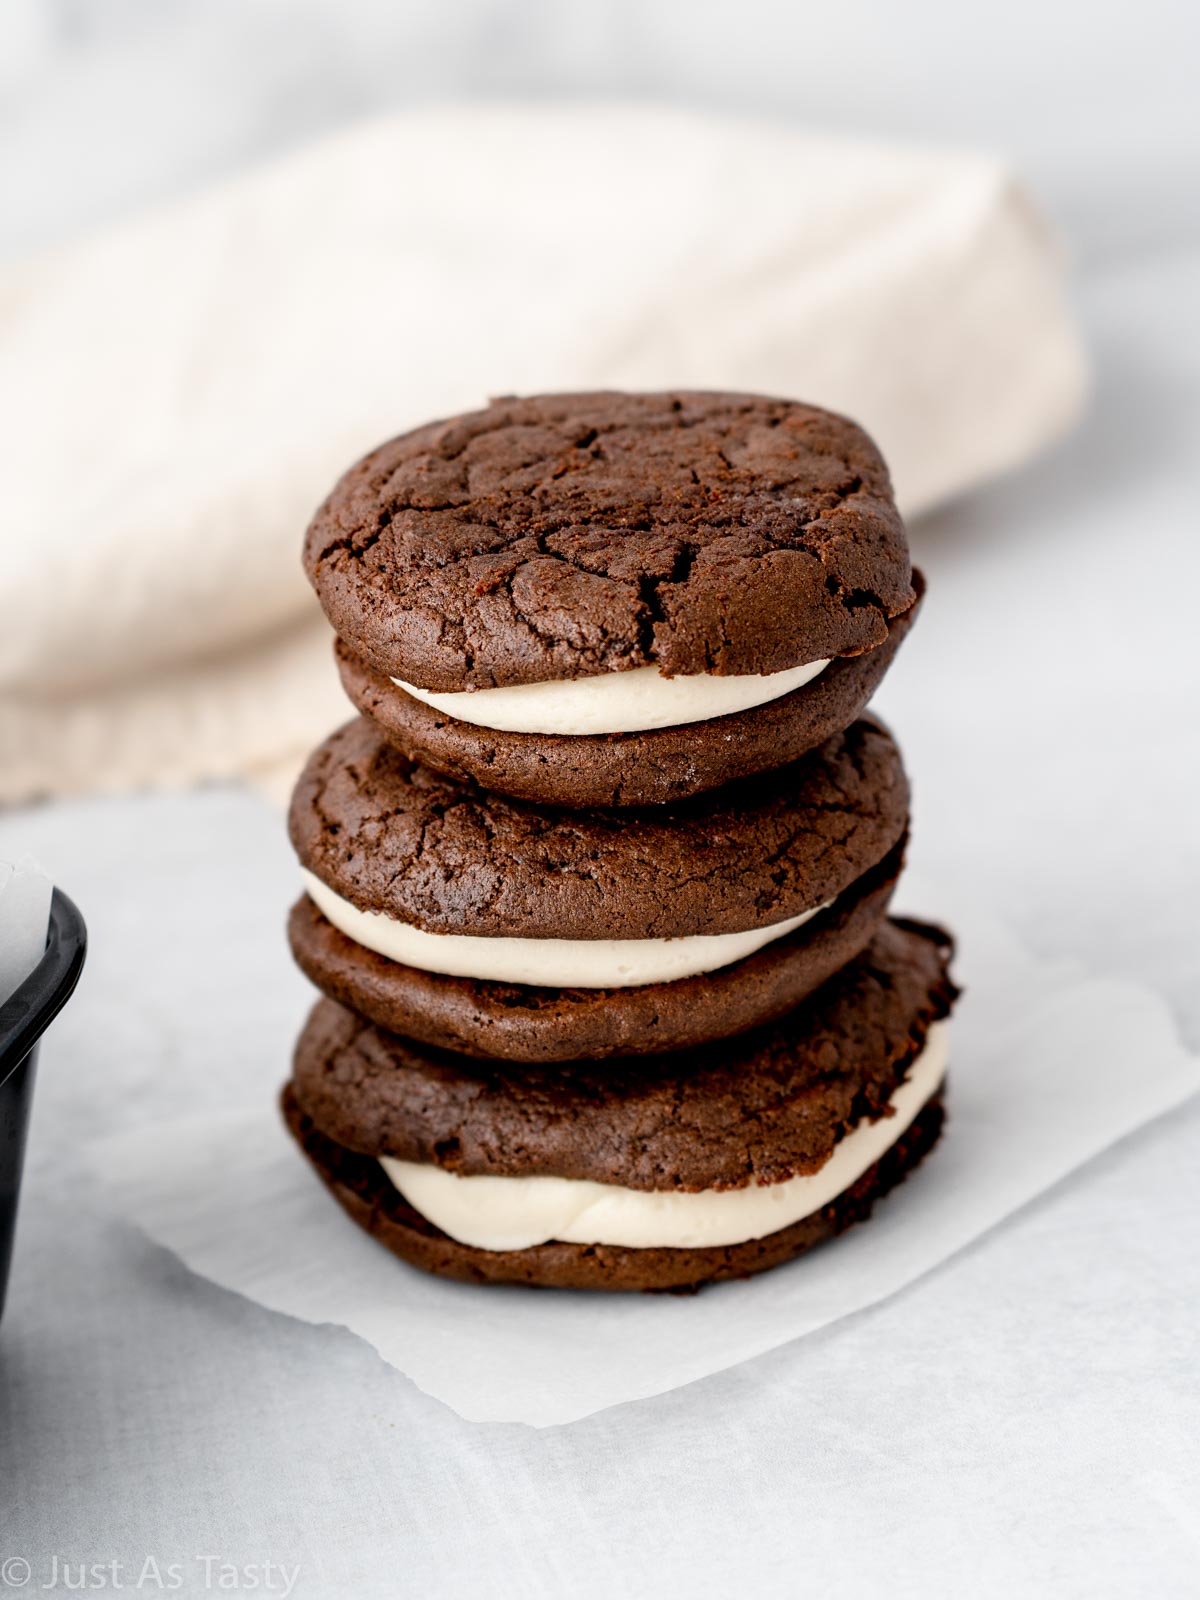
These gluten free chocolate whoopie pies are so soft and irresistible! The rich chocolate and the sweet buttercream filling pair perfectly together.
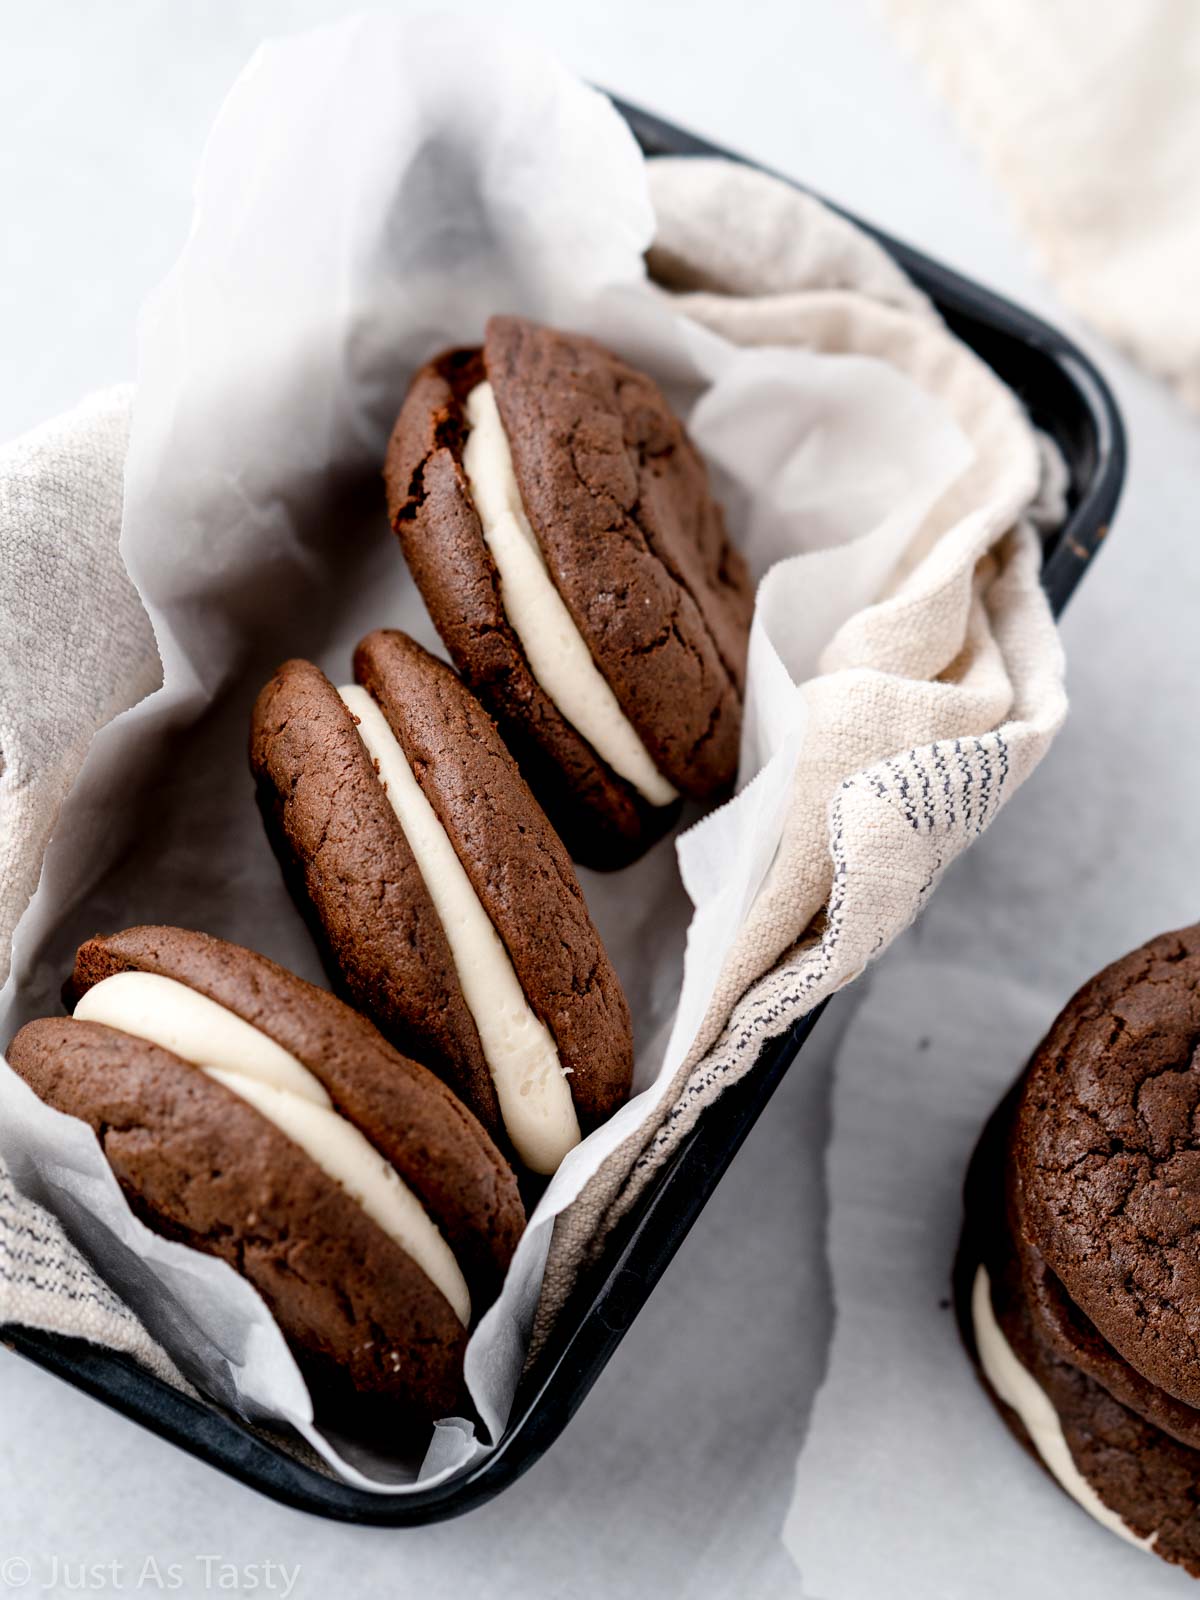
If you're a fan of these chocolate whoopie pies, you need to try my triple chocolate cookies and my gluten free dairy free brownies!
The first time I ever attempted homemade whoopie pies, I was recipe testing for my first cookbook and wanted to make red velvet whoopie pies for the Valentine's Day chapter.
I ended up being so thrilled with how those turned out, I knew I'd be adapting that recipe over and over to make different variations.
First up: chocolate. These little guys are so completely irresistible, and I highly recommend whipping them up for everyone you love. Let me talk you through it.
Jump to:
Why You'll Love These Chocolate Whoopie Pies
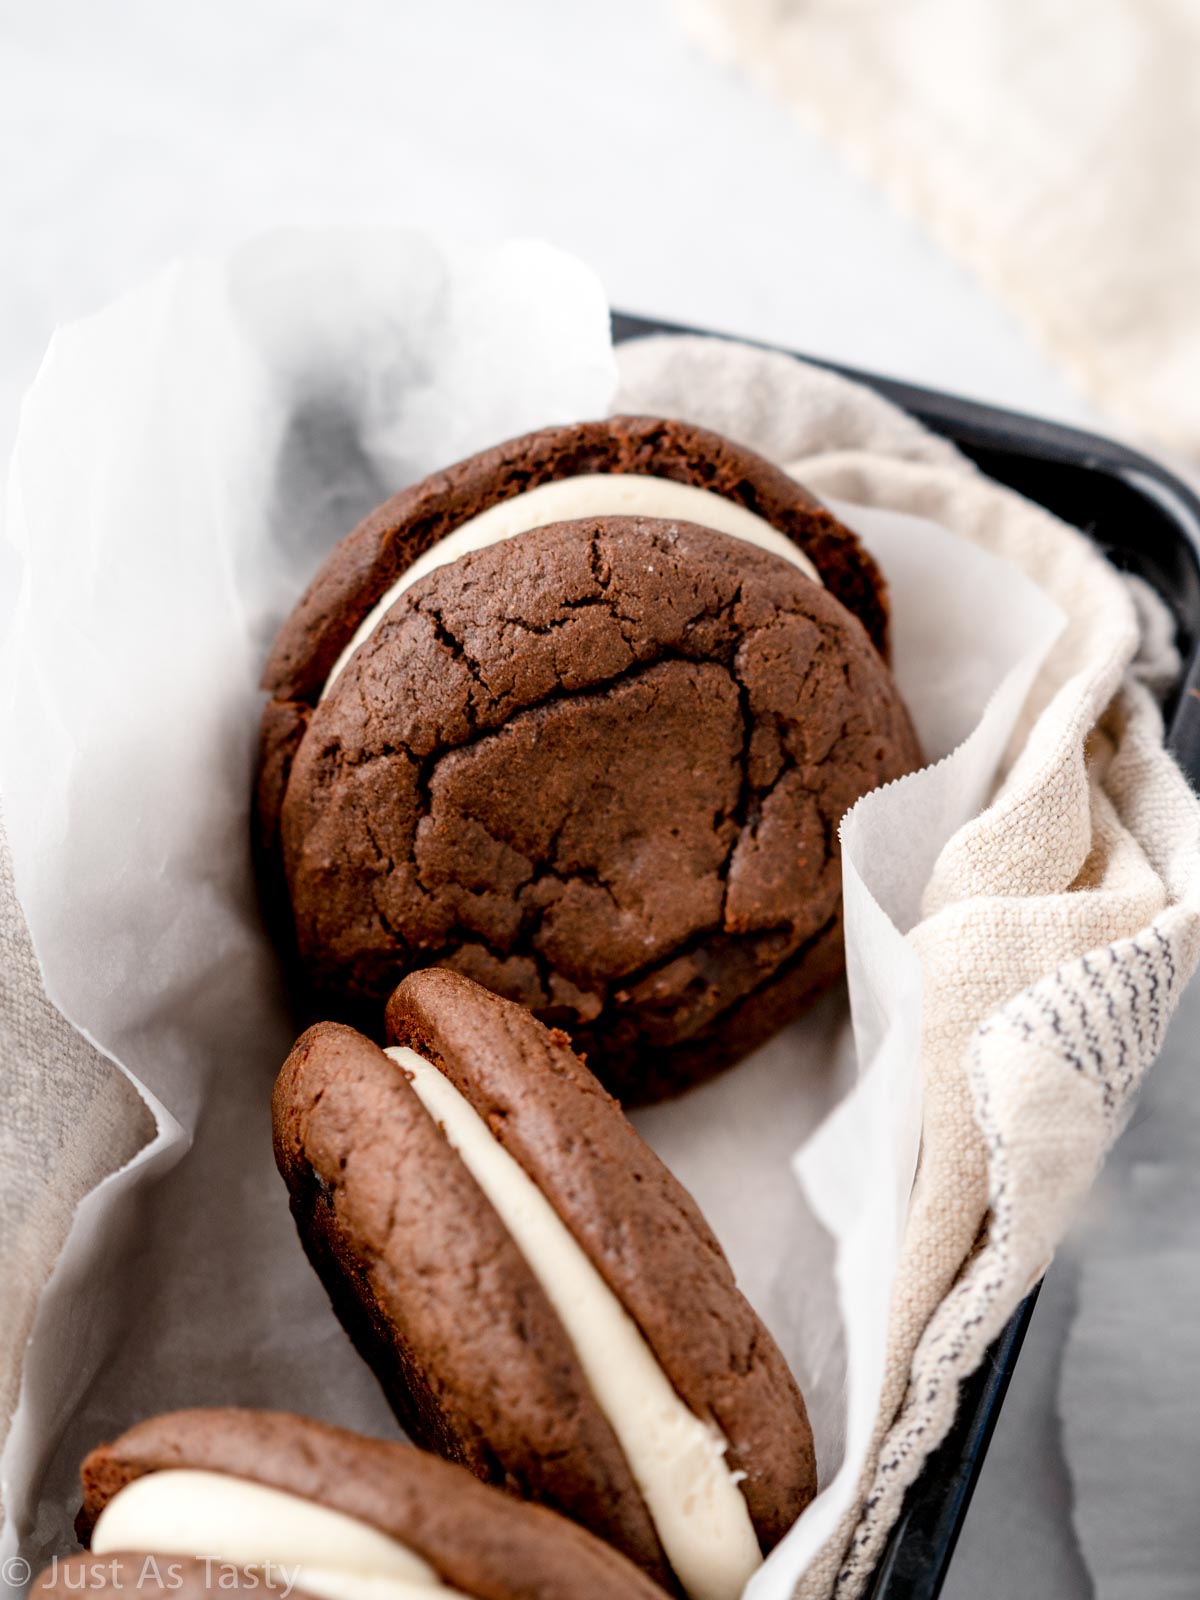
- They're just so soft and cakey! It's like biting into a frosted chocolate cake, but in fun whoopie pie-form.
- This is such a simple and straightforward recipe. It takes no time at all and you end up with one seriously impressive treat!
- While we're going with a classic buttercream filling here, you can get creative. More on that below.
Ingredient Notes and Substitutions
- Gluten free flour: My favorite gluten free flour blend is Bob's Red Mill 1 to 1. This is the one I use to develop all of my recipes, unless otherwise noted. If you are using a different blend, make sure it contains xanthan gum. And if you are not gluten free, you should be able to substitute AP flour since this is a cup-for-cup blend.
- Cocoa powder: Make sure to use natural unsweetened cocoa powder. You do not want to use Dutch-process, as the two are not interchangeable.
- Milk: I highly recommend using whole milk for this recipe, not lowfat. It adds a nice richness to the cookies.
- Egg replacer: Be sure to follow the instructions on the egg replacer, if using. If you're not looking to make these whoopie pies without eggs, feel free to use 1 egg instead.
- Powdered sugar: I'll be honest with you, I rarely sift my powdered sugar. If yours happens to be extra clumpy, feel free to sift before adding to the butter for the filling.
Step-By-Step Instructions
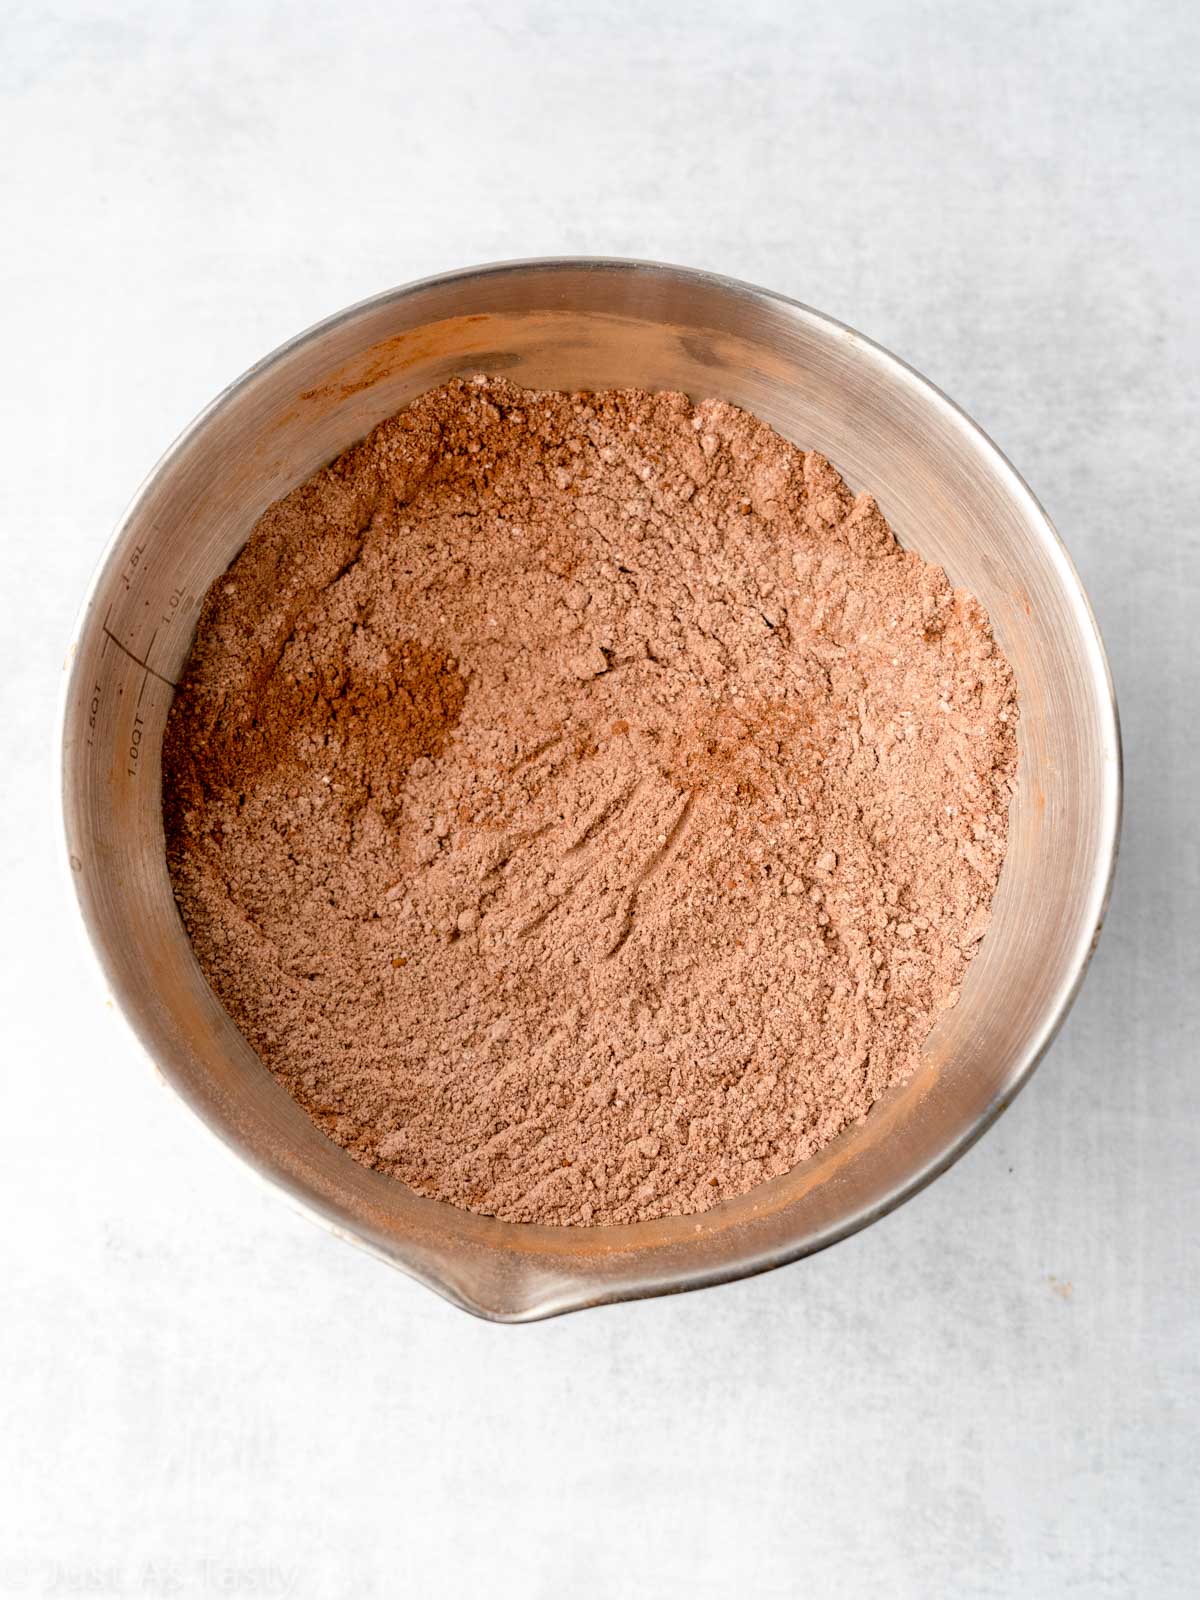
STEP ONE: Combine the dry ingredients. Whisk the flour, cocoa powder, baking soda, and salt together and set aside.
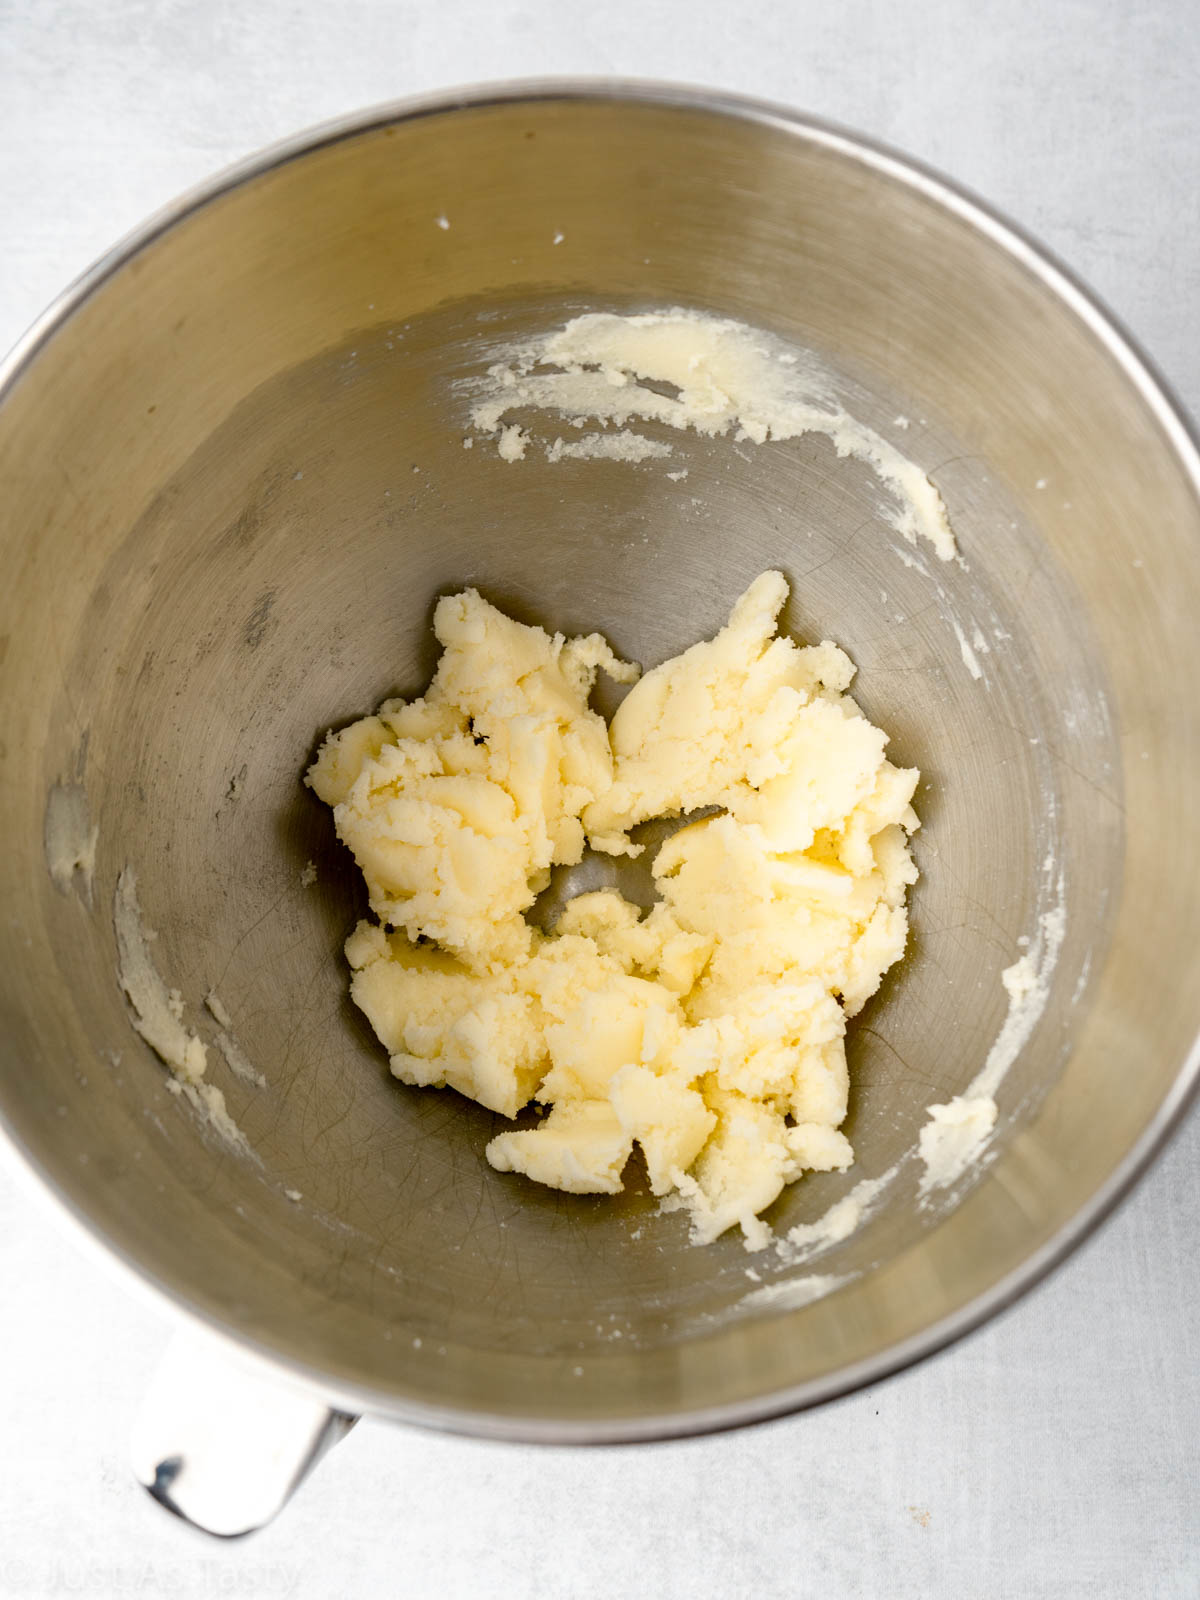
STEP TWO: Cream the butter with the sugar. You can let the mixer run for about 1-2 minutes, until it's completely smooth and slightly lighter in color.
STEP THREE: Add the remaining wet ingredients. Mix in the milk, egg replacer, and vanilla extract.
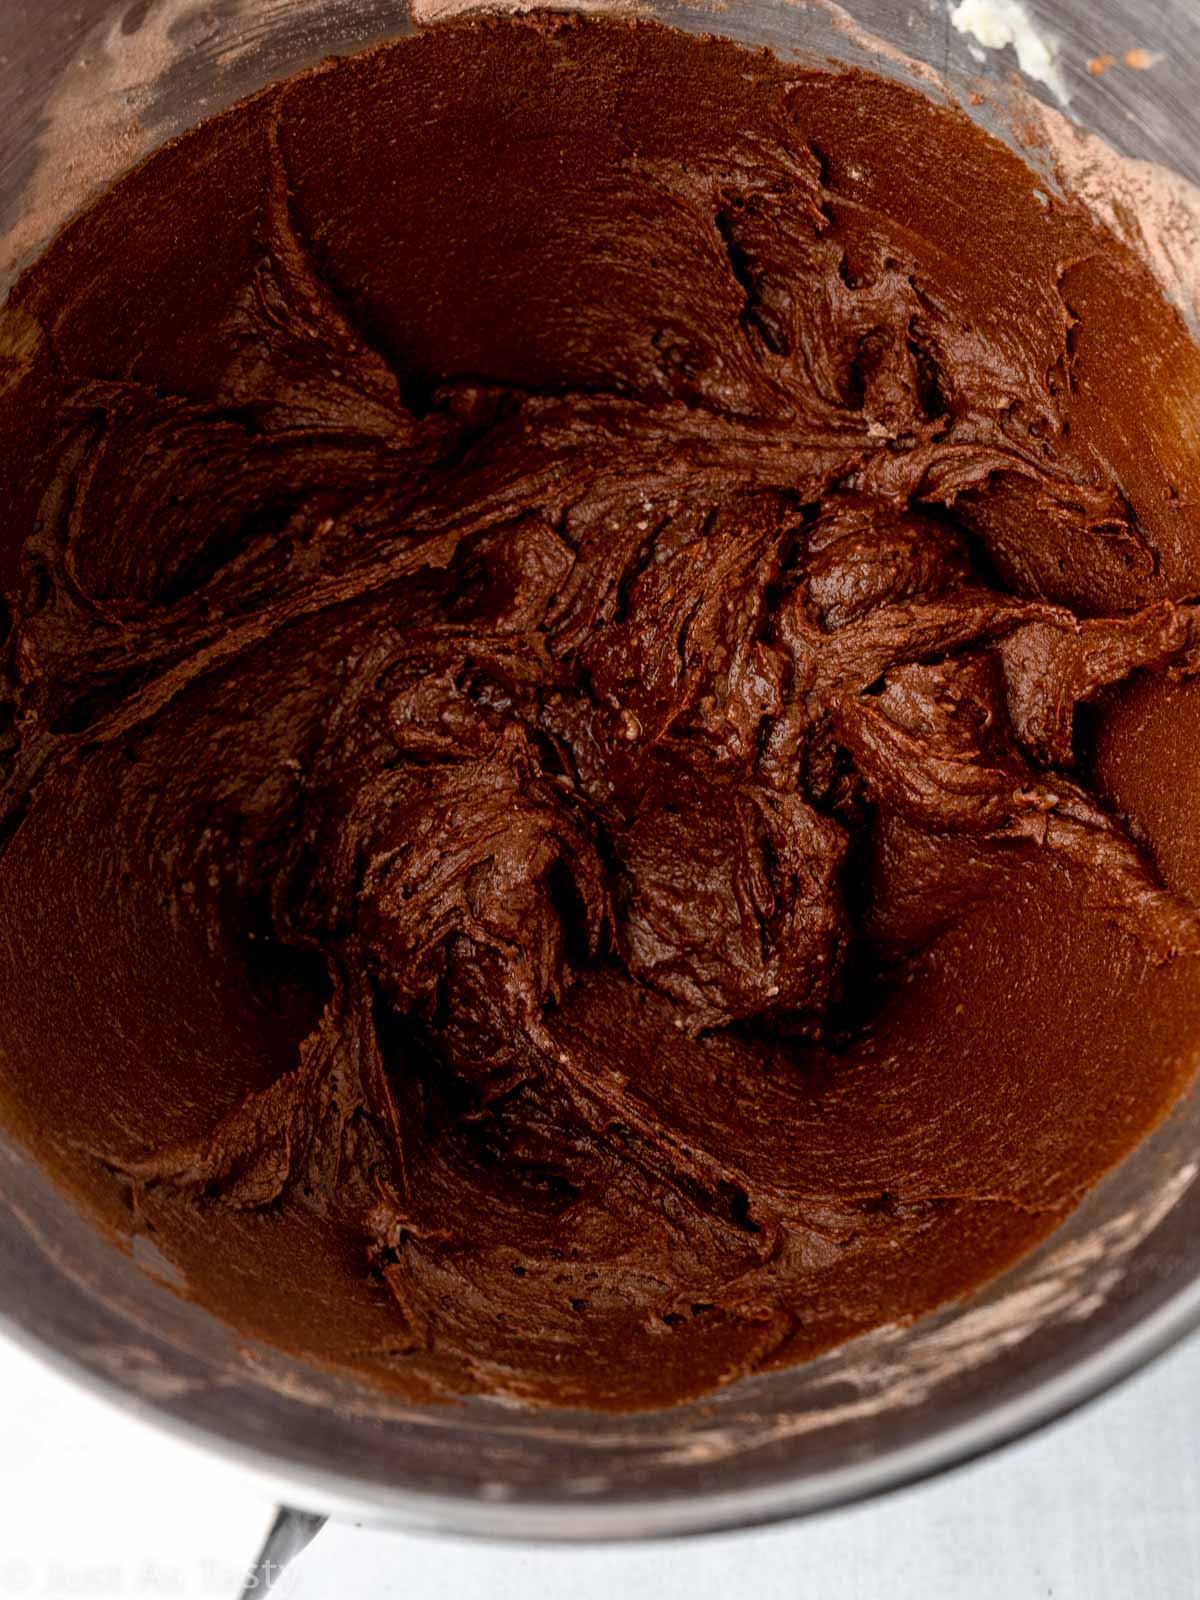
STEP FOUR: Add the dry ingredients. Mix on low speed until fully combined.
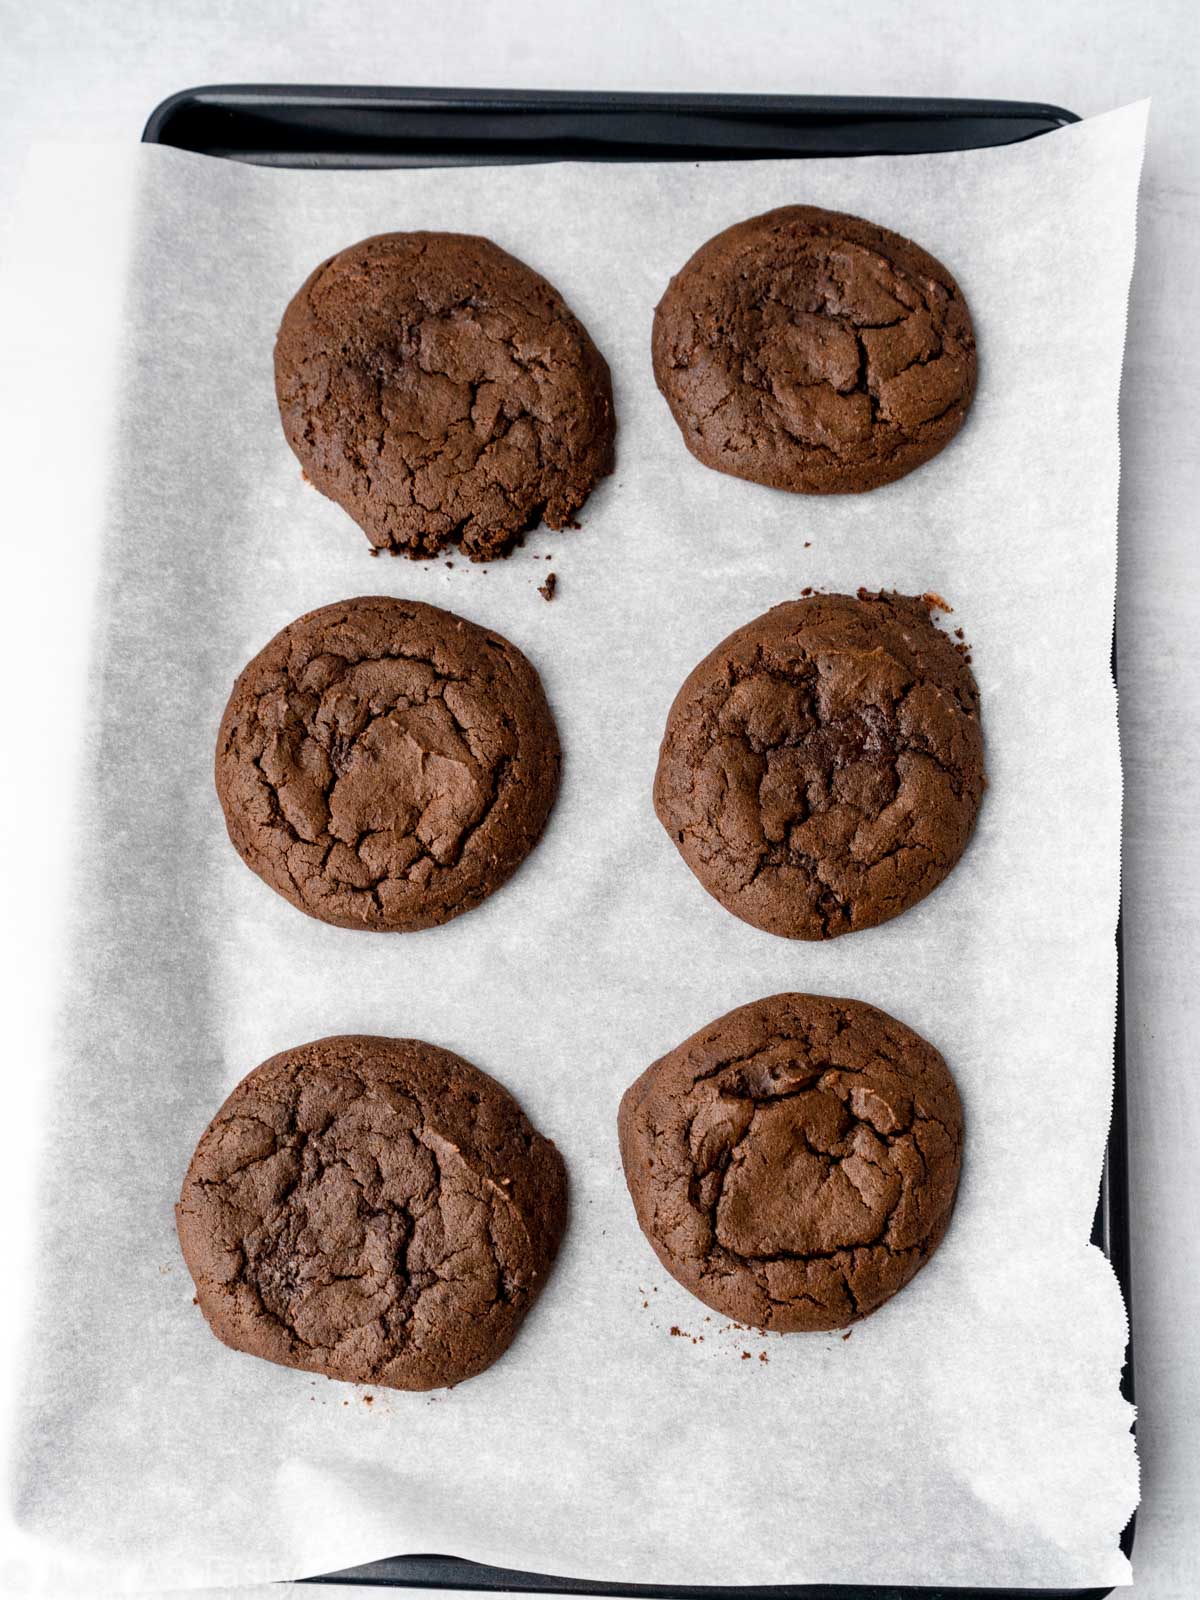
STEP FIVE: Scoop out the batter and arrange onto a lined baking sheet, two inches apart. Bake for 10-12 minutes, or until the cookies are puffy and you see cracks on top.
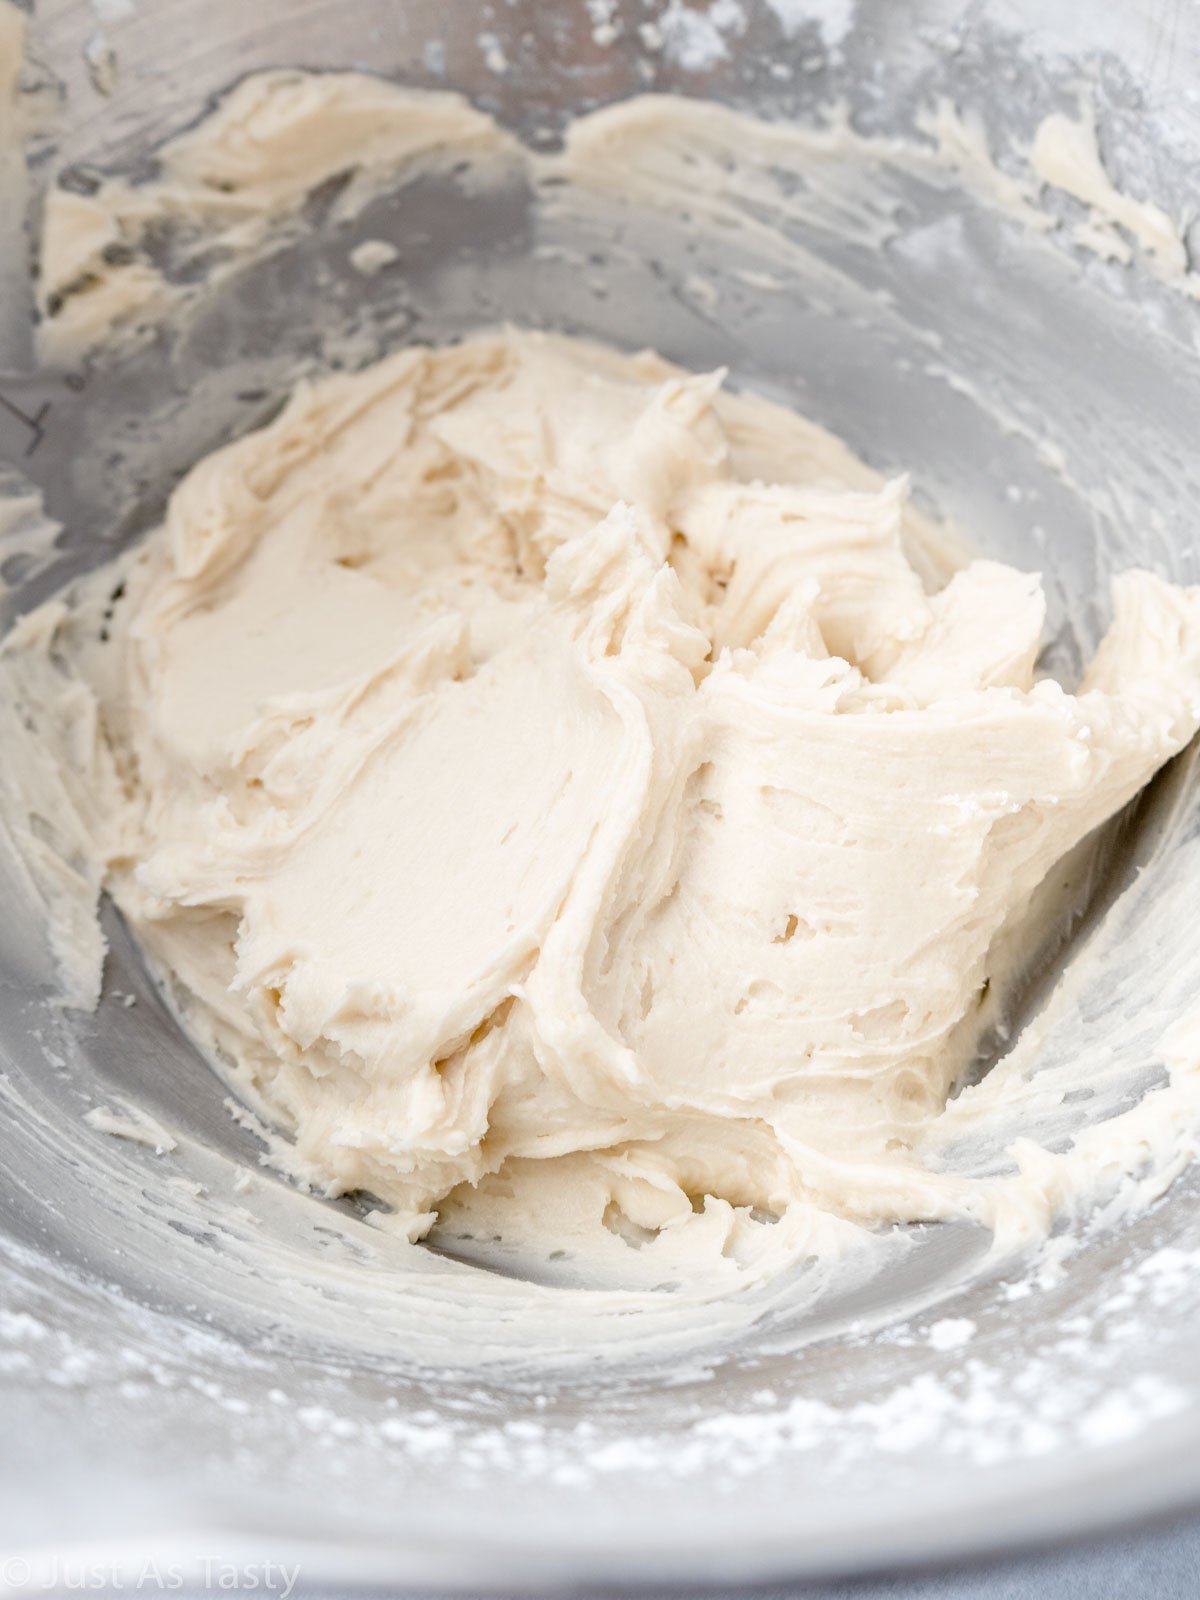
STEP SIX: Make the buttercream filling. Beat the butter with the powdered sugar and vanilla, then add in the milk, one tablespoon at a time.
STEP SEVEN: Assemble the whoopie pies. Wait until the cookies have cooled completely, then pipe or spread the filling onto the flat side of half of the cookies. Top with the remaining cookies to make sandwiches.
Expert Tips
- My top tip when it comes to baking is always to use a scale to weigh your dry ingredients, particularly the flour. This is so important because it ensures accuracy - that's the reason I include weight in grams in my recipes!
- The cookie scoop I use to make these chocolate whoopie pies is about 2-3 tablespoons, for reference.
- The cookies do spread quite a bit. That's what we want - big, cakey cookies! So make sure to arrange them a few inches apart on the baking sheet. I typically bake these in two batches.
- You really want to wait until the cookies have cooled completely before picking them up and adding the buttercream filling. These cookies are super soft, so they will likely fall apart if you pick them up while they are still warm.
- If the cookies have cooled and are still falling apart while assembling, pop them in the refrigerator to chill for about 10 minutes before continuing.
Frequently Asked Questions
These whoopie pies are made with a buttercream filling. Other common fillings include marshmallow fluff and cream cheese frosting.
You can store the whoopie pies in an airtight container at room temperature for 1-2 days. After that, I recommend moving them into the refrigerator.
Yes! Wrap each individual whoopie pie tightly in plastic wrap and store in the freezer for up to 3 months.
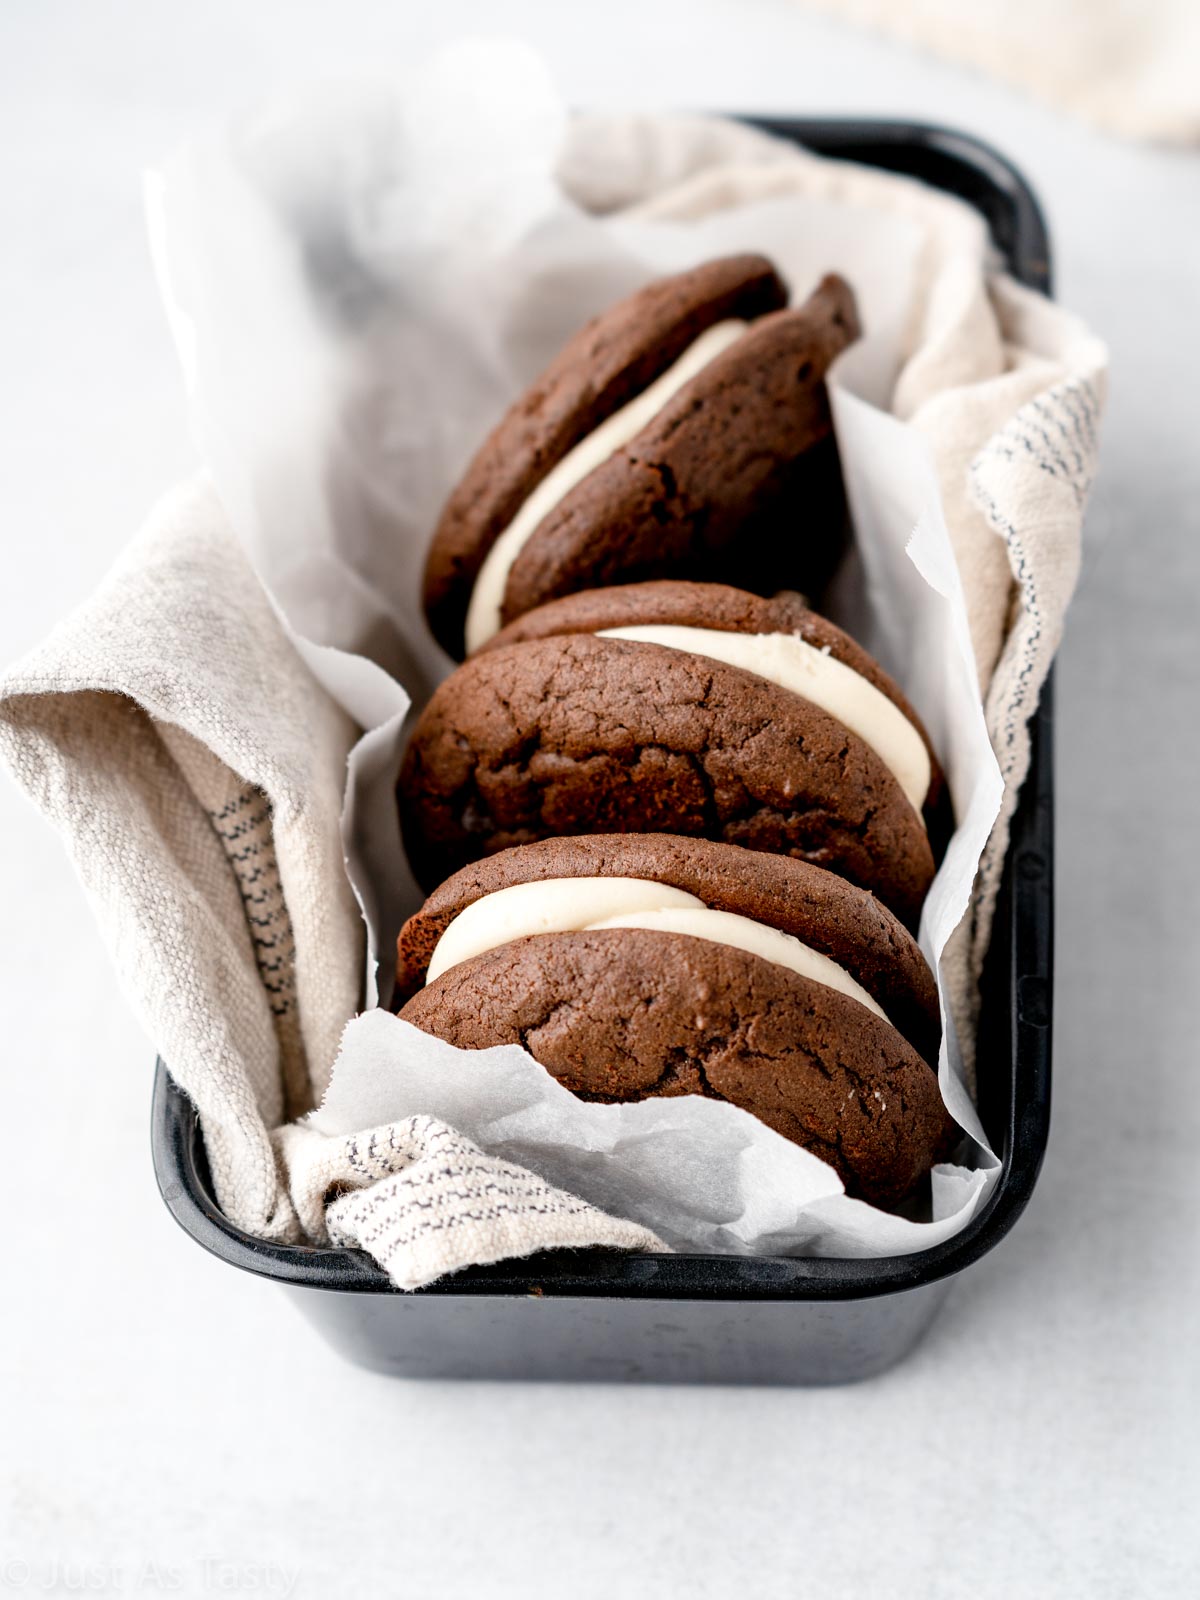
Did you try my gluten free chocolate whoopie pies? Leave me a comment below or tag me on Instagram @justastastyblog and #justastastyblog! And don't forget to subscribe to get new recipes directly in your inbox.
📖 Recipe

Homemade Chocolate Whoopie Pies (Gluten Free)
Ingredients
- 1 ¾ cups (259g) gluten free flour blend
- ½ cup (42g) unsweetened cocoa powder
- 1 teaspoon baking soda
- ½ teaspoon fine sea salt
- ½ cup (113g) unsalted butter room temperature
- 1 cup (200g) granulated sugar
- 1 cup (240ml) whole milk room temperature
- 1 tablespoon Bob's Red Mill Egg Replacer mixed with 2 tablespoon water
- ½ teaspoon vanilla extract
For the buttercream filling:
- ½ cup (113g) unsalted butter room temperature
- 3 cups (360g) powdered sugar
- ¼ teaspoon vanilla extract
- 3-4 tablespoons whole milk
Instructions
- Preheat the oven to 350°F. Line two baking sheets with parchment paper and set aside.
- In a medium bowl, whisk the flour, cocoa powder, baking soda, and salt together. Set aside.1 ¾ cups (259g) gluten free flour blend, ½ cup (42g) unsweetened cocoa powder, 1 teaspoon baking soda, ½ teaspoon fine sea salt
- Using a hand mixer or a stand mixer fitted with the paddle attachment, cream the butter and the sugar until smooth.½ cup (113g) unsalted butter, 1 cup (200g) granulated sugar
- Add the milk, prepared egg replacer, and vanilla and beat to incorporate. Add the dry ingredients and mix on low speed until combined.1 cup (240ml) whole milk, 1 tablespoon Bob's Red Mill Egg Replacer, ½ teaspoon vanilla extract
- Use a large cookie scoop to scoop batter out onto prepared baking sheets, about 2 inches apart. Bake for 10-12 minutes, or until cookies are slightly puffed up with cracks on top. Allow the cookies to cool completely before removing from pans.
- To make the buttercream filling, beat the butter with the powdered sugar and vanilla until combined. Add the milk, one tablespoon at a time, until desired consistency is achieved.½ cup (113g) unsalted butter, 3 cups (360g) powdered sugar, ¼ teaspoon vanilla extract, 3-4 tablespoons whole milk
- To assemble, pipe or spread the filling onto the flat side of half of the cooled cookies, then top each with another cookie to create a sandwich.
Notes
- If you are not looking to make these whoopie pies gluten free, you should be able to substitute all-purpose flour without making any adjustments, as I always use a cup-for-cup flour blend.
-
Be sure to follow the instructions on the package of Bob's Red Mill Egg Replacer. Once mixed with water, the egg replacer must sit for just a few minutes to thicken.
-
If you are not looking to replace eggs, you should be able to use 1 egg instead of the egg replacer.
- The cookies must be completely cooled before handling. They're extra soft, so they will fall apart if moved while still warm. If they do seem to be falling apart as you're trying to fill them, chill in the refrigerator for 10 minutes and then try again.

Dave S says
Coming from Pennsylvania Amish country and moving to upstate Ny, it is hard to find a decent whoopie pie… I had a go to delicious recipe before I needed to go gluten and dairy free… your recipe is the first I’ve tried since my dietary changes, and it turned out amazing! The cookies are fantastic… I didn’t make the buttercream frosting as I like the marshmallow butter cream using the same ingredients but adding shortening and extra butter…. I used country crock olive oil butter sticks in the recipe as well as home made almond milk with excellent results…. We ate several and wrapped each individually and froze the rest as quick snacks in the future. I want to share this recipe with everyone!!
Taleen Benson says
That's so great to hear, thanks so much for the comment Dave!