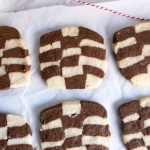
These checkerboard icebox cookies are SO buttery and delicious! You get the best of both worlds with both chocolate and vanilla flavors in each and every bite.
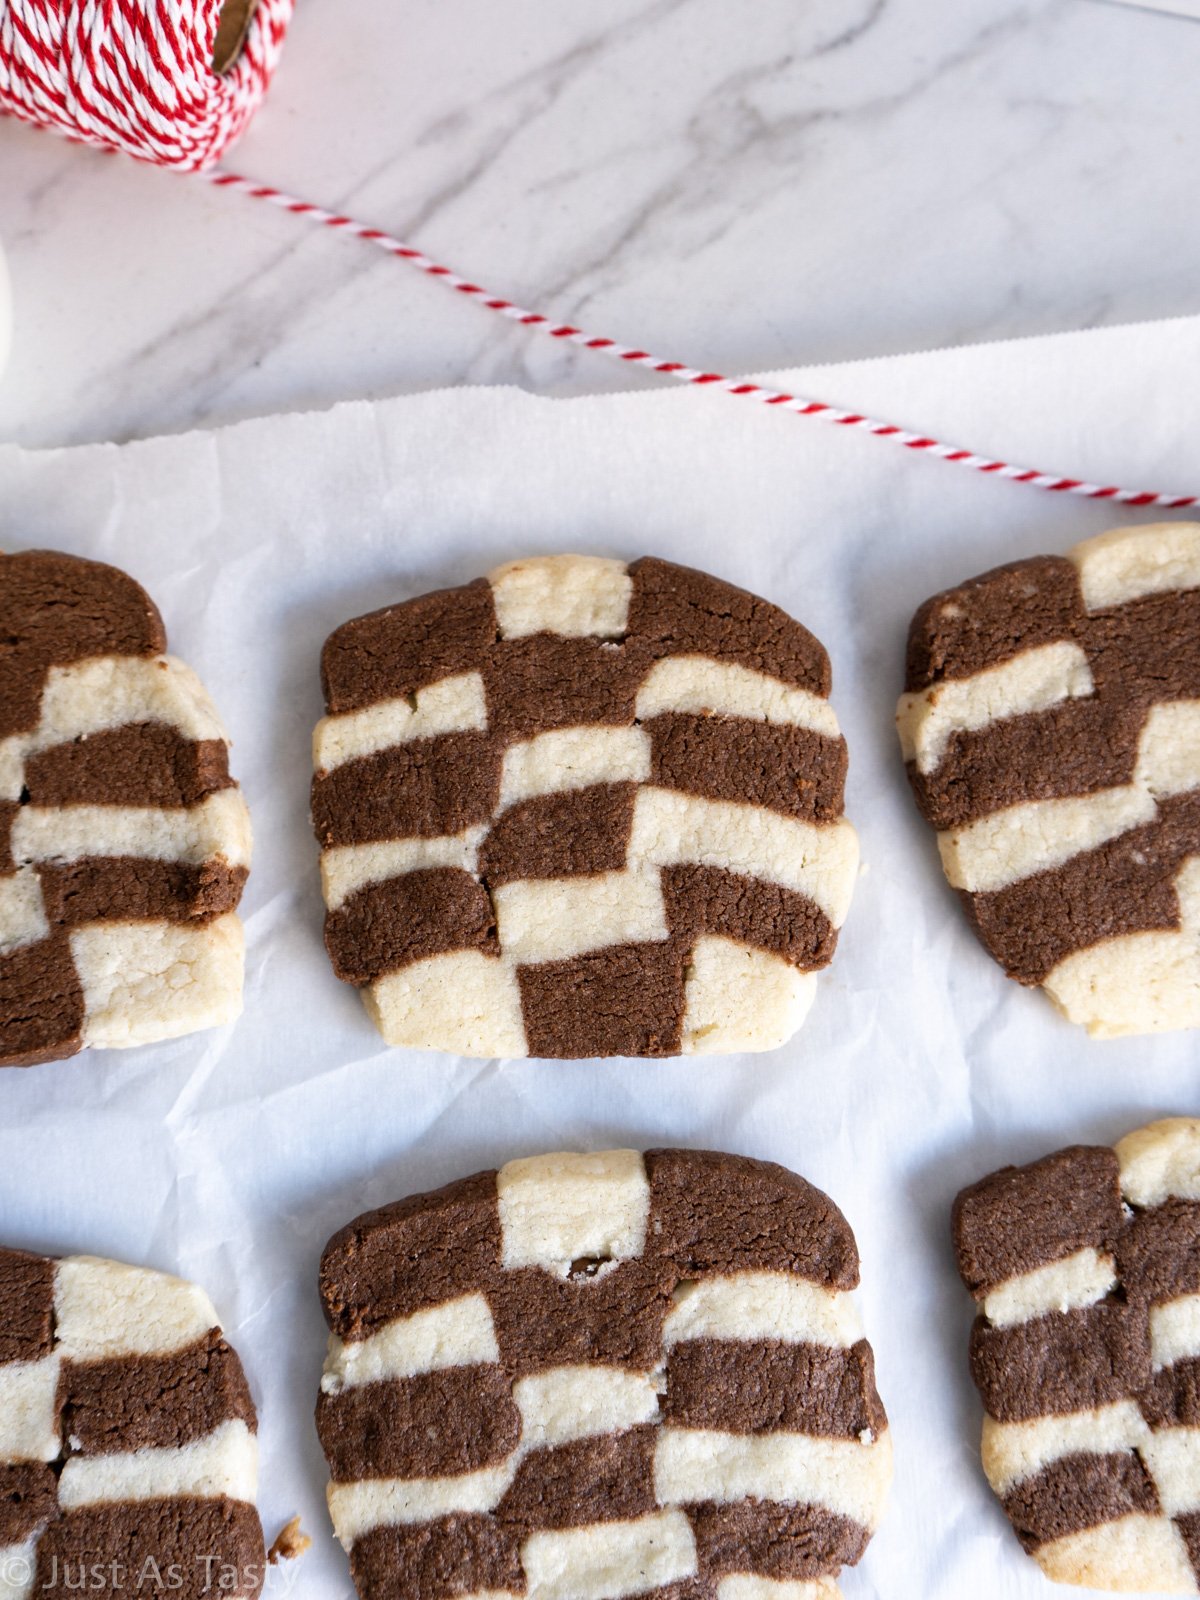
If you have never had a checkerboard cookie, let me just say... you are truly missing out. These are especially perfect for someone like me, who always has a hard time picking between chocolate and vanilla. I just love both!
Not only do these cookies just look appealing, they truly are delicious but only call for the simplest of ingredients.
Now, before I actually attempted to make these, I always admired them from afar. I was convinced that this whole process would just be too complicated and time-consuming. Thankfully, I was SO wrong.
I do recommend carefully reading through this full post and the recipe before getting started. While it's not difficult, there are several steps and I am talking you through it all.
What Are Icebox Cookies?
If you've never heard of icebox cookies, you may be wondering what I'm even talking about! Icebox cookies are cookies you can keep in the refrigerator (formerly known as an icebox) and pull out at a moment's notice to slice, arrange onto a cookie sheet, and bake.
My version only calls for some basic ingredients, and you can refrigerate the dough for several hours at a time.
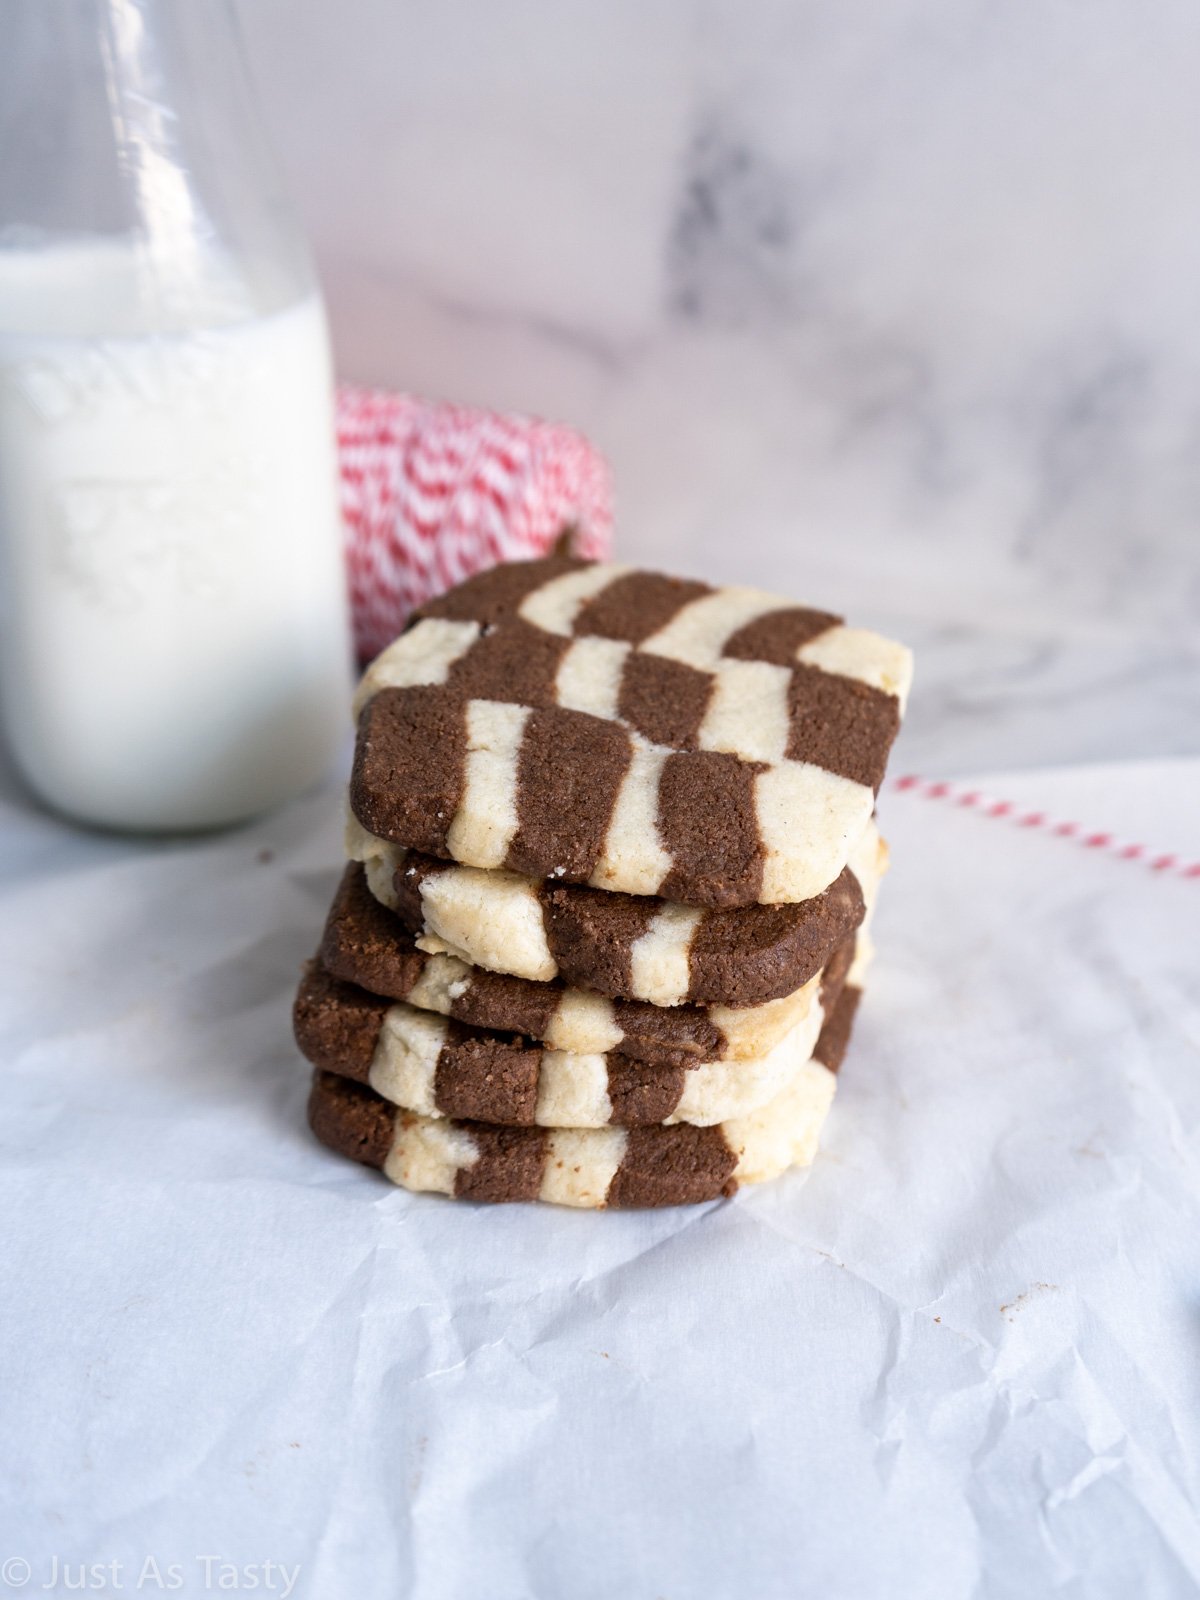
Why You'll Love These Checkerboard Icebox Cookies...
- Just look at them! These cookies are so fun and especially perfect for Christmas.
- Like I mentioned, you really do get the best of both flavors: chocolate and vanilla, in perfect harmony. Plus these cookies are extra buttery.
- I really think you are going to LOVE the texture. These cookies are slightly crisp around the edges but they are soft and, yes I'll say it again, so buttery.
What You'll Need...
- Gluten free flour blend
- Regular readers know, my #1 favorite is Bob's Red Mill 1 to 1 Flour.
- Fine sea salt
- Unsweetened cocoa powder
- Unless otherwise noted, I use natural cocoa powder in all of my recipes, NOT Dutch-process
- Butter
- Sugar
- Vanilla extract
How To Make...
To make my checkerboard icebox cookies, we'll start by making the vanilla dough. Combine the flour and salt in a bowl, and set aside for now.
Grab your mixer and cream the butter and sugar until it's smooth and slightly lighter in color. Add in the vanilla extract, then add the dry ingredients and mix on low speed until it comes together.
Now, remove half of the cookie dough from the bowl and set aside. Add cocoa powder to the remaining dough and mix on low speed until it's been incorporated. Overall, your dough will be very soft.
Next we are going to get both halves ready to chill. Form each half of dough into a rectangle log, measuring about 6 inches long and 2 inches wide. You want both logs to be the same size. Wrap each one (individually) in plastic wrap and chill in the refrigerator for at least an hour.
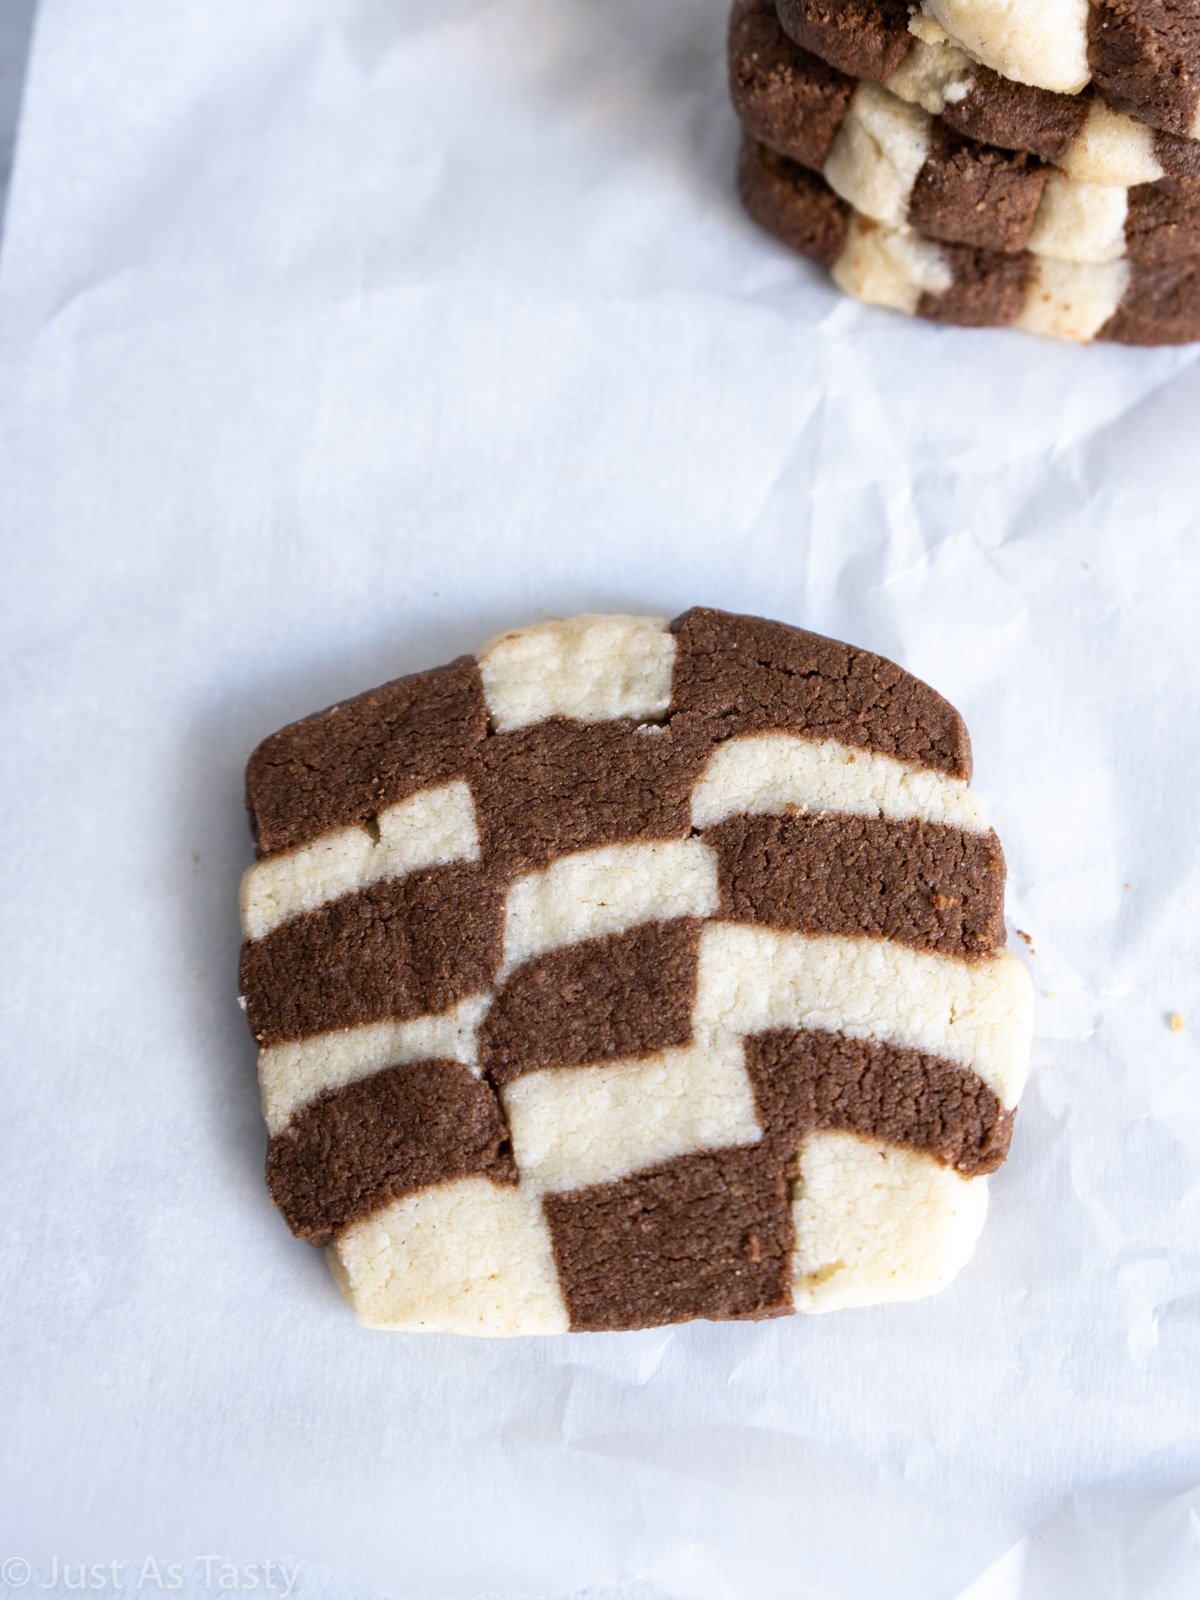
To assemble the cookies, we're going to first take one of the cookie dough logs and slice it up into 3 even-sized strips, lengthwise. Now, turn each strip onto its side (so that it's laying flat) and slice each strip into 3 more narrow strips. You should get 9 strips total. Repeat with the second log.
Now, lay 3 strips of alternating dough side-by-side. Gently push them together to form a new log. Stack the remaining strips on top, creating an alternating checkerboard pattern.
Time to refrigerate again! Wrap the log in plastic wrap and place back in the refrigerator for at least 30 minutes.
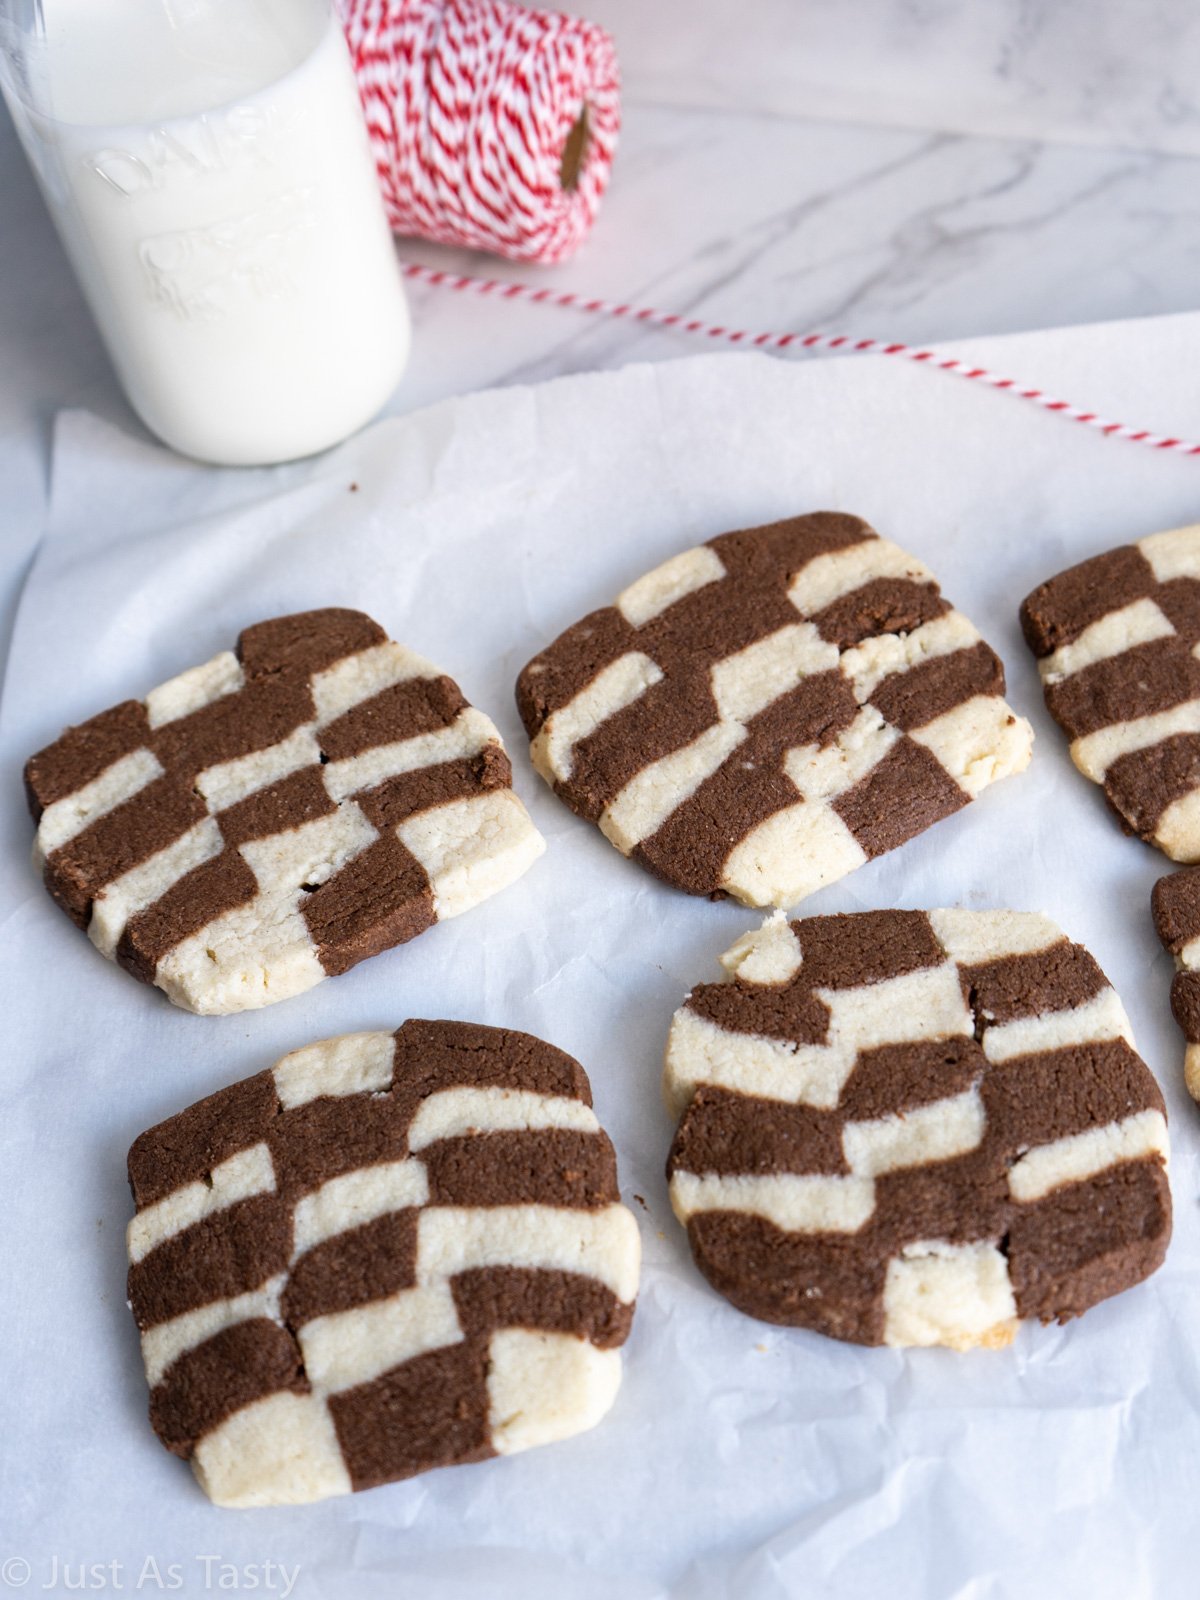
Once the dough has chilled, remove from the refrigerator and slice into individual cookies, about ¼ inch thick. Arrange on a few lined baking sheets and bake on 350ºF for 10 minutes. Allow the cookies to cool completely before removing from the baking sheets.
Tips For Making The Best Checkerboard Cookies...
- As always, I highly recommend weighing the flour rather than using measuring cups. Too much flour will definitely change the texture, and these cookies are meant to be soft and buttery, not crunchy. We need 296 grams of flour for this recipe.
- This is a soft cookie dough, and it may start to break apart when you are cutting the strips and/or assembling the cookies. This is totally ok! The nice thing about this dough is it's also pliable and should stick if you just use your hands to press it back together.
- The chill time is very important and should not be skipped. Because we're using a lot of butter, we need to chill the dough to avoid too much spreading in the oven.
- The bake time on this recipe is 10-12 minutes. I recommend checking at the 10 minute mark, just because every oven is different. These cookies are meant to be slightly crisp around the edges but otherwise very soft.
Ingredient Substitutions...
- You should be able to make these checkerboard cookies vegan by using your favorite non-dairy butter. I haven't tested it, but I don't see why it wouldn't work.
Did you try my checkerboard icebox cookies? Leave me a comment below or tag me on Instagram @justastastyblog and #justastastyblog! And don't forget to subscribe to get new recipes delivered straight to your inbox.

Just As Tasty: Gluten-Free & Eggless Baking Through the Seasons
Be sure to check out my cookbook for tons of festive and easy-to-make gluten-free treats! From Valentine's Day and Easter to the holiday season and every celebration in between, this book has got you covered.
For More Gluten Free Cookie Recipes, Try My...
📖 Recipe
Checkerboard Icebox Cookies - Gluten Free, Eggless
Ingredients
- 2 cups (296g) gluten free flour blend
- ½ teaspoon fine sea salt
- 1 cup (226g) unsalted butter room temperature
- ½ cup (100g) granulated sugar
- ½ teaspoon vanilla extract
- ¼ cup (20g) unsweetened cocoa powder
Instructions
- In a medium bowl, whisk the flour and salt together. Set aside.
- Using a hand mixer or a stand mixer fitted with the paddle attachment, cream the butter with the sugar. Add the vanilla extract and beat to incorporate. Add the dry ingredients and mix on low speed until combined. Divide the dough, leaving half in the mixing bowl. Add the cocoa powder and beat until combined.
- Use your hands to form each half of dough into a rectangle log, measuring about 6 inches long and 2 inches wide. Make sure both logs are the same size. Wrap each one tightly in plastic wrap and chill in the refrigerator for one hour.
- Remove the dough from the refrigerator. Slice each log into 3 even-sized strips. Flip each strip once onto its side and slice into 3 more thin strips, so that you have 9 strips from each log.
- Place 3 alternating strips of dough side-by-side, using your hands to gently press them together. Proceed to stack the remaining strips on top, creating a checkerboard pattern with alternating strips, until all of the cookie dough has been used up. Wrap tightly in plastic wrap and chill in the refrigerator for another 30 minutes.
- Preheat the oven to 350°F. Line baking sheets with parchment paper and set aside.
- Remove the cookie dough from the refrigerator. Slice into individual cookies, about ¼ inch thick, and arrange on prepared baking sheets. Bake for 10-12 minutes. Allow the cookies to cool on the baking sheets completely before removing. The cookies will be soft.
Notes
- If the cookie dough starts to break apart as you are cutting the strips or assembling the checkerboard pattern, simply use your hands to press it back together. It should stick together very easily.
- I wanted to make big cookies, so I stacked all of the strips together to form larger cookies. If you'd like, you can form two stacked logs, using up 9 strips total for each. This will give you smaller cookies.

Leave a Reply