
This easy homemade fudge recipe is so quick to whip up, you can make it for any impromptu party or gathering, or simply when a chocolate craving hits! The recipe only calls for a handful of ingredients.
I've always found classic fudge to be so appealing. I mean, what's not to love? It's rich and creamy and delicious. Any time I see a selection of fudge flavors in a candy shop, I have to stop and browse. Okay, maybe I also buy a piece.. or two.. because, you know, I have to taste test the different variations. Market research, and all that.
But there's just something about homemade fudge that really is irresistible. Whether it's classic chocolate fudge, which is what we're making here today, or another fun flavor (like maple). Homemade is the way to go, for sure. It's a lot easier than you would think!
Another great thing about fudge for us here on this blog is that it's naturally gluten free and eggless! So it can be a pretty allergy friendly treat.
My easy fudge recipe is NOT dairy free (as I've mentioned before here, my recipes typically contain dairy because that's not an allergen we need to avoid). But I think there are ways to make your own dairy free condensed milk, if that's something you're interested in.
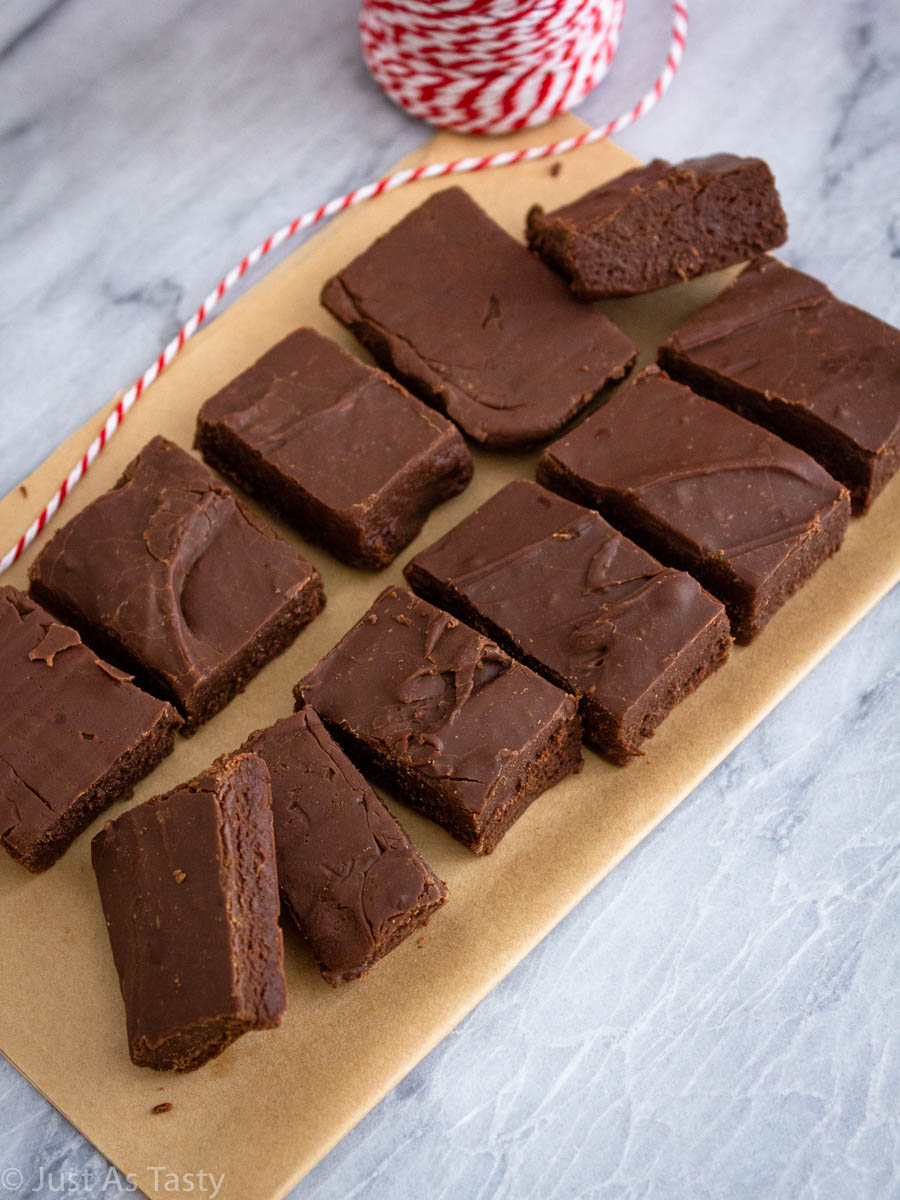
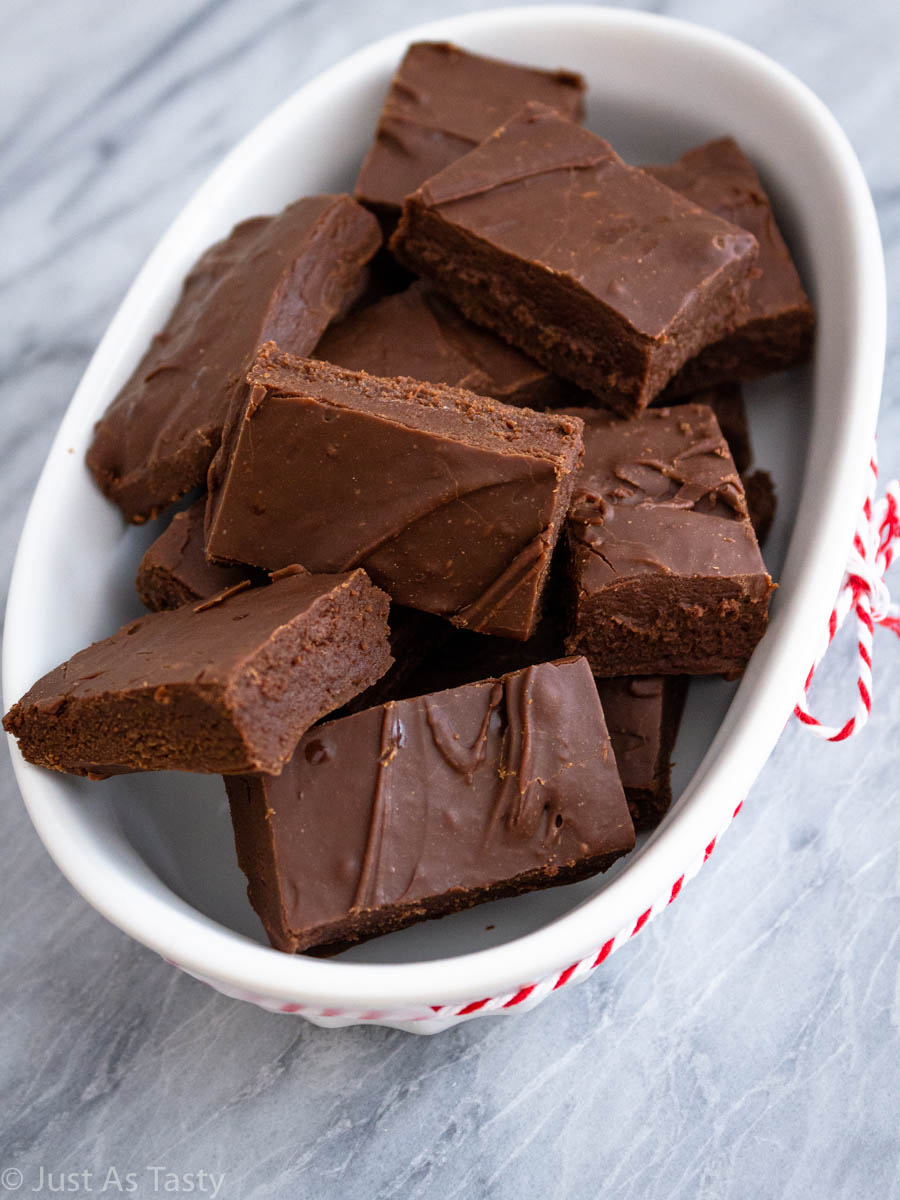
Anyways! I digress. What I'm trying to say is this easy homemade fudge is about to become a go-to recipe for you. I can just feel it. It's especially perfect for this time of year. Wrap a few pieces up nicely with some festive ribbon, and it's a perfect gift for neighbors or a stocking stuffer for your kids!
Why You'll Love This Homemade Fudge...
- This easy fudge recipe only calls for 4 ingredients! It really doesn't get much simpler. Plus, no candy thermometer needed. As far as equipment goes, you just need a heavy-bottomed saucepan, a square baking pan, and parchment paper.
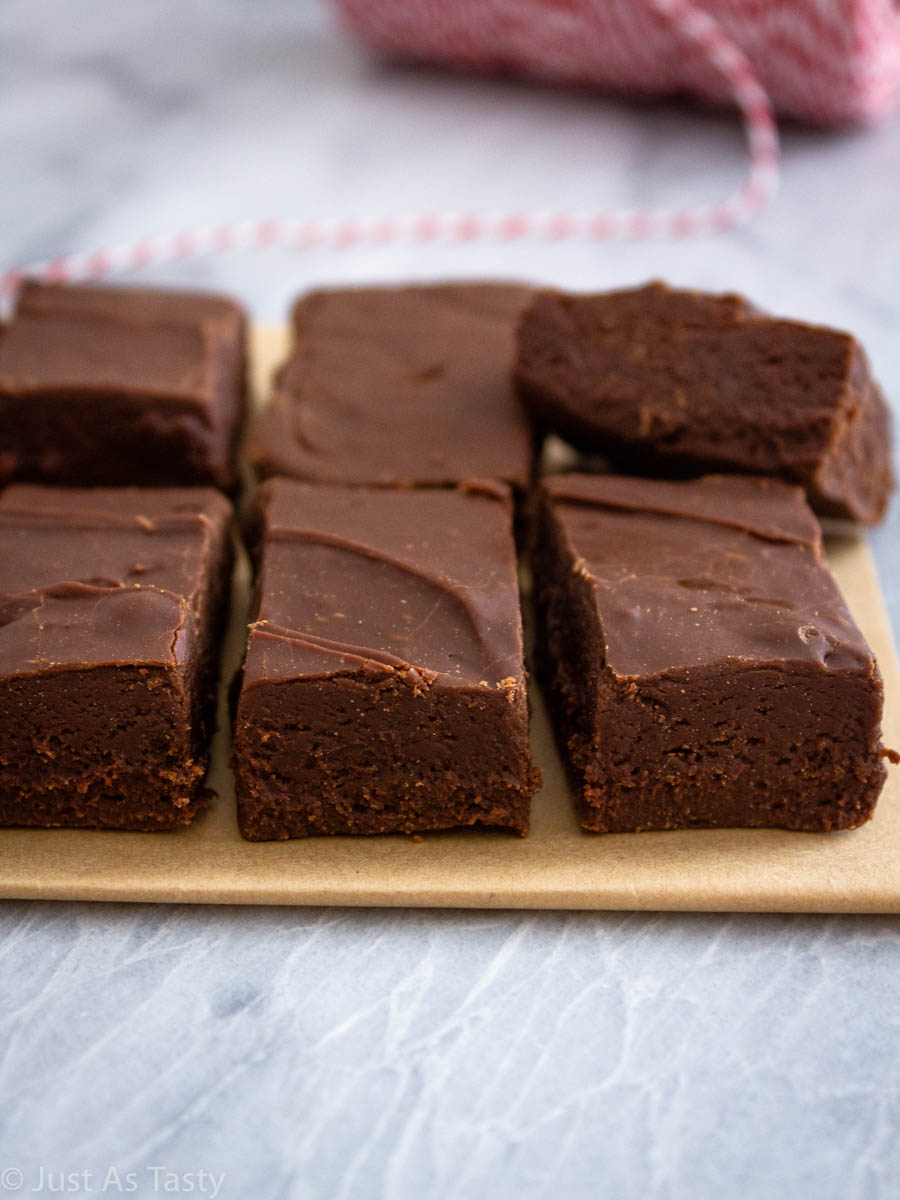
- This is such a rich and creamy treat. Even just one small piece is enough to satisfy any sweet tooth.
- The sea salt. This is NOT optional. It's such a delicious touch and complements the richness of the chocolate perfectly.
What You'll Need...
- The essentials: sweetened condensed milk + semisweet chocolate.
- To enhance the chocolate flavor: espresso powder + sea salt.
Can I Use Evaporated Milk Instead Of Condensed Milk For Fudge?
The short answer: no. Evaporated milk and sweetened condensed milk are two different products. While they are both thick and creamy, because they are both made by heating milk to remove some of its water content, evaporated milk is unsweetened and simply won't work in this recipe.
Luckily, sweetened condensed milk is super easy to find at any grocery store. Just look for it in the baking aisle.
How To Make Homemade Fudge From Scratch...
As I mentioned above, I really think you'll be surprised by how quick and simple this homemade fudge recipe is. To make my easy chocolate fudge, add all four ingredients into a heavy-bottomed saucepan. I'm specifying this because they are thicker and will distribute the heat more evenly... any other saucepan might get too hot and burn your mixture.
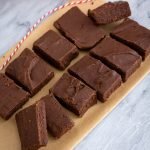
Stir everything together and melt over low heat. Continue to stir throughout the whole process. You'll know that your mixture is ready when the chocolate has fully melted, thickened slightly, and has a glossy look to it. Annnnd you're done. Seriously!
Pour the chocolate fudge mixture into a parchment-lined square baking pan. Pro tip: make sure the parchment paper is slightly larger than your pan. Having some overhang helps you pull the paper out when the fudge has set, which is way easier to slice vs. trying to slice while the fudge is still in the pan.
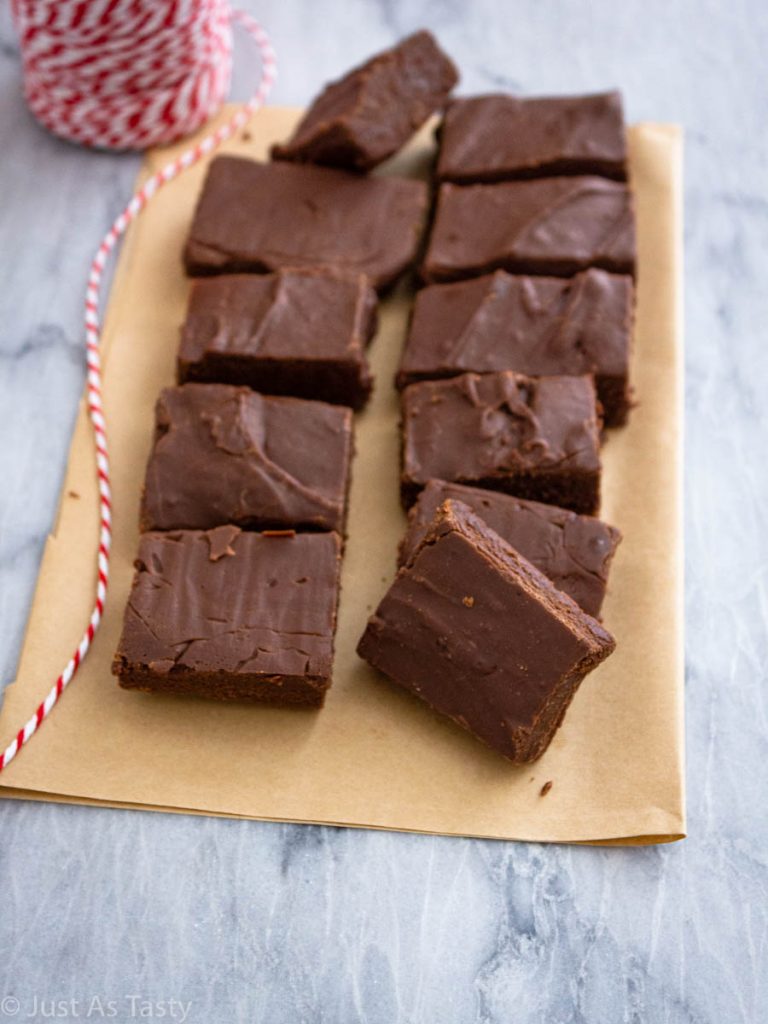
Set the homemade fudge aside for 1-2 hours just so it sets up. After that, you're ready to slice up and serve! Be sure to store any leftover fudge at room temperature.
Can Homemade Fudge Be Frozen?
You might be pleased to know that you can absolutely freeze homemade fudge. To freeze your fudge, simply wrap up the individual pieces in plastic wrap then, for an added layer of security, you can place it all in a zip-top bag. You should be able to freeze the fudge for up to 3 months without any issues.
Did you make my homemade fudge? Leave me a comment below or tag me on Instagram @justastastyblog and #justastastyblog!
PS - For you chocolate lovers out there, you HAVE to try my hot cocoa cupcakes, my flourless chocolate cake, and my double chocolate muffins!
📖 Recipe
Homemade Fudge - Gluten Free, Eggless
Ingredients
- 12 ounces semisweet chocolate
- 14 ounces sweetened condensed milk
- 1 teaspoon instant espresso powder
- pinch sea salt
Instructions
- Line a 9" square baking pan with parchment paper and set aside.
- Add all ingredients to a heavy-bottomed saucepan and melt over low heat, stirring consistently. Heat until chocolate has completely melted and mixture looks glossy and thick.
- Pour mixture into prepared pan. Allow to set at room temperature for 1-2 hours before slicing and serving.

Leave a Reply