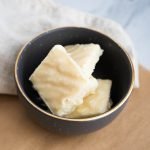
This homemade maple fudge is so creamy, rich, and indulgent! It's super easy to make, too, and only calls for 4 ingredients.
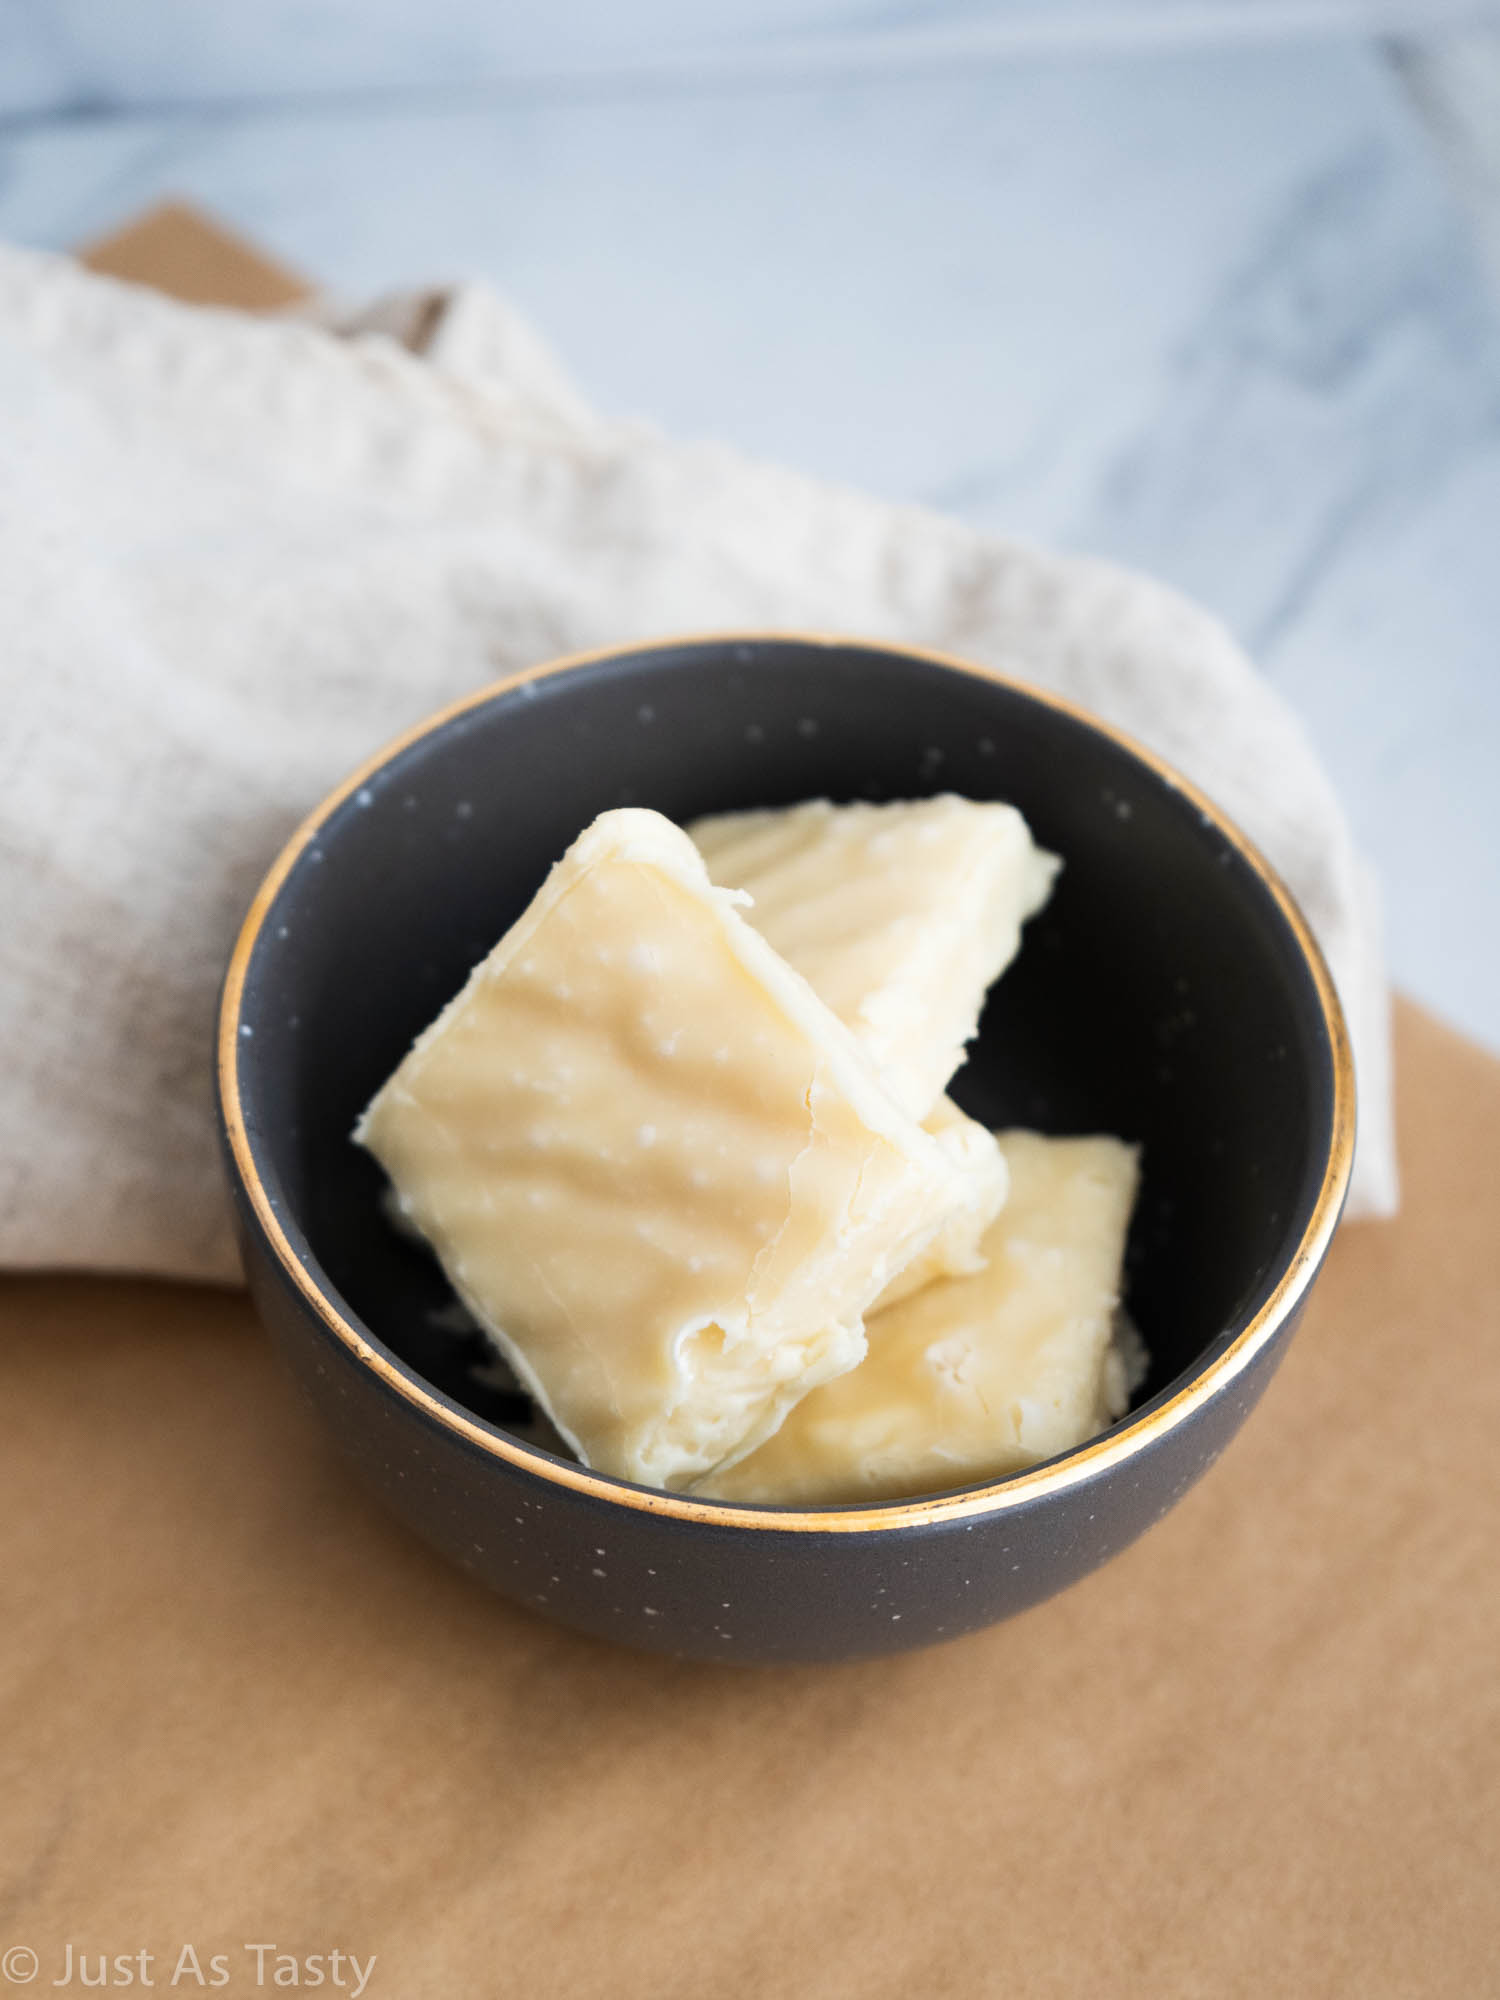
As much as I love to bake (and if you've been around for a while, you know that I LOVE to bake), sometimes it's nice to whip up a quick and easy no-bake dessert. And while I tend to favor no-bake in the summer months, fudge is something I can safely say that I enjoy year-round.
Coming up with different flavors of homemade fudge is so fun for me. Considering how much I love all things maple, I knew I had to make a batch of maple fudge at least once this season.
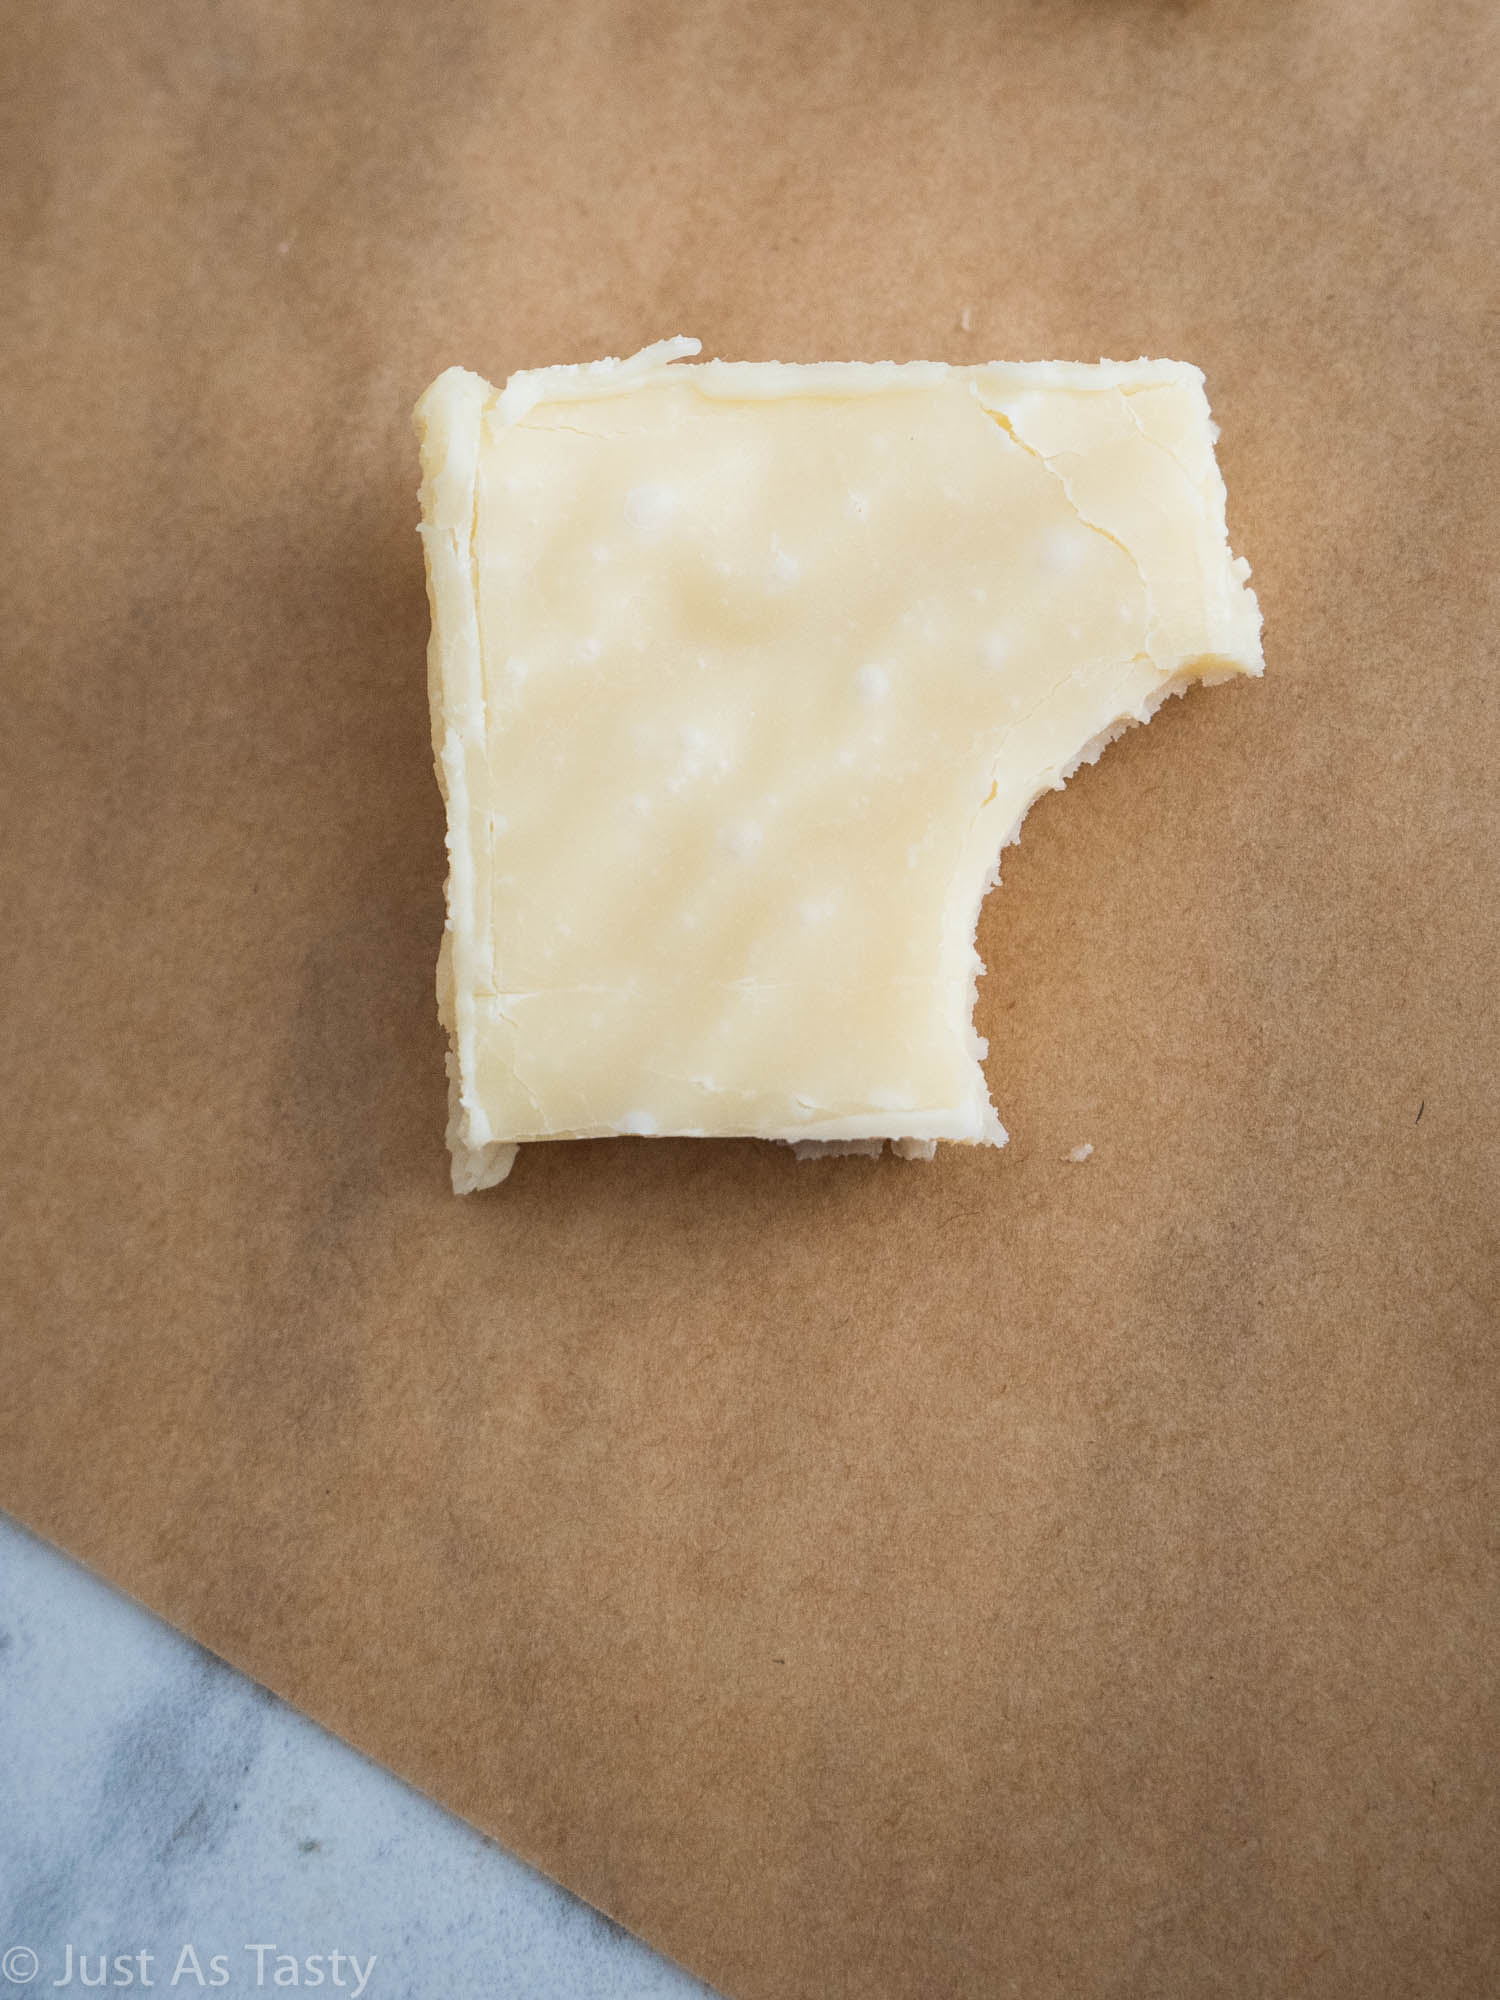
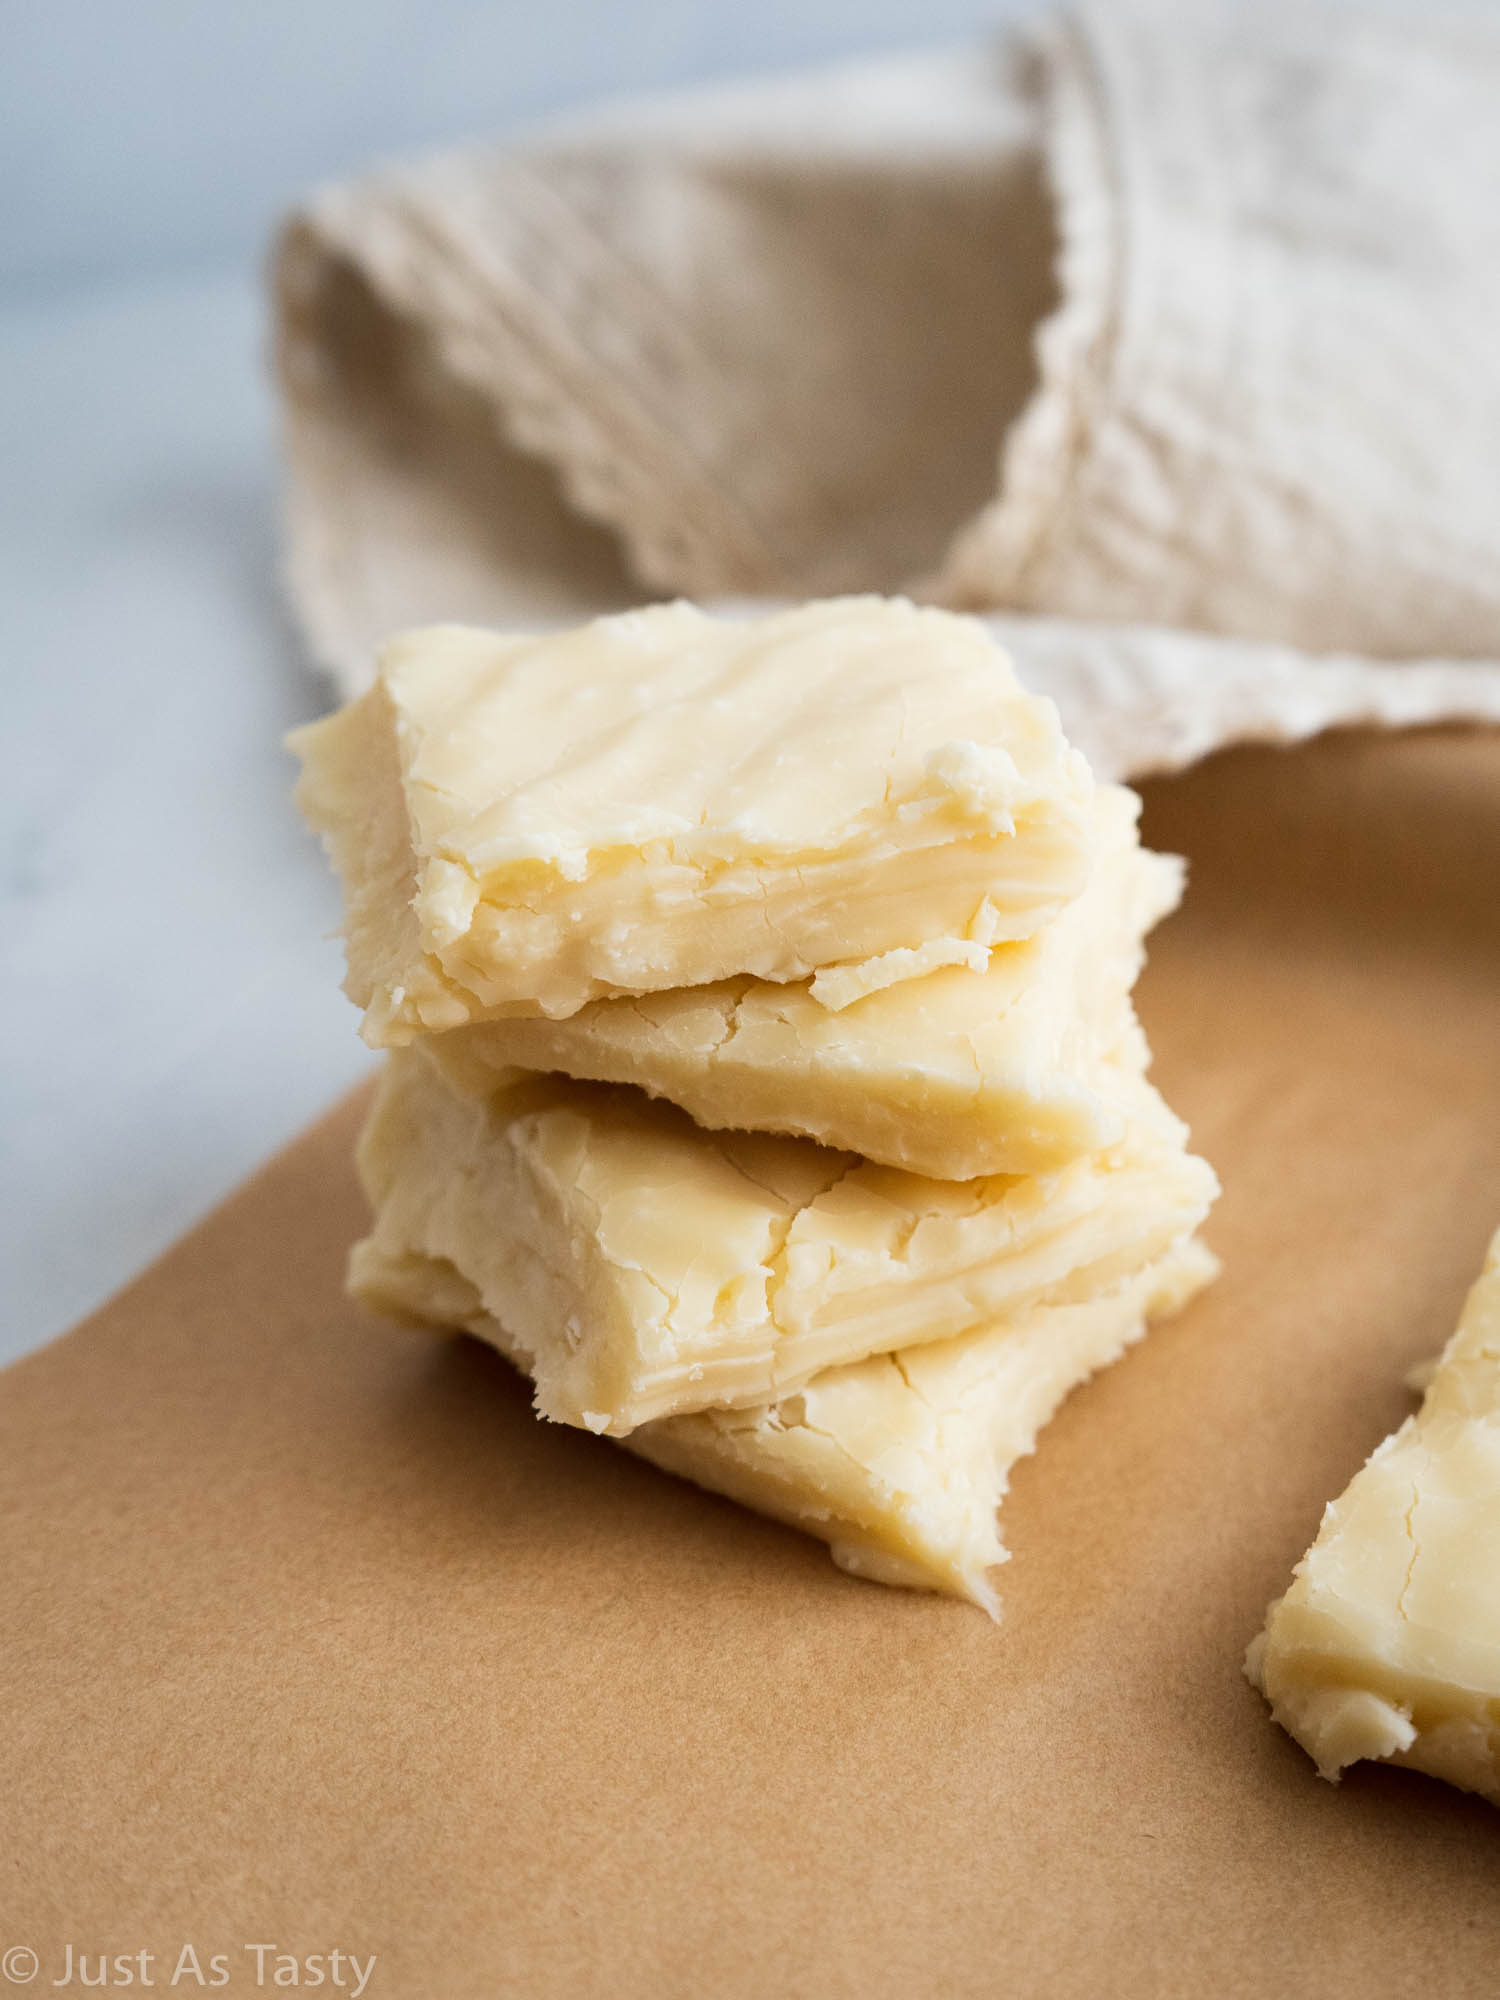
And guess what? I am completely hooked! That's how good this fudge is. It's quite rich, but I find that the sea salt helps balance that all out. Pro tip: you'll likely want to slice up into fairly small pieces because of how rich it is.
Personally, I think this would make a great gift idea, too. All you have to do is grab some pretty packaging and you're good to go. I especially love the idea of homemade fudge as part of a housewarming (or "welcome to the neighborhood") gift.
Why You'll Love This Fudge...
- Just look at the recipe! Delicious dessert with four ingredients and no need to turn on your oven? I call that a win.
- Like I mentioned, this fudge is rich and creamy. Exactly the way quality fudge should be, as far as I'm concerned. This truly tastes like it came from a specialty candy shop.
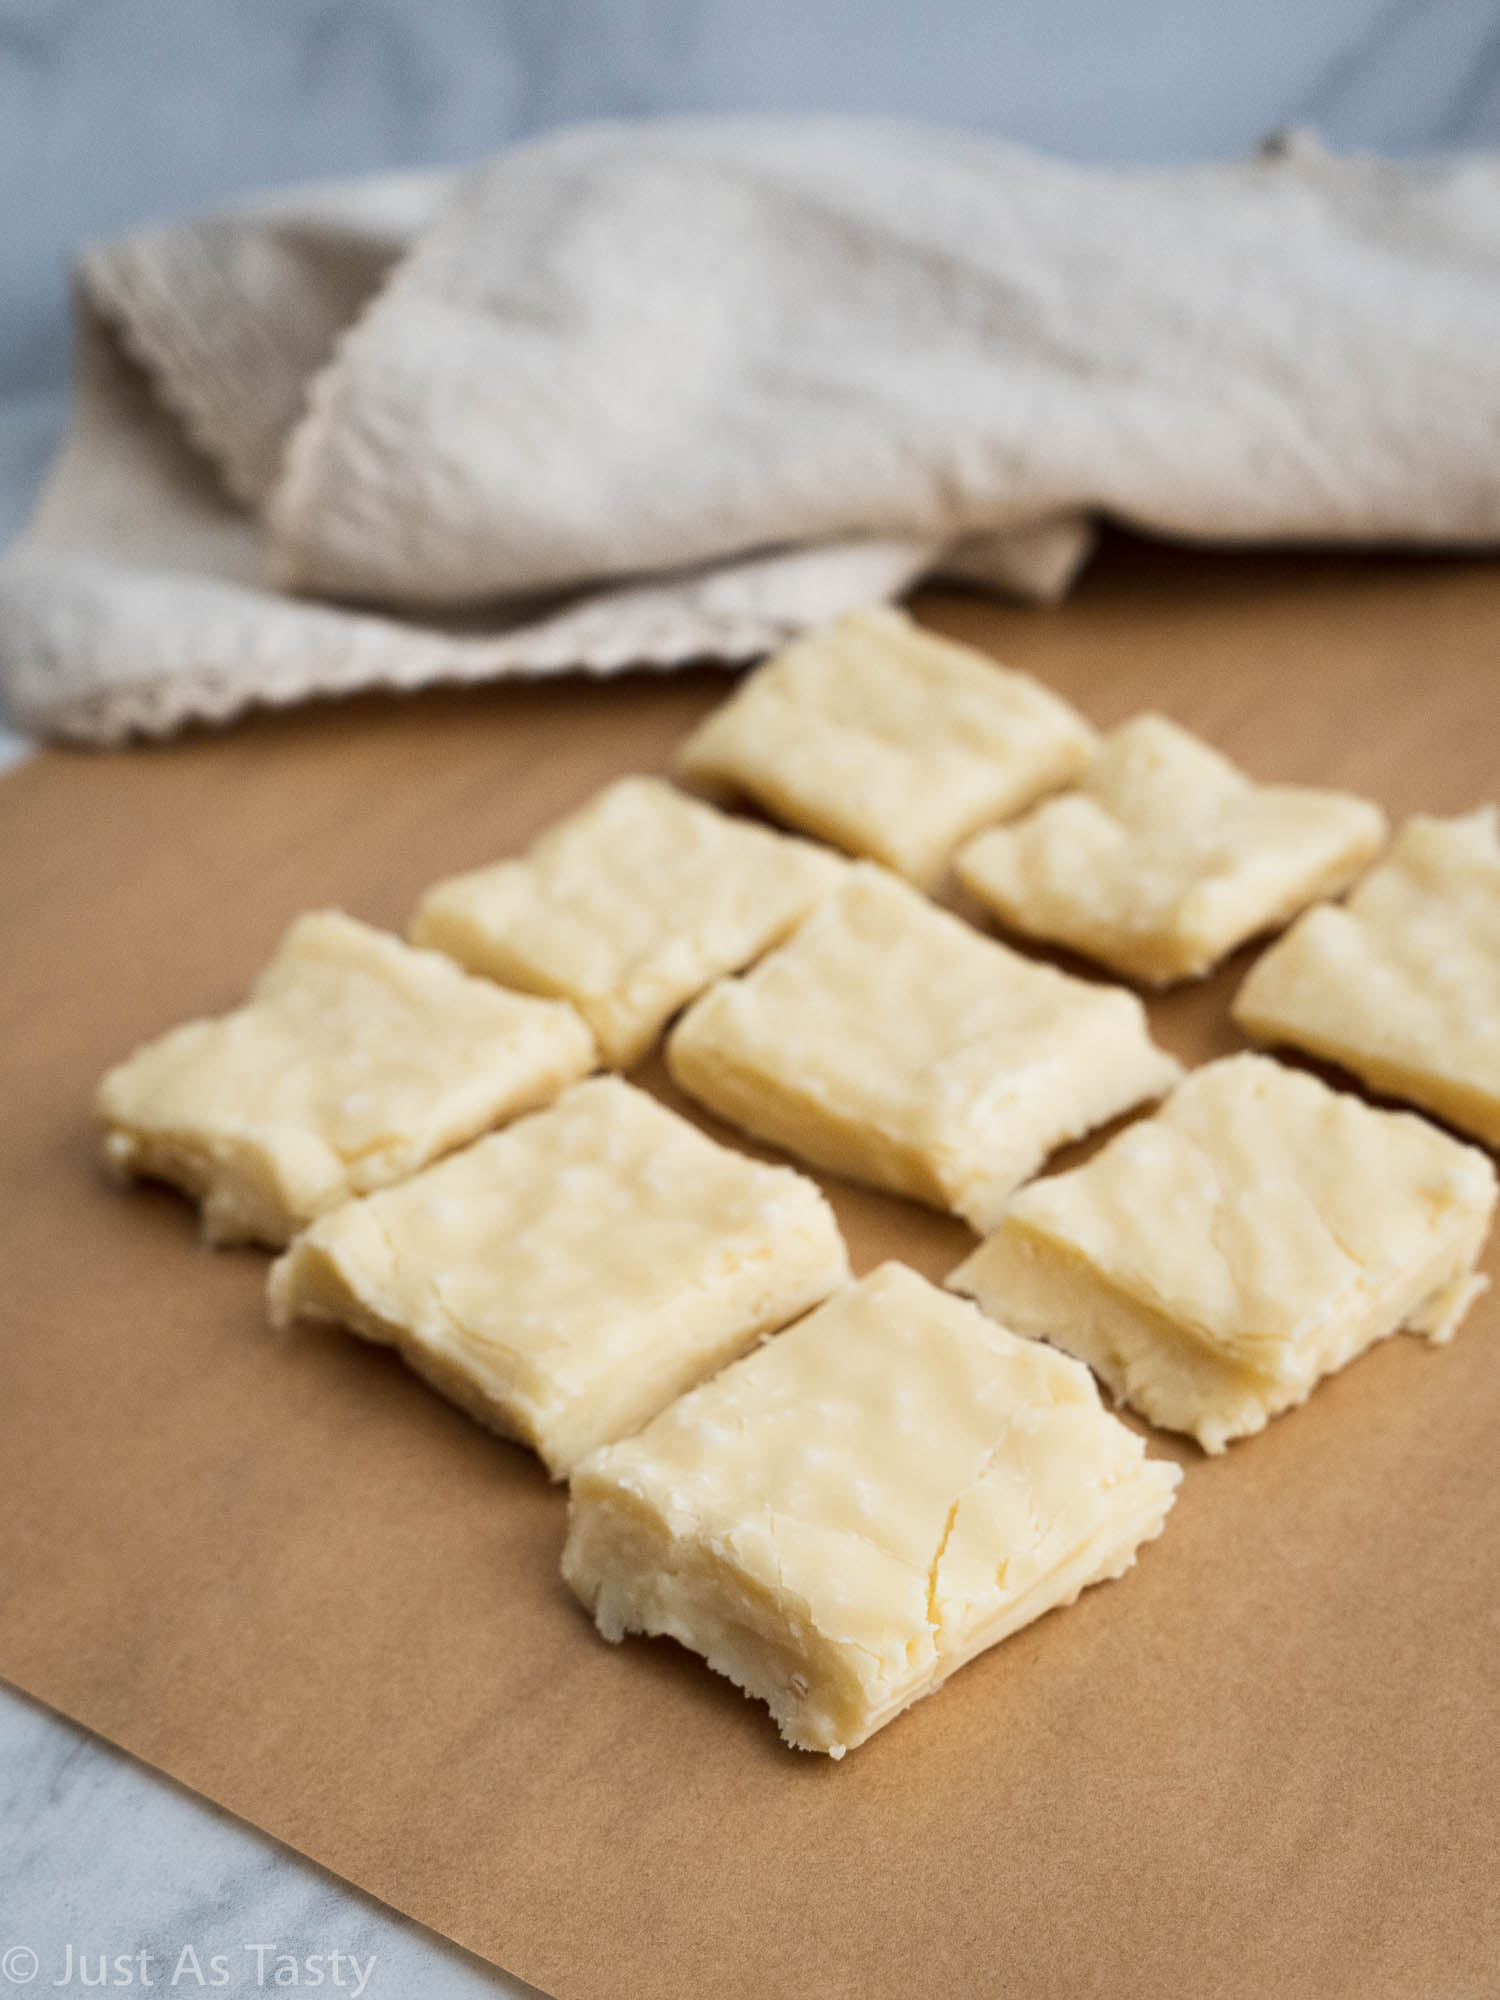
- It's such a fun yet different treat that you can set out for a party. It's bite-sized, super easy to grab and enjoy on the go, and yet it is also unexpected.
What You'll Need...
- White chocolate chips - go for high quality here if you can!
- Sweetened condensed milk - a true staple in my pantry.
- Maple extract - you can find this in any major grocery store, in the baking aisle alongside the vanilla extract.
- Sea salt - to balance out all that rich and sweet flavor.
How To Make...
I think this truly is one of the easiest recipes I have featured on my blog thus far. All you need to do is add all of your ingredients into a saucepan and melt over low heat.
Stir constantly, and heat until the chocolate chips have completely melted. You want your mixture to be thick, smooth, and slightly glossy.
When it's done, transfer the mixture to a lined baking pan. Leave it on the counter until it has cooled and set, then transfer to the refrigerator to chill for at least 1 hour before slicing up and serving.
How Long Does Homemade Fudge Last + How To Store...
While I really think homemade fudge is best enjoyed fresh, as soon as it's made, you can store it in an airtight container at room temperature for about a week.
If you're looking to go longer than a week, then I recommend storing the container in the refrigerator instead. When stored in the refrigerator, fudge should keep for 2-3 weeks.
Tips For Making The Best Maple Fudge...
- When it comes to lining the square pan with parchment paper, I like to have a bit of overhang on all sides. This makes it so much easier to pull the fudge out and slice it up when it's set.
- I said it before and I think it's worth repeating: if you can get your hands on high quality white chocolate, it will make a big difference. I recommend Ghiradelli.
- It's important to use a heavy-bottomed saucepan. These pans have a thicker base, which means the heat gets distributed evenly.
- Be sure to stir constantly! You don't want the mixture to burn.
Ingredient Substitutions...
- In the past, I have received questions about sweetened condensed coconut milk. While I haven't tried it myself, I think this sounds like a great non-dairy option! I don't see why that wouldn't work in this recipe. Please leave a comment and let me know if you do try that.
Did you try my homemade maple fudge? Leave me a comment below or tag me on Instagram @justastastyblog and #justastastyblog!
For More No-Bake Recipes, Try My...
📖 Recipe
Maple Fudge - Gluten Free, Eggless
Ingredients
- 2 cups (340g) white chocolate chips
- 14 ounces sweetened condensed milk
- 1 teaspoon maple extract
- ⅛ teaspoon sea salt
Instructions
- Line an 8" square baking pan with parchment paper and set aside.
- Add all ingredients to a heavy-bottomed saucepan and melt over low heat, stirring consistently. Heat until chocolate has completely melted and mixture looks glossy and thick.
- Pour mixture into prepared pan. Allow to set at room temperature, then chill in the refrigerator for 1 hour before slicing and serving.

Leave a Reply