
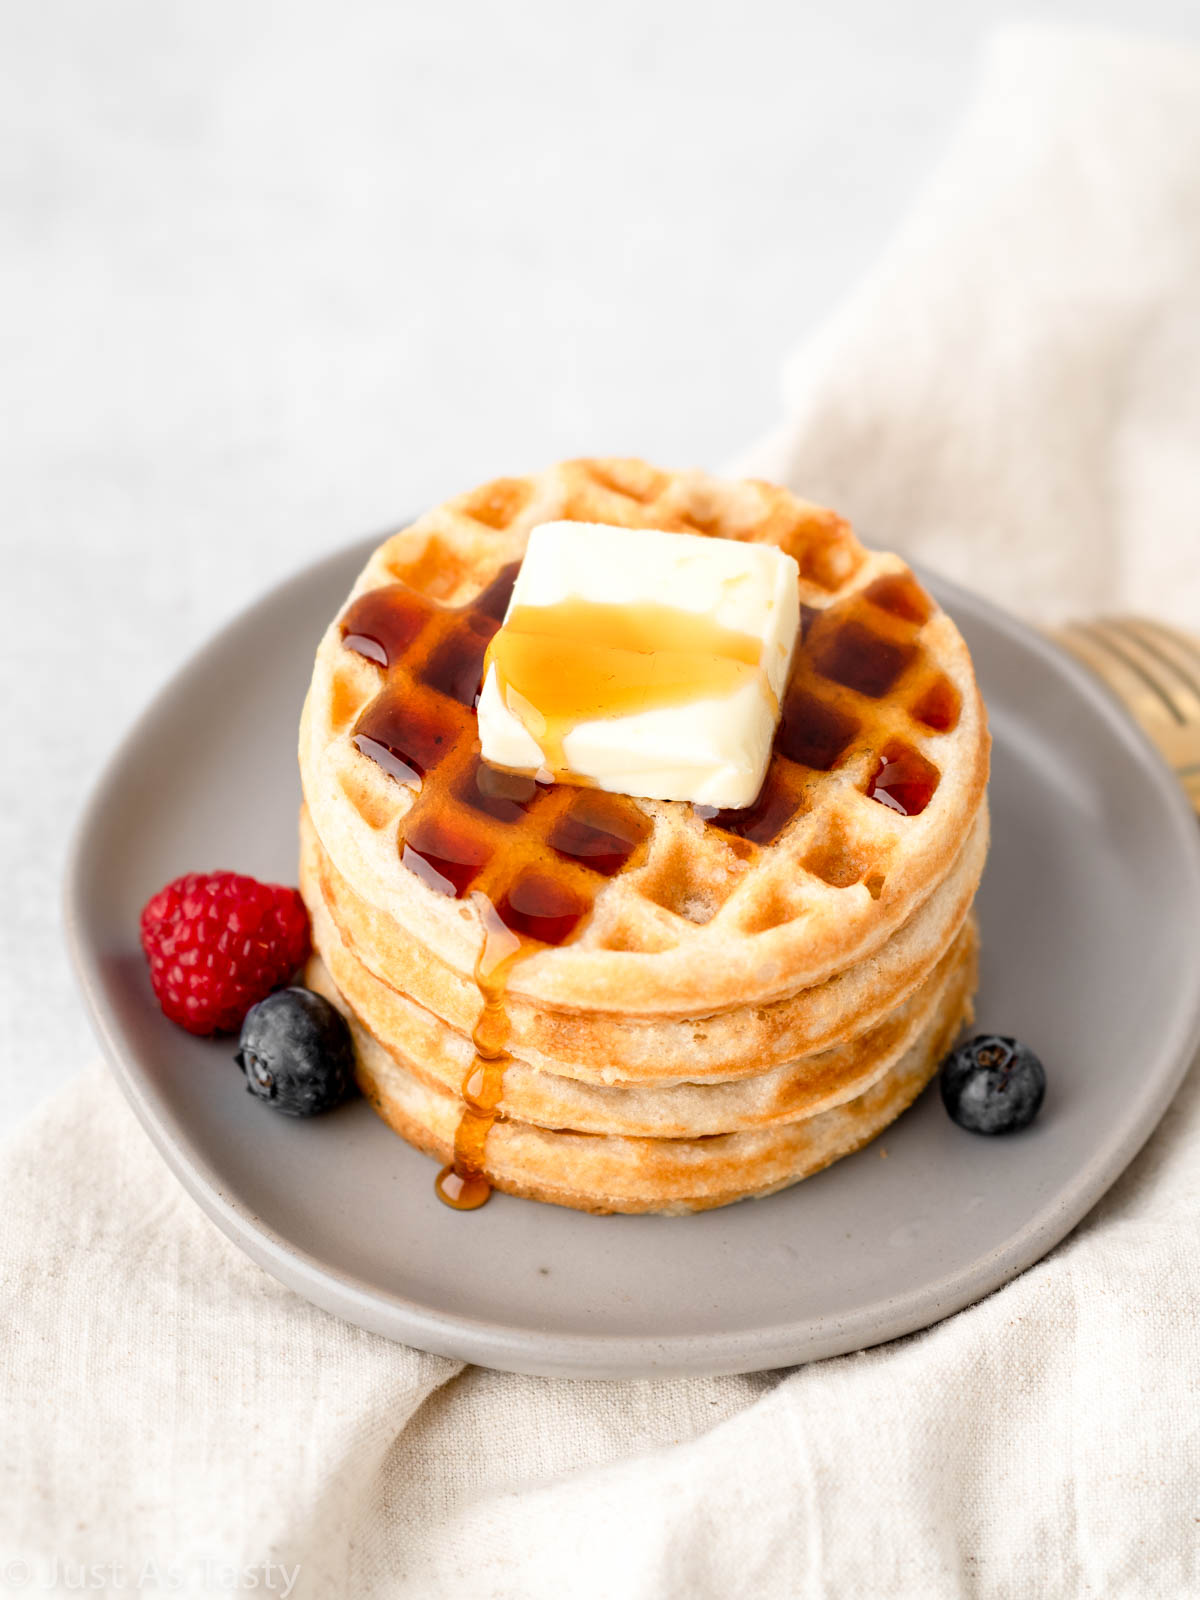
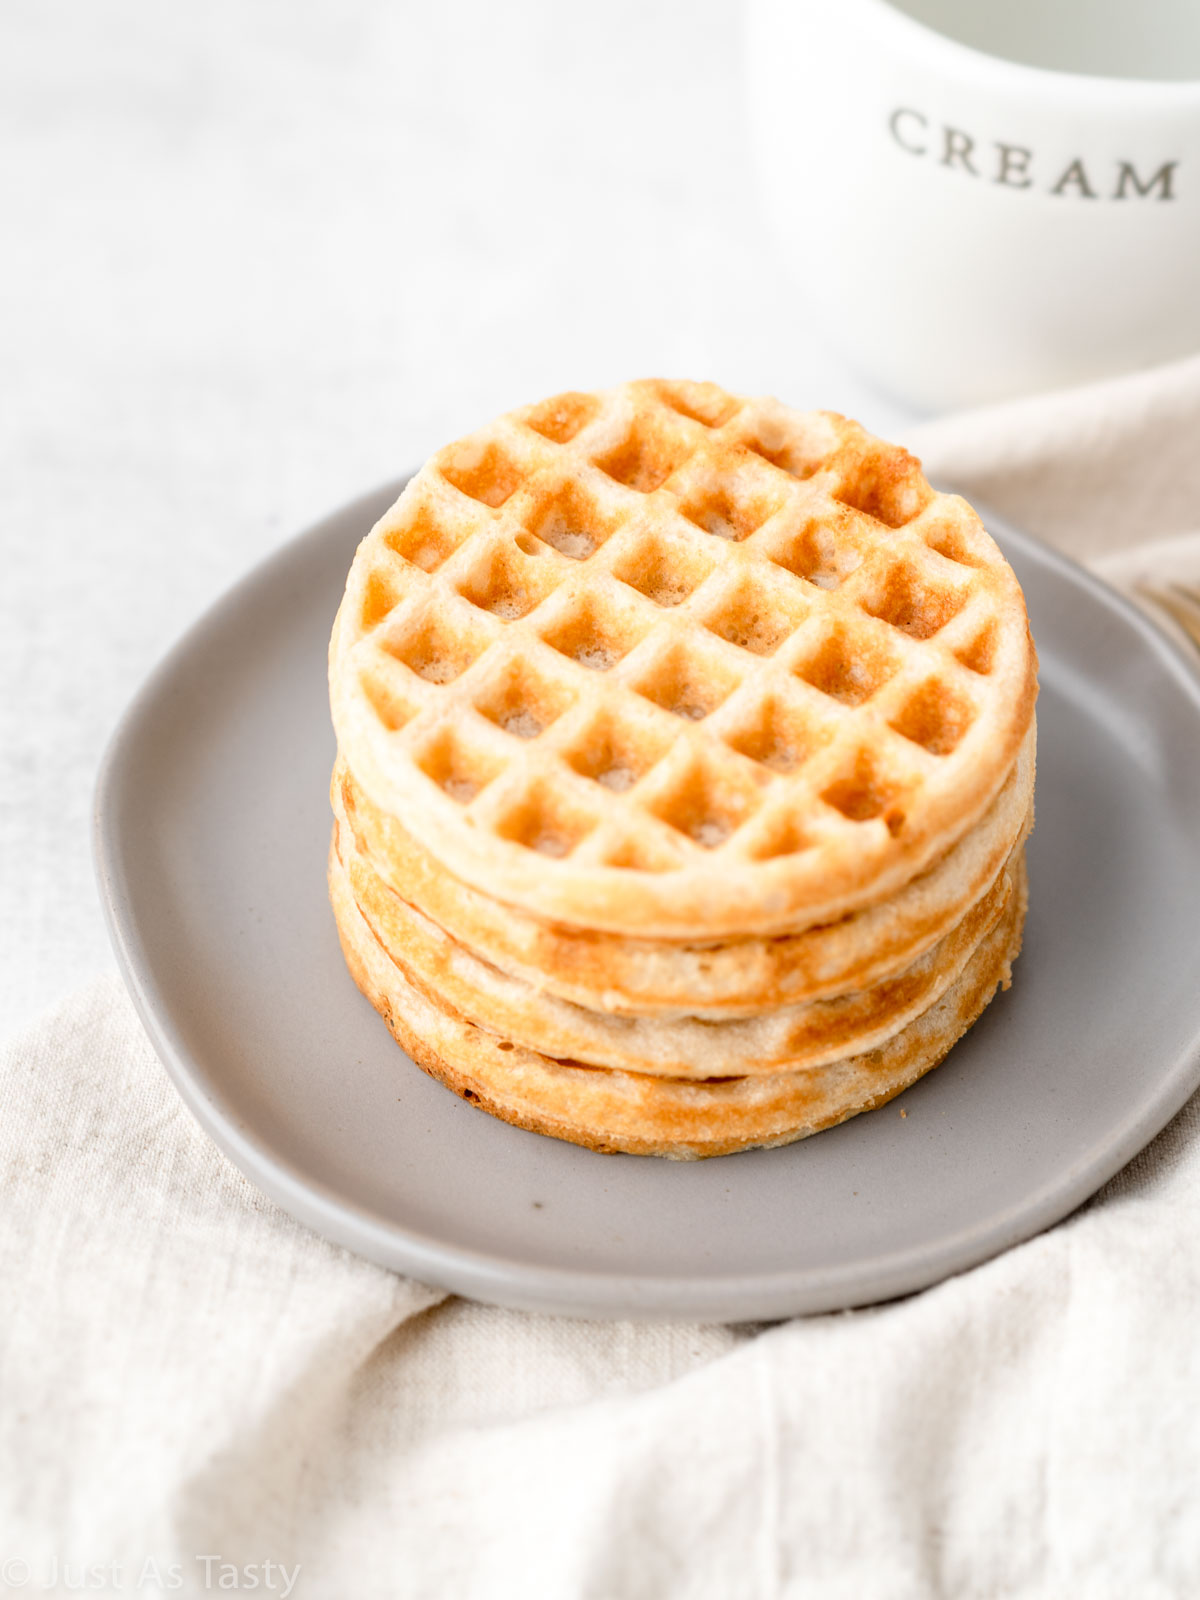
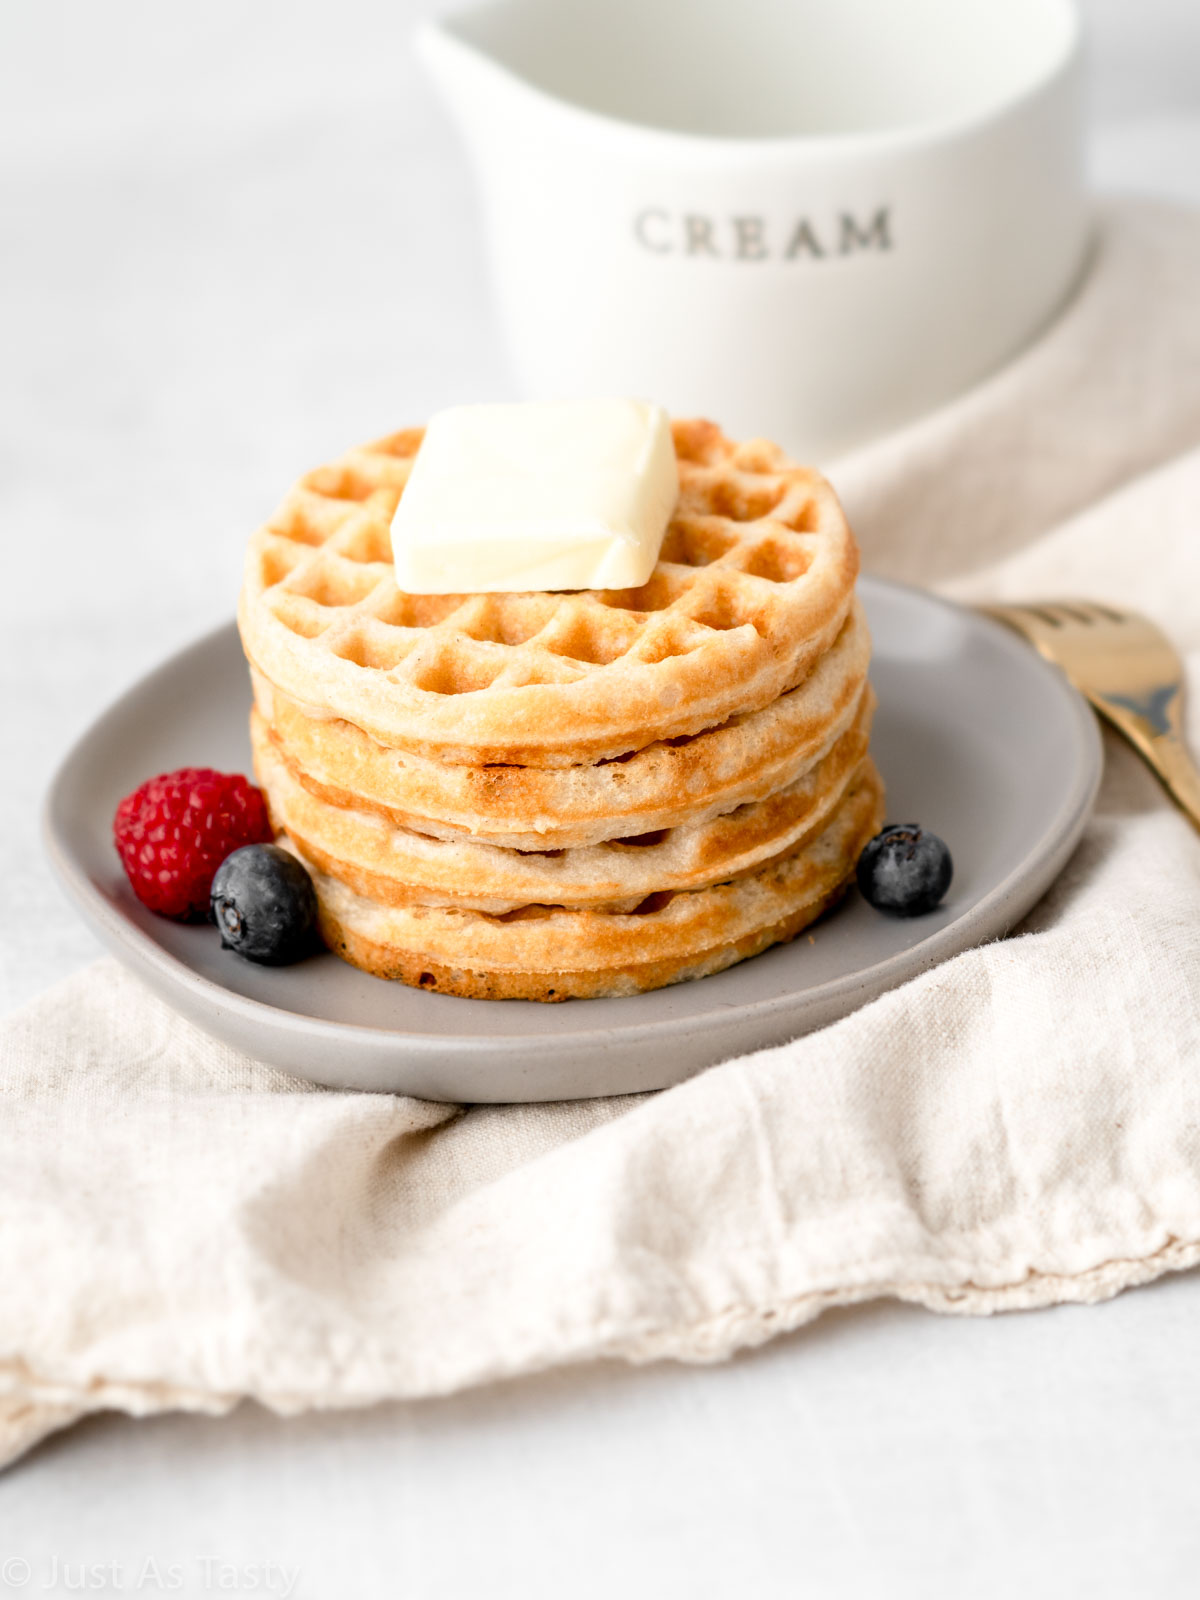
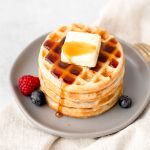
If you've been searching for the best gluten free waffles, you've just found them. These golden waffles are crispy on the outside and soft, fluffy on the inside. Even better? They're made completely from scratch with simple pantry staples. This is one of my favorite gluten free breakfast recipes!
For more gluten free breakfast recipes, check out my honey and blueberry scones, air fryer French toast, and gluten free pancakes.
Confession: I'm a total breakfast person. It's definitely my favorite meal of the day and, while most mornings I will have a quick bowl of oatmeal with some berries, I do love whipping up a bigger breakfast on weekends.
This recipe comes together in about 30 minutes, and it's flexible too: make them dairy free, freeze for later, or add your favorite mix-ins like chocolate chips or blueberries. Below, I'll walk you through exactly how to make them step-by-step, plus share my best tips for crisp edges, storage, and troubleshooting so you'll get perfect waffles every time.
Jump to:
- Why You'll Love This Gluten Free Waffle Recipe
- Ingredient Notes and Substitutions
- Equipment Recommendations
- How To Make Gluten Free Waffles
- Expert Tips For The Best Waffles
- Variations You Can Try
- Freezing & Reheating Instructions
- Troubleshooting Gluten Free Waffles
- Serving Suggestions
- Frequently Asked Questions
- More Gluten Free Breakfast Recipes
- 📖 Recipe
Why You'll Love This Gluten Free Waffle Recipe
- The texture is everything! From the crisp exterior to the light and fluffy interior, these are seriously perfect.
- There's a hint of sweetness in the batter, but not too much to where it's overwhelming. It's just right!
- They're freezer friendly, so you can make a big batch ahead to help with busy weekday mornings.
- This is a great base recipe. You can add your own mix-ins to make different kinds of gluten free waffles. More on that later...
Ingredient Notes and Substitutions
Here's more information on the ingredients you will need. The good news is, you likely already have these in your kitchen!
Gluten Free Flour Blend
My favorite gluten free flour blend is Bob's Red Mill 1 to 1. If you're using a different blend, make sure it contains xanthan gum. This is a cup for cup flour, meaning you can swap in AP flour if you are not following a gluten free diet.
Other Key Ingredients
- Sugar for just a hint of sweetness and flavor.
- Baking powder to give us some rise.
- Whole milk for moisture and richness (a lower fat milk is OK if that's what you have on hand).
- Oil as the fat in this recipe. I typically use canola oil but you can also use vegetable oil. I have not tested this recipe with any other oils, such as coconut.
- Salt to enhance the flavor.
- Vanilla for a bit more flavor and sweetness.
Substitutions & Variations
For dairy free waffles, feel free to swap in your favorite non-dairy milk.
We're not using much sugar at all, but if you prefer sugar free waffles, you can just omit the sugar without making any substitutions. It will alter the flavor, but not by much.
Equipment Recommendations
My favorite waffle iron to use for homemade waffles is this mini waffle maker. You can definitely use this recipe with a standard waffle iron, too. The one I use makes 4-inch waffles.
Ensure that you really grease the waffle iron well before adding your batter. I also preheat mine before starting.
The waffle iron does get very hot, so I recommend using potholders or oven mitts to open and close it for each waffle.
How To Make Gluten Free Waffles
STEP ONE: Start by greasing your waffle iron and allowing it to preheat for a few minutes.
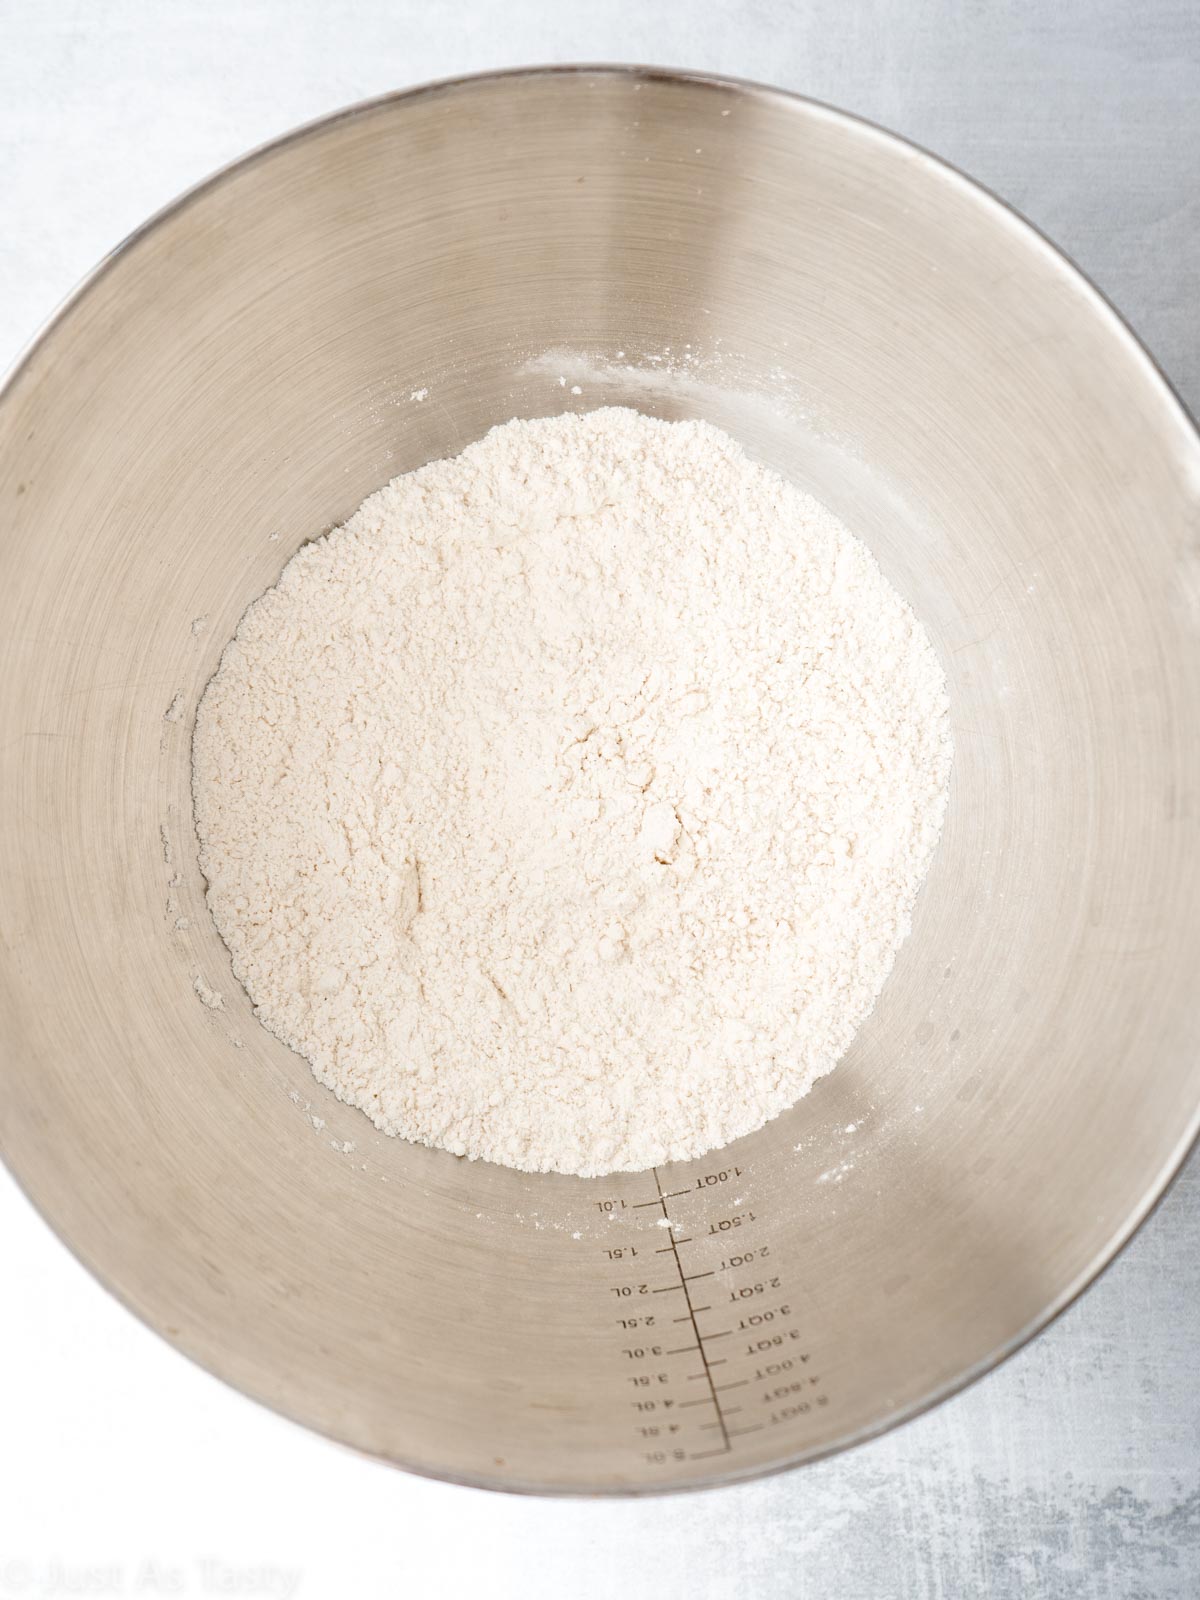
STEP TWO: Combine all of the dry ingredients in a large bowl, including the granulated sugar.
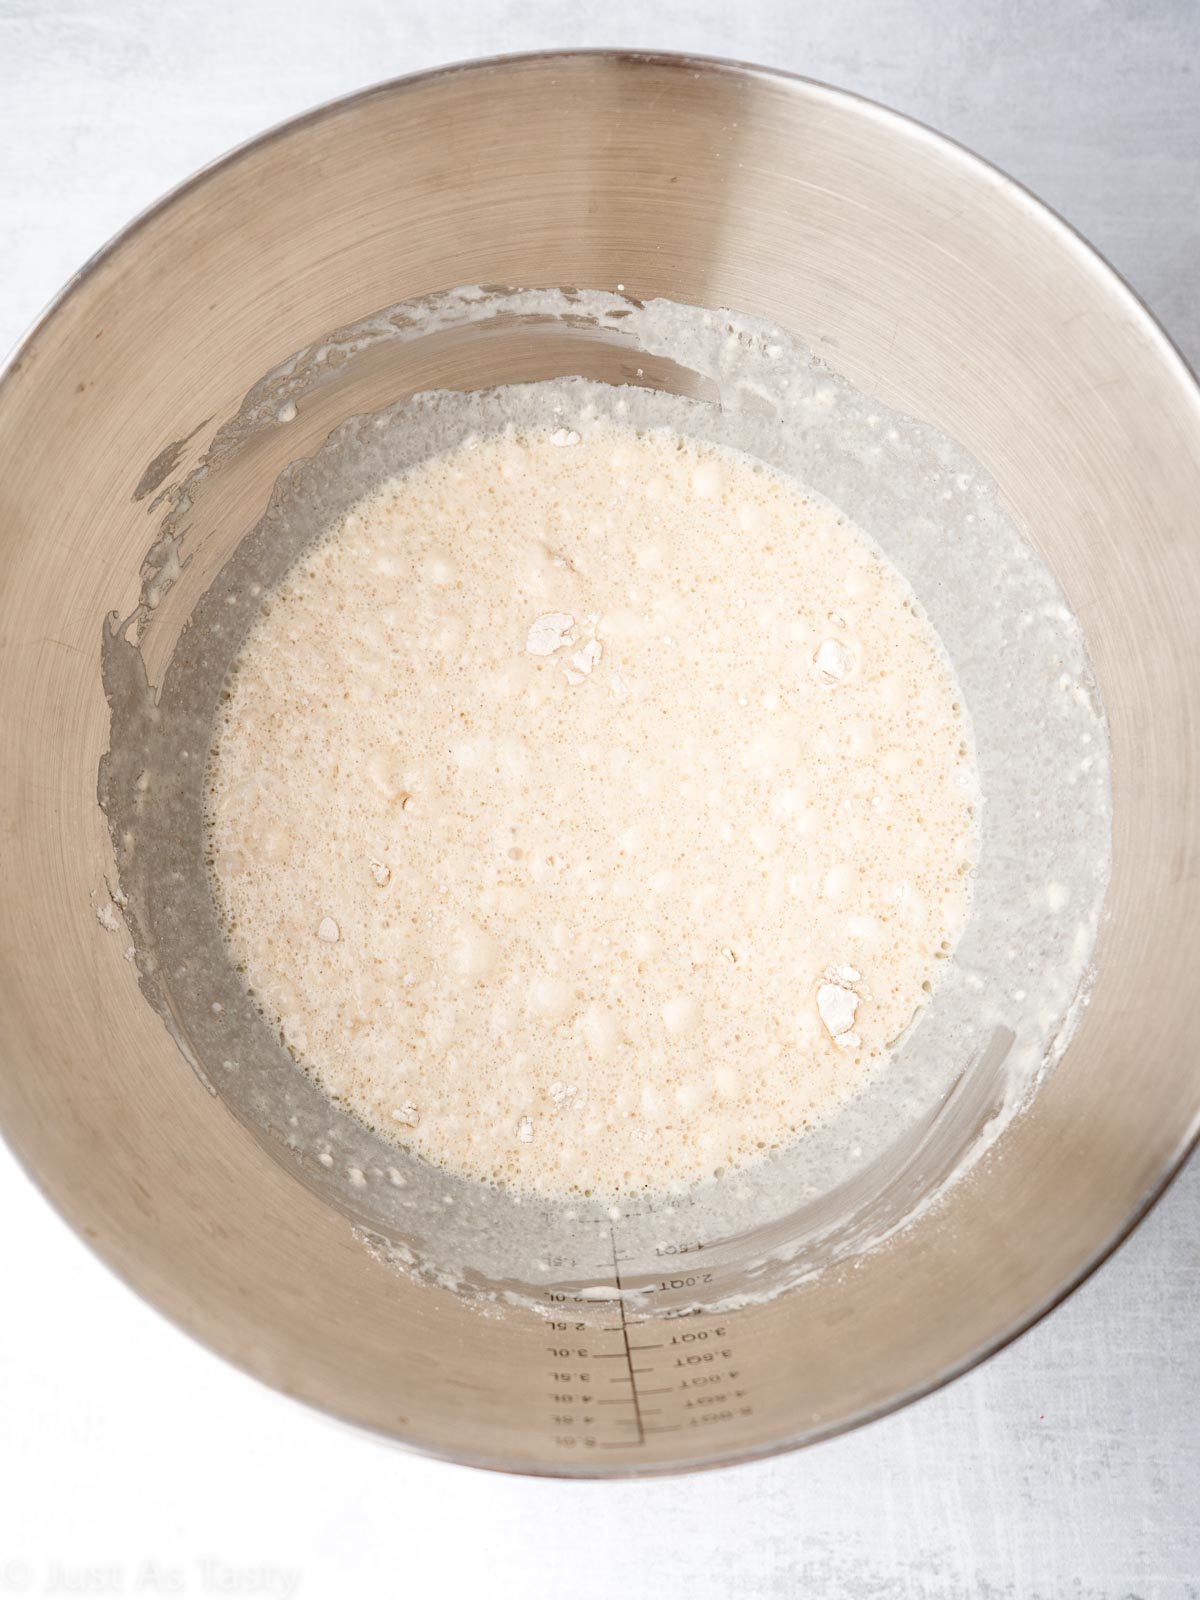
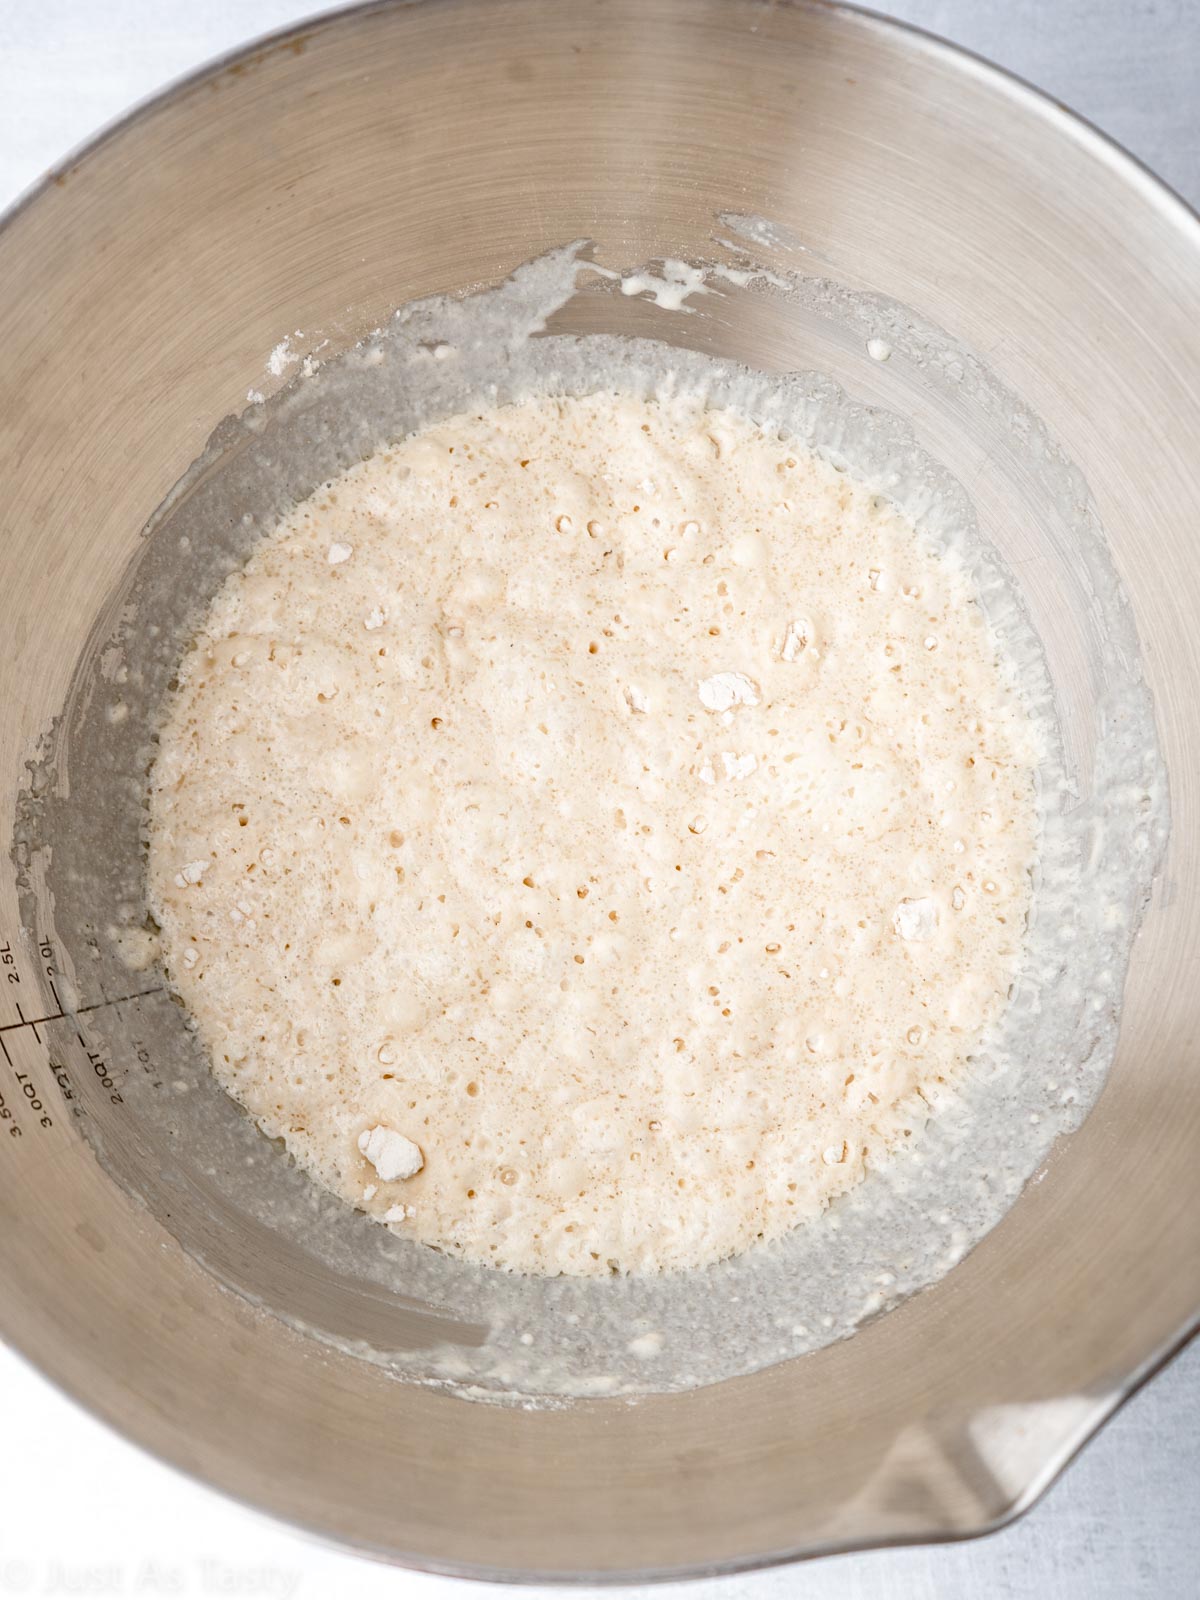
STEP THREE: Add the milk, oil, and vanilla extract and give it a good mix until it's combined. You will want to mix well to fully incorporate the different ingredients, but a few lumps in your batter are totally fine.
STEP FOUR: Walk away! Let your batter sit at room temperature for at least 10 minutes, until it thickens slightly.
Pro tip: It's so important to let your batter sit, not only because all of the flavors meld together really nicely, but it also allows the batter to thicken and somehow yields a fluffier waffle. Trust me on this!
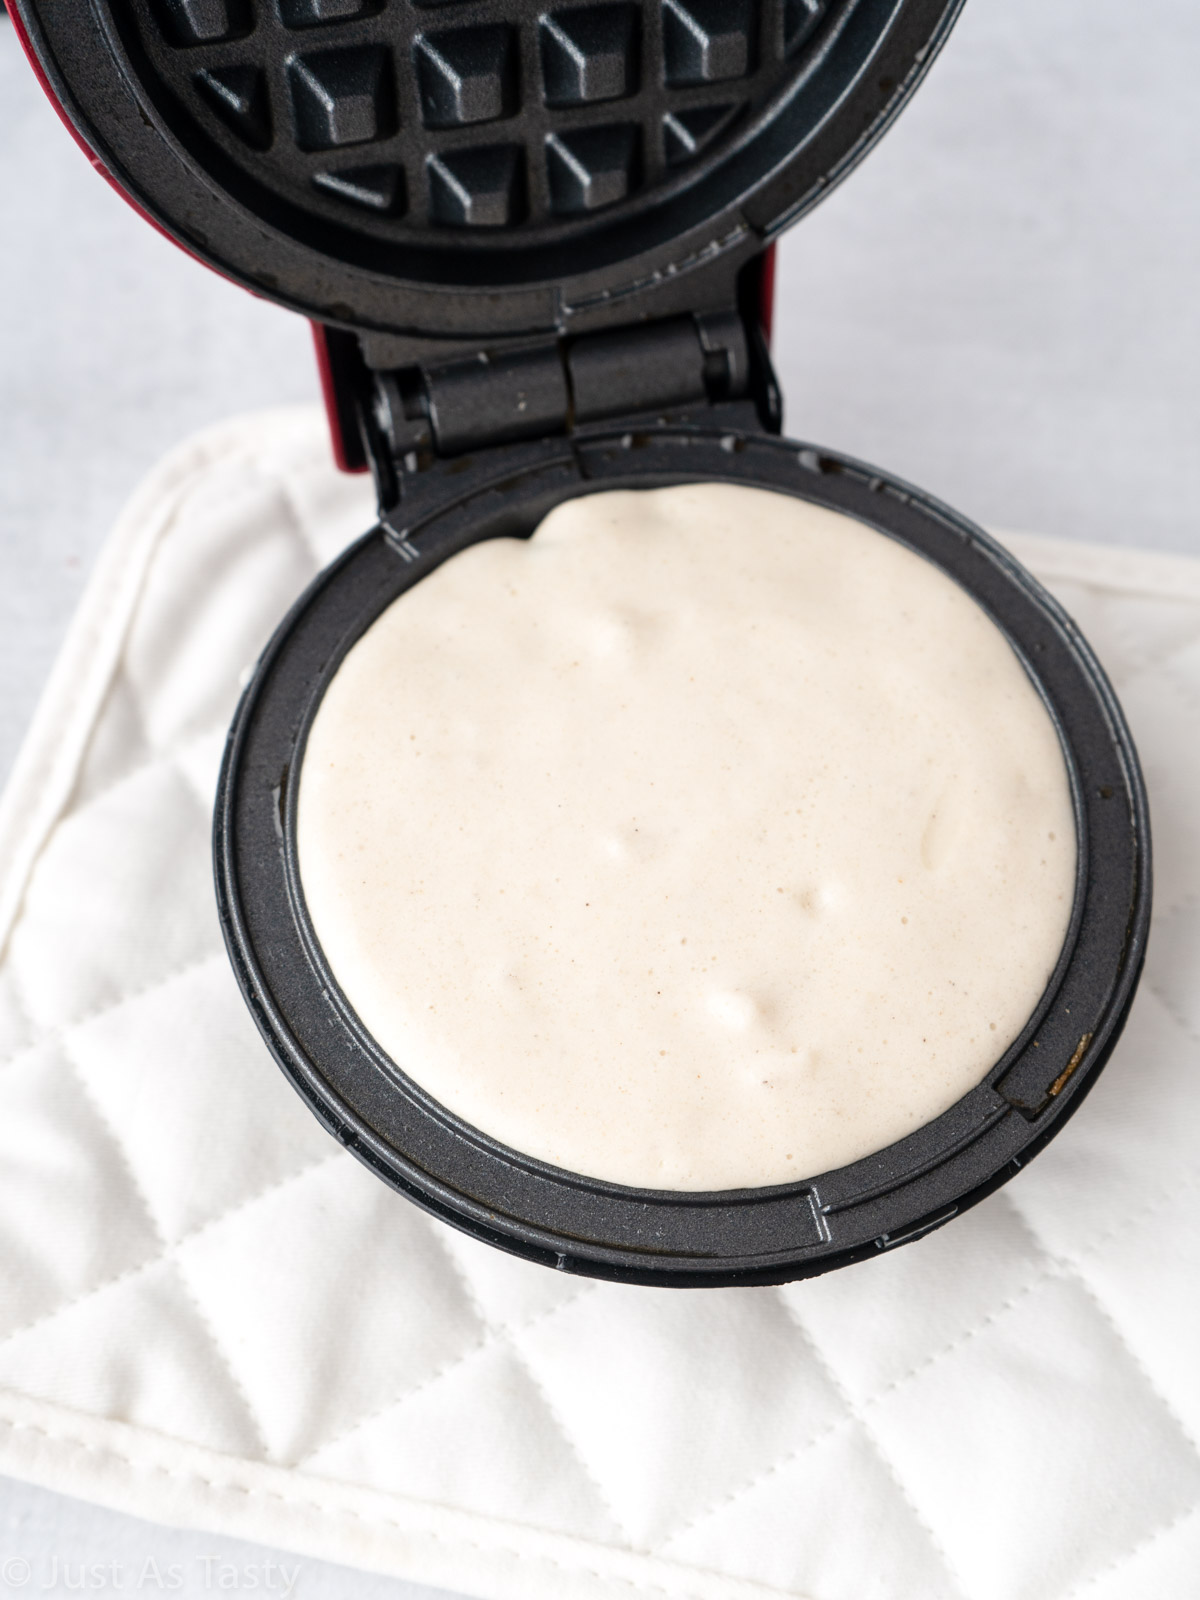
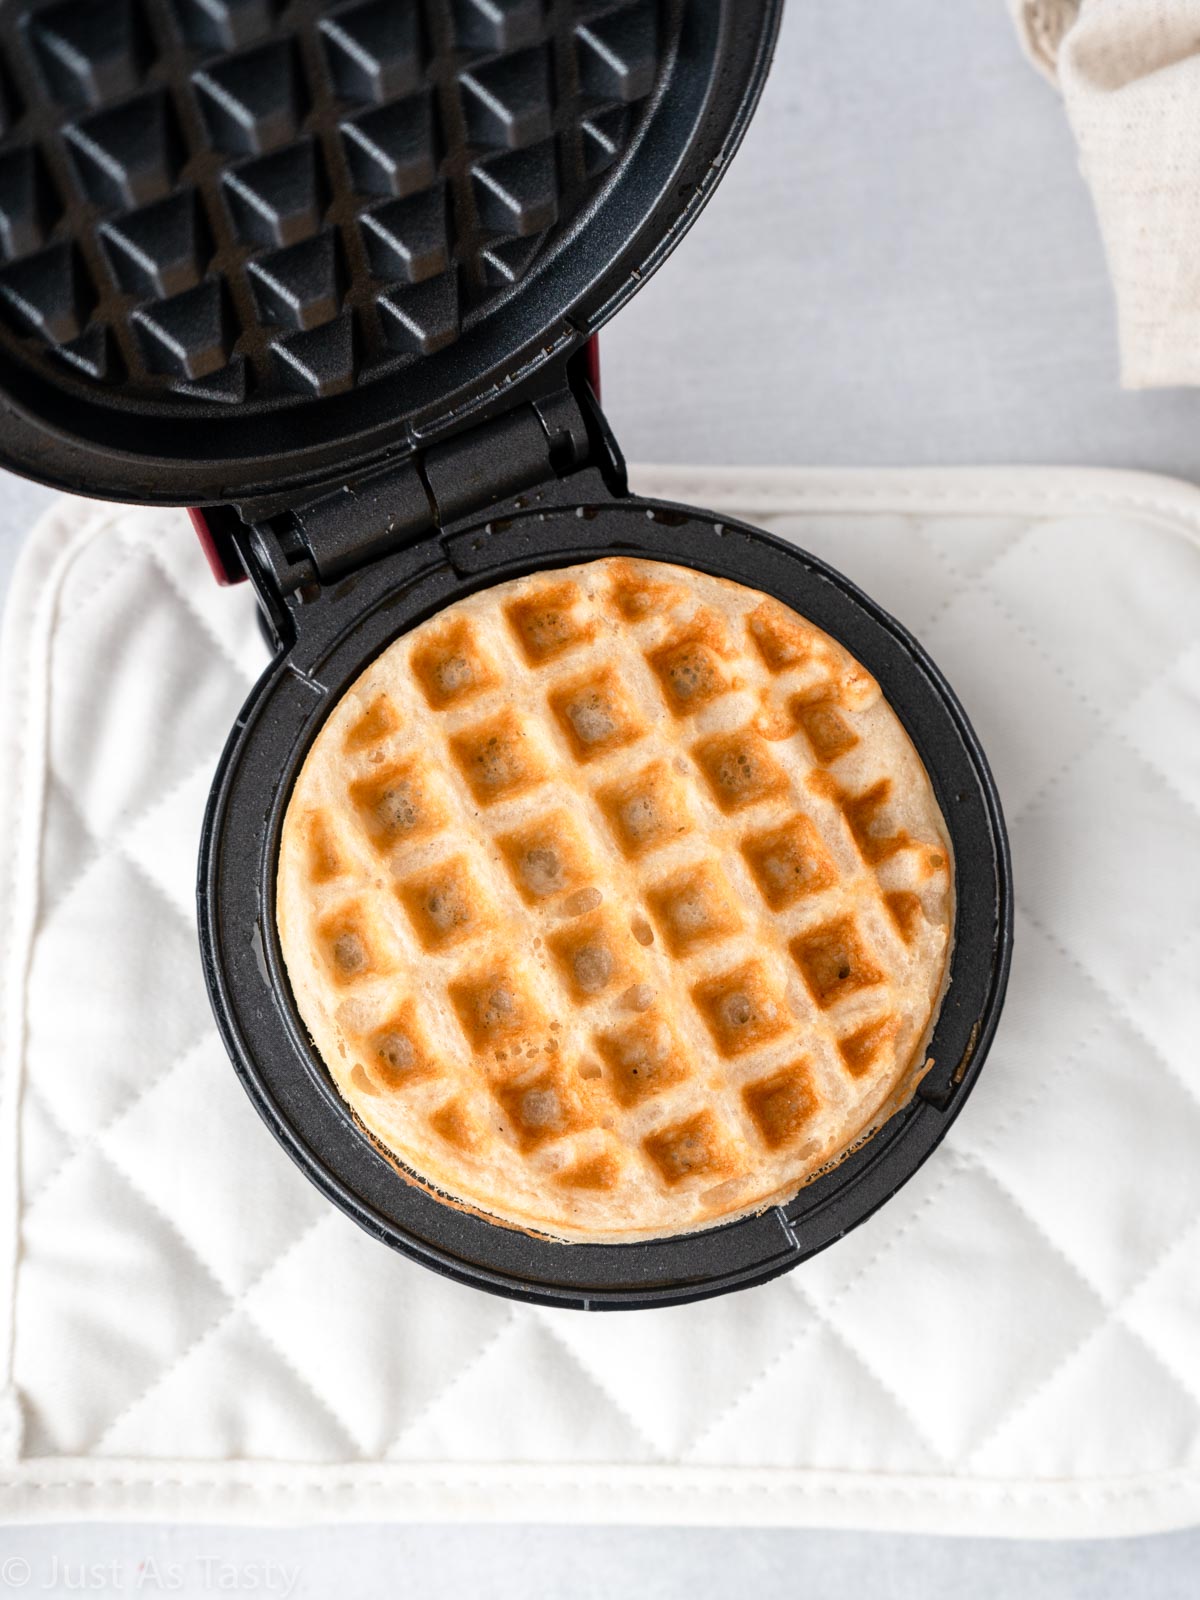
STEP FIVE: Cook up your waffles. Pour ¼ cup of batter into your waffle maker and cook for 4 minutes. Carefully remove each waffle and continue cooking until all the batter is gone.
Expert Tips For The Best Waffles
How to Get Crispy Edges
For that irresistible crunch, make sure your waffle iron is fully preheated before pouring in the batter. A hot iron helps the outside set quickly, giving you crisp edges while the inside stays fluffy. You can also let the waffles cook for an extra 30-60 seconds after the steam stops for maximum crunch.
How to Keep Waffles Fluffy Inside
Over-mixing is the biggest culprit behind dense gluten free waffles. Stir the batter until the flour is just combined, then stop. Resting the batter for 5-10 minutes before cooking also allows the flour to hydrate, creating a tender, airy center.
Preventing Sticking in the Waffle Iron
To prevent sticking, always grease your waffle iron lightly before adding the batter, even if it's nonstick. If your waffles are still sticking, check your gluten free flour blend: a mix with xanthan gum or a little starch helps hold everything together.
Variations You Can Try
Dairy Free Gluten Free Waffles
It's super easy to make dairy free gluten free waffles. Simply use this recipe and swap out the whole milk for your favorite non-dairy milk. Oat, almond, or soy milk should all work.
Flavor Mix-Ins
For a fun twist on classic waffles, why not add some of your favorite mix-ins? Fold in mini chocolate chips for a dessert-like treat, fresh or frozen blueberries for a fruity burst, or a sprinkle of cinnamon for warm spice. Mix-ins add variety without changing the base recipe, so you can customize each batch to suit your cravings.
Savory Gluten Free Waffles
For a savory twist, stir shredded cheese, fresh herbs, or even cooked bacon into the batter. These savory gluten free waffles would make a delicious base for fried chicken, eggs, or a hearty breakfast sandwich. They're crisp, flavorful, and perfect for brunch when you want something a little different from syrup and berries.
Freezing & Reheating Instructions
One of the best things about these gluten free waffles is how well they freeze. Make a big batch on the weekend and you'll have easy breakfasts ready to go all week long.
To Freeze:
- Let waffles cool completely on a wire rack (this prevents sogginess).
- Arrange them in a single layer on a baking sheet and place in the freezer for 1-2 hours until firm.
- Transfer to a freezer-safe bag or container, separating layers with parchment paper to prevent sticking. Waffles keep well for up to 3 months.
To Reheat:
- Toaster: Pop frozen waffles straight into the toaster for the crispiest edges.
- Oven: Bake at 350°F for about 8-10 minutes if reheating several at once.
- Air Fryer: Reheat at 350°F for 3-4 minutes for waffles that taste freshly made.
- Microwave: Quick, but not recommended if you want crisp edges.
Troubleshooting Gluten Free Waffles
Why Are My Waffles Soggy?
Soggy waffles usually result from too much moisture or not enough heat. Make sure your waffle iron is fully preheated and don't stack waffles right after cooking, as the steam will make them soft. Place them on a wire rack in a single layer to keep them crisp.
Why Do My Waffles Stick to the Iron?
Sticking happens when the batter isn't cooked enough or when the iron isn't properly greased. Always spray or brush the plates with oil before each batch, and resist the urge to peek too early.
Why Are My Waffles Too Dry or Crumbly?
Dry, crumbly waffles can be a sign of too much flour or not enough fat. I always recommend weighing your flour using a kitchen scale if possible to ensure accuracy. Adding a touch more oil may also keep the texture soft and moist.
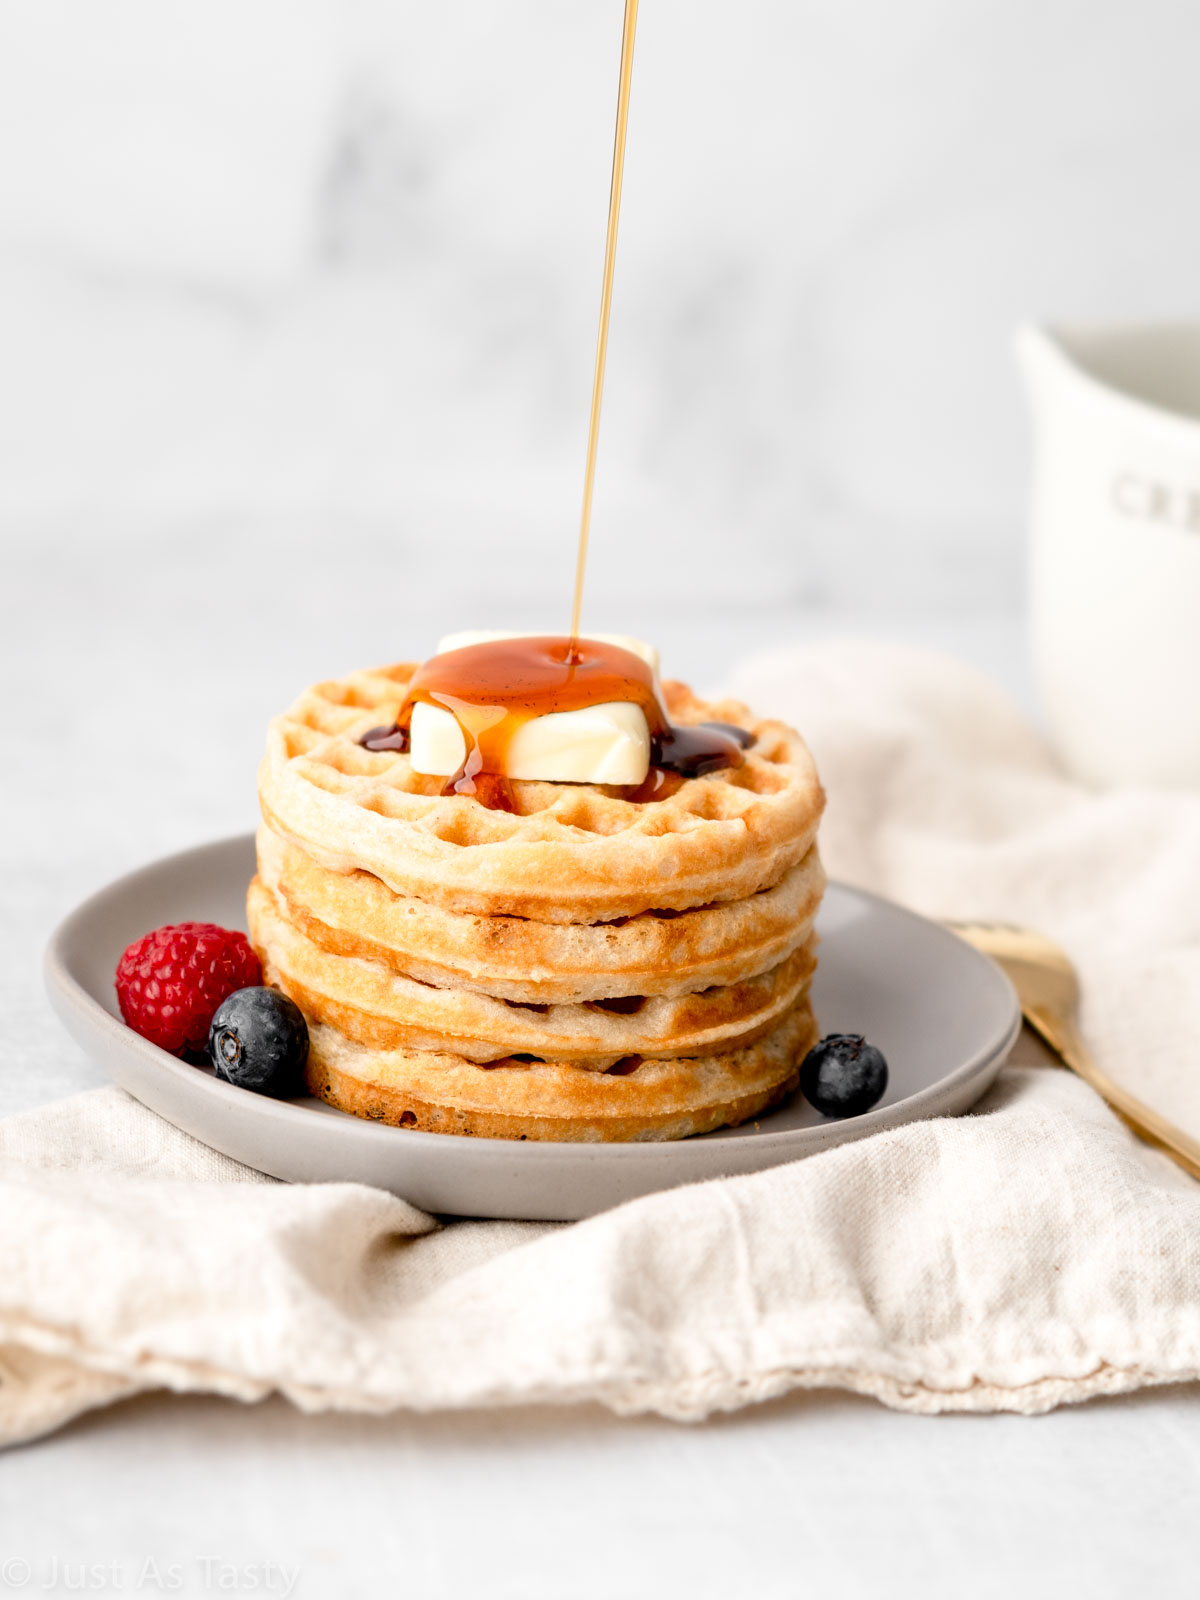
Serving Suggestions
Whether you're making a cozy weekend breakfast or a fun brunch spread, here are some of my favorite ways to serve gluten free waffles:
Sweet Toppings
- Classic maple syrup and butter
- Fresh fruit like berries, banana slices, or peaches
- Whipped cream or yogurt
- Chocolate chips or a drizzle of chocolate spread or granola butter, for a dessert-style waffle
- Warm air fryer apples in the fall months
Savory Toppings
- Crispy fried chicken for a Southern-inspired meal
- Scrambled or fried eggs with bacon or sausage
- Smoked salmon and cream cheese for a unique brunch twist
- Avocado slices with everything bagel seasoning
Frequently Asked Questions
For me, each waffle takes exactly 4 minutes in my mini waffle maker. You'll know the waffles are done when the outside is golden and crisp.
Absolutely! In fact, I highly recommend making a big batch just for freezing. You can store in the freezer for up to 3 months.
I would go for a flour that contains xanthan gum for the best gluten free waffles. It helps bind everything together, and I have not tested this recipe without it.
No, this recipe cannot be made using almond or oat flour. You really will need a gluten free flour blend, like Bob's Red Mill 1 to 1 (my favorite flour).
Did you try my gluten free waffles? Leave me a comment below or tag me on Instagram @justastastyblog and #justastastyblog! And don't forget to subscribe to get new recipes directly in your inbox.
More Gluten Free Breakfast Recipes

📖 Recipe
Best Gluten Free Waffles From Scratch
Ingredients
- 2 cups (296g) gluten free flour blend (I use Bob's Red Mill 1 to 1 Flour)
- 3 tablespoons granulated sugar
- 4 teaspoons baking powder
- 1 teaspoon fine sea salt
- 2 cups (480ml) whole milk*
- 5 tablespoons canola or vegetable oil
- 1 teaspoon vanilla extract
Instructions
- Grease your waffle iron and preheat for about 3-5 minutes.
- In a large bowl, whisk the flour, sugar, baking powder, and salt together.2 cups (296g) gluten free flour blend, 3 tablespoons granulated sugar, 4 teaspoons baking powder, 1 teaspoon fine sea salt
- Add the milk, oil, and vanilla and stir until incorporated. A few lumps in the batter is OK. Allow the batter to sit at room temperature for at least 10 minutes.2 cups (480ml) whole milk*, 5 tablespoons canola or vegetable oil, 1 teaspoon vanilla extract
- Using ¼ cup of batter at a time, pour batter onto hot waffle iron. Cook each waffle for 4 minutes. For best results, serve warm.
Notes
- Feel free to use any milk you like, including non-dairy milk.
- This recipe yields 12 mini waffles (measuring 4 inches each). You can use this recipe with a standard waffle iron for larger waffles, you will just end up with less of them.
Matthew McCauley says
These waffles taste delicious. The flavor is so good and they are crispy/soft. My trouble is that only one of them came out beautiful. The rest ripped in half when opening the waffle iron. I lubricated the waffle iron between each waffle and it continued to stick the rest of the time I cooked.
Geneva says
This was such an easy and tasty recipe! I used it for my inaugural waffle iron batch. I'm allergic to eggs and wheat but no one else in my family is. This recipe was safe for me and yummy for all of us!
Taleen Benson says
I'm so glad to hear that Geneva, thank you!
Shirley Brown says
I made these GF waffles today, they are delicious. I had to tweak it out a bit, I may even add an egg next time. It was crispy on the outside but a little chewy on inside, so I left them in a little longer ( I used my Griddler w/waffle inserts) I think they could be a bit fluffier in the center but had good flavor. They didn’t stick bc I sprayed the trays really well each time. Thank you for sharing your recipe.
Taleen Benson says
So glad to hear that, thank you Shirley!
Allie says
These are amazing!! I used coconut milk, coconut oil, maple syrup, and added banana. Best GF waffle recipe I’ve tried. My toddler is obsessed. Thank you!
Taleen Benson says
I'm thrilled to hear that, thank you Allie!